A perfect craft for Yellow Flower Day- Una Manualidad Perfecta para el Día de las Flores Amarillas 🏵️🌻🌻🏵️💮💛
@yennysferm71
· 2025-09-22 00:12
· hive-189641
Today is September 21st, and for a few years now, it's been popularized as "Yellow Flower Day," which involves giving flowers of this color to a special person. I wanted to make them for my daughter, Viviana, who pays more attention to these trends.
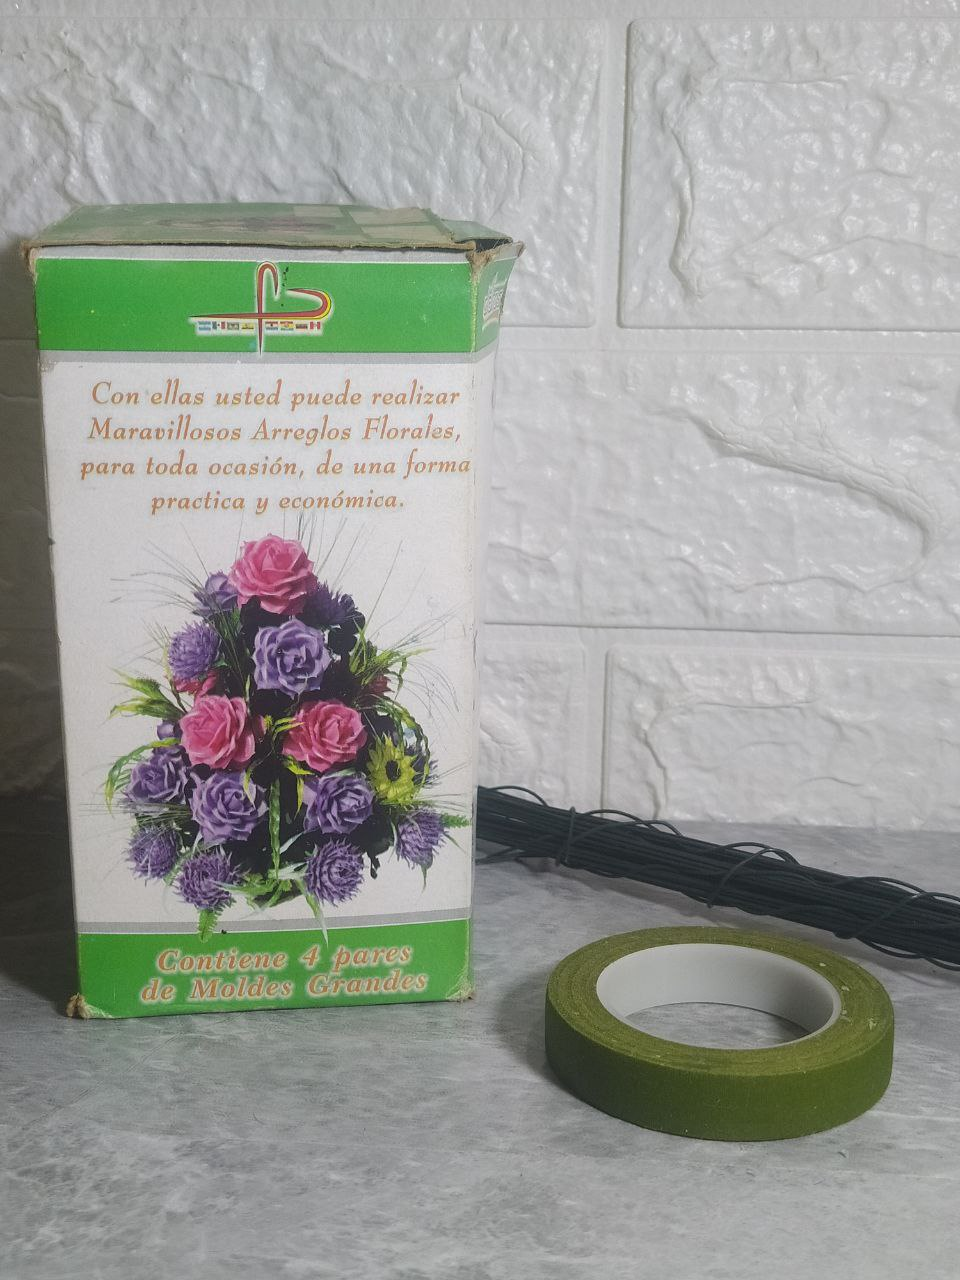
This DIY HUB project has been the perfect excuse to use some Foam Flower Molds, which I haven't used for a long time. They're great because they make this craft so simple, it's almost impossible to fail... Welcome.
Hoy es 21 de Septiembre, y desde hace unos años se ha popularizado como el "Día de las Flores Amarillas" y consiste en regalar flores de este color a una persona especial. Yo quise hacerlas para mi hija Viviana que le presta más atención a esas Tendencias.
Éste proyecto Diy HUB, ya sido la excusa perfecta para utilizar unos Moldes de Flores en Foami o Goma Eva, que realmente tenía mucho tiempo sin utilizar, y son geniales porque simplifican mucho el trabajo de esta manualidad, al punto que es casi imposible fallar... Bienvenidos.
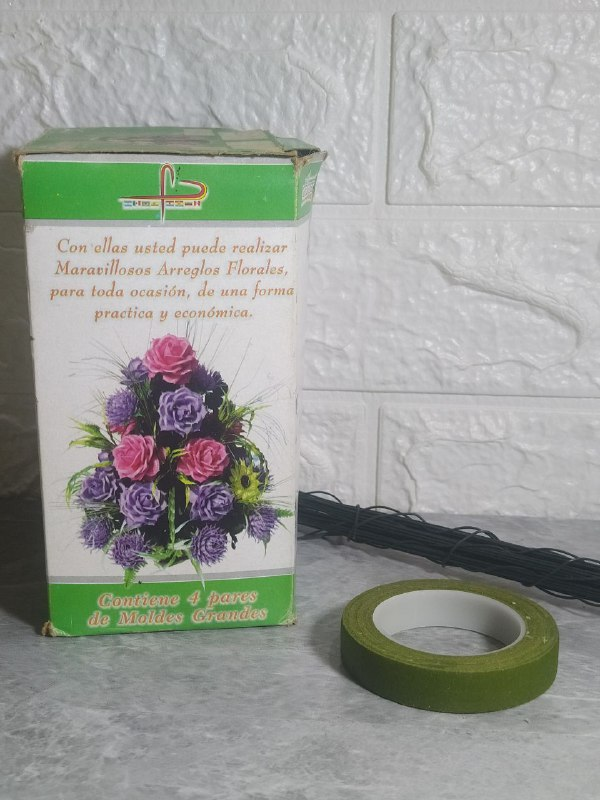
* Flower and leaf molds.
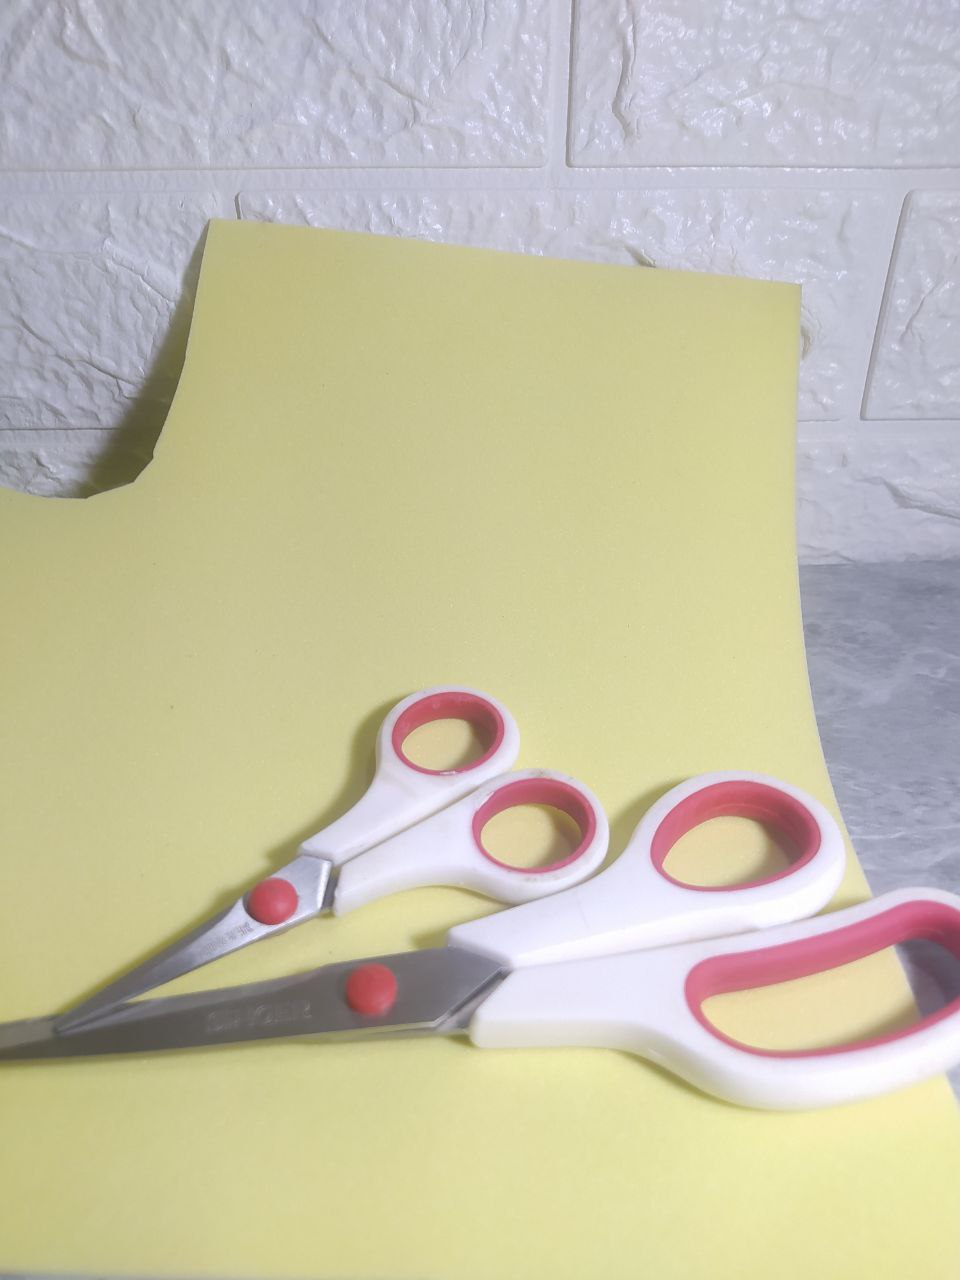
* Yellow and green foam.
* Florist's wire.
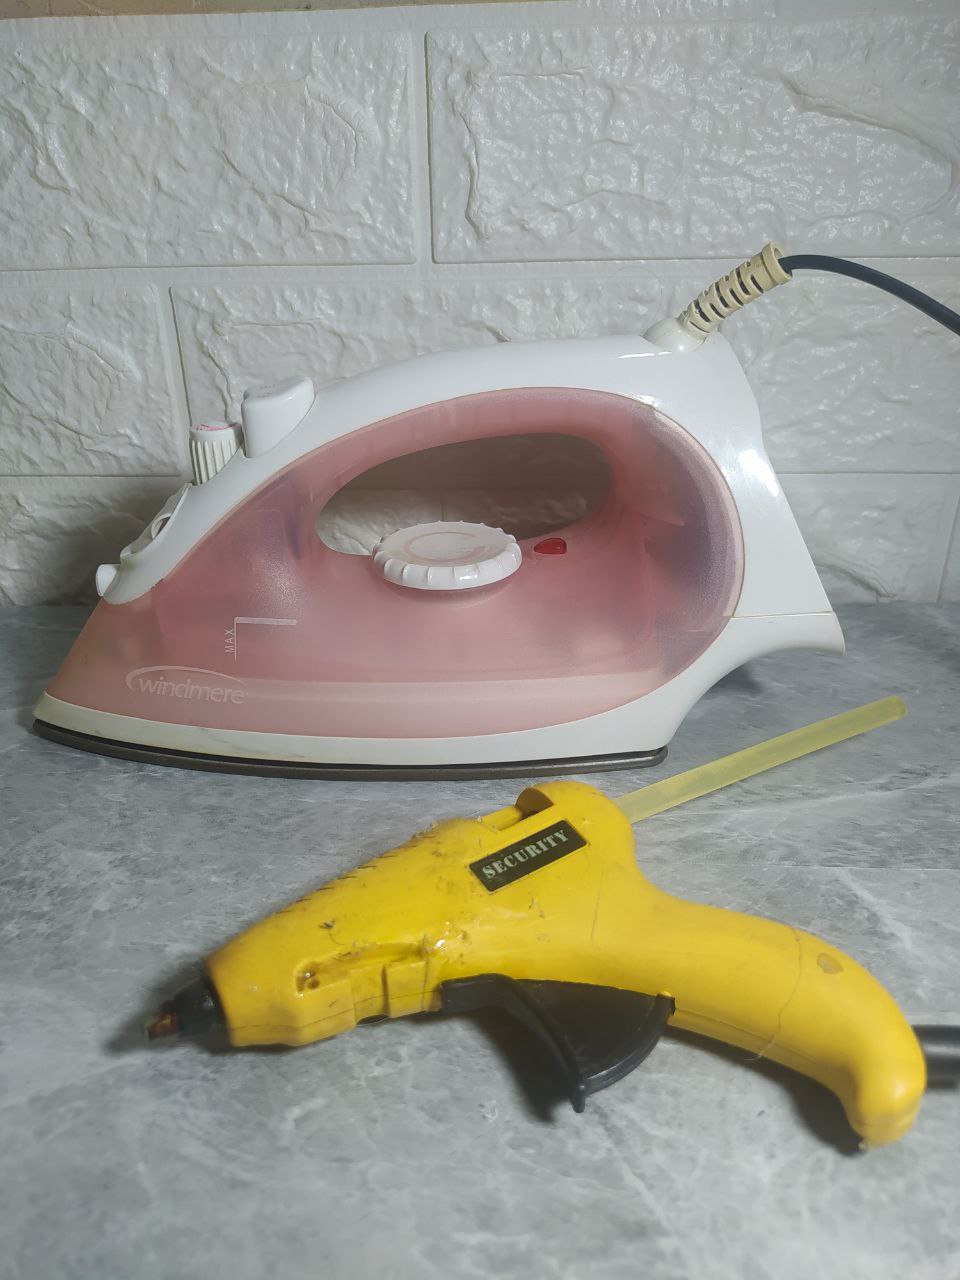
* Scissors and iron.
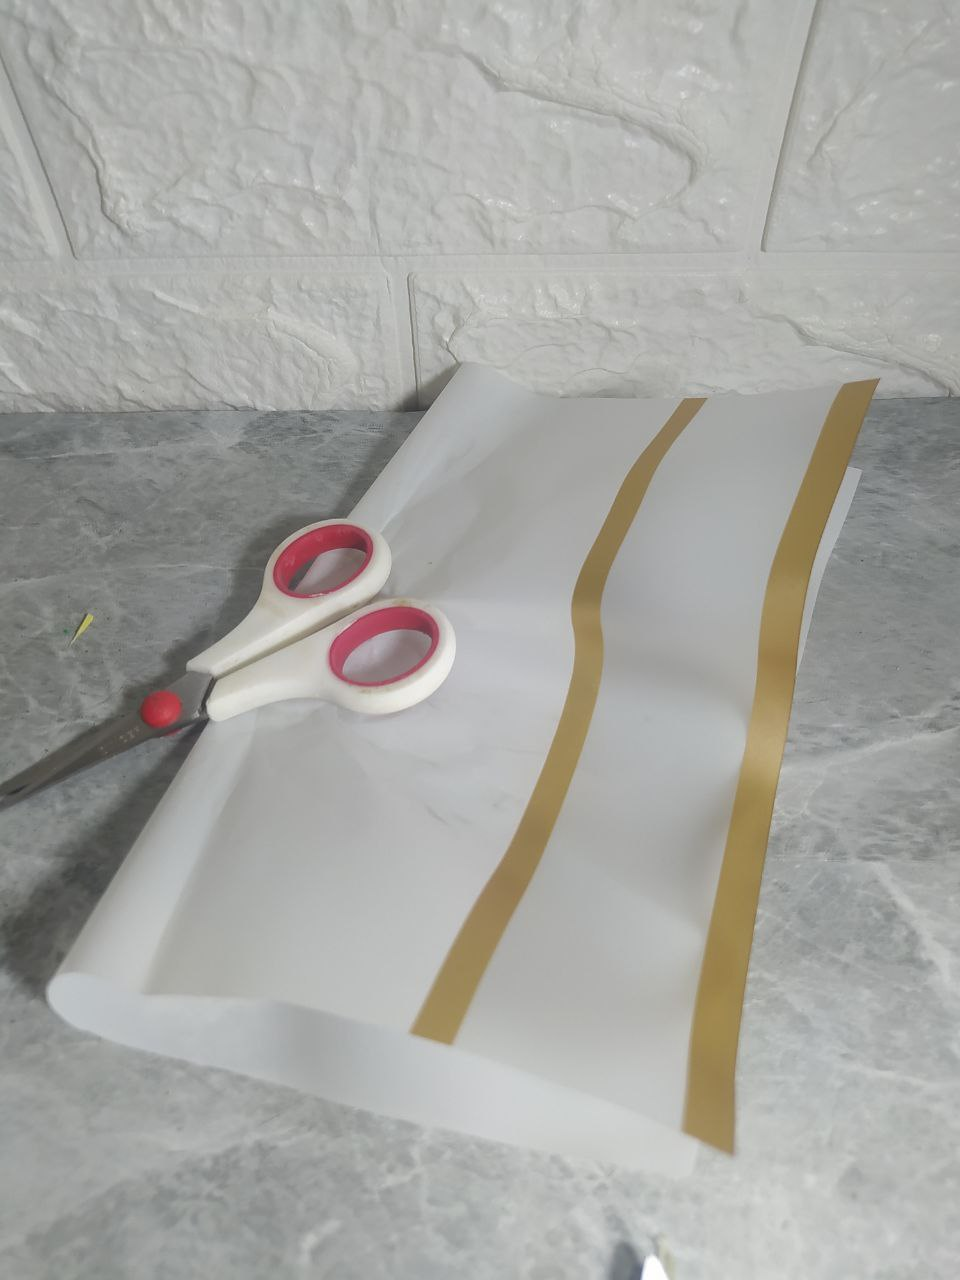
* Wrapping paper and yellow ribbon.
* Moldes de Flores y hojas.
* Foami de color amarillo y verde.
* Alambre de floristería.
* Tijeras y plancha de ropa.
* Papel de regalo y cinta amarilla.
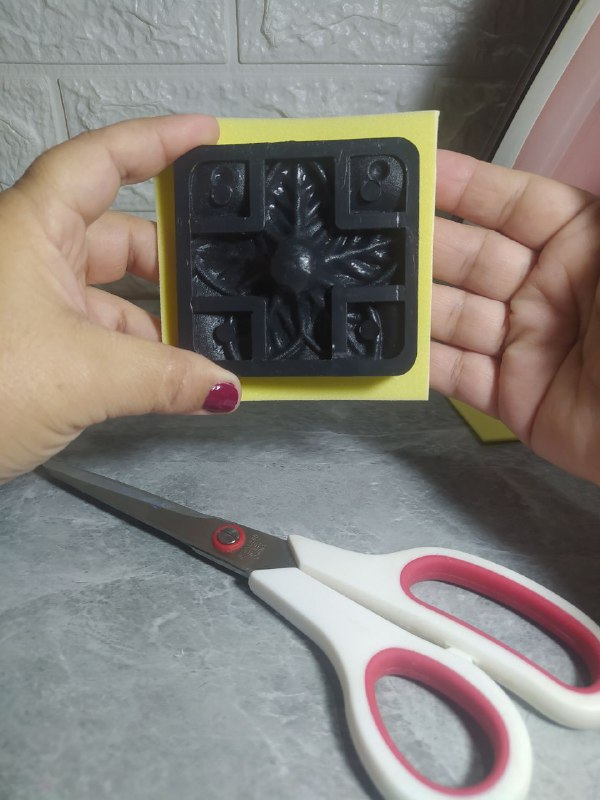
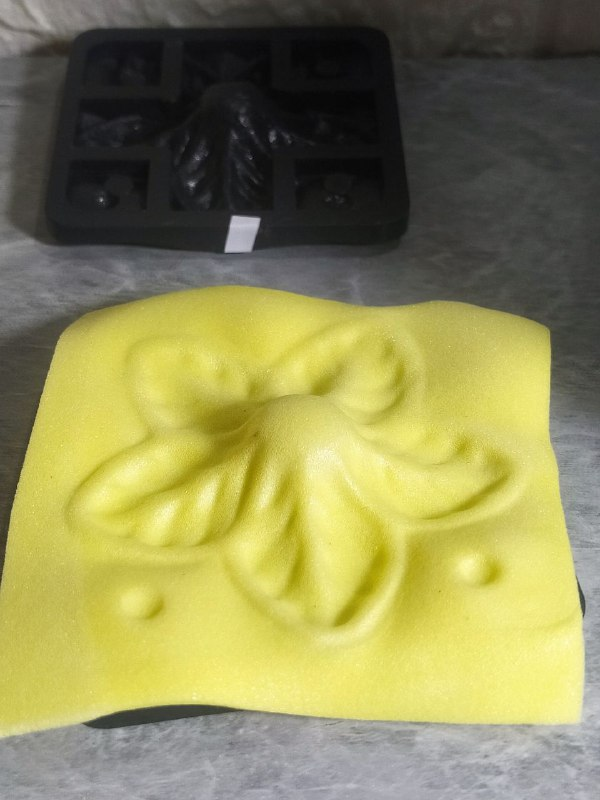
You may be familiar with these flower molds. Some are made of metal, but this one is made of plastic. They're also very easy to use. Just cut a square out of foam or EVA foam, a little larger than the mold.
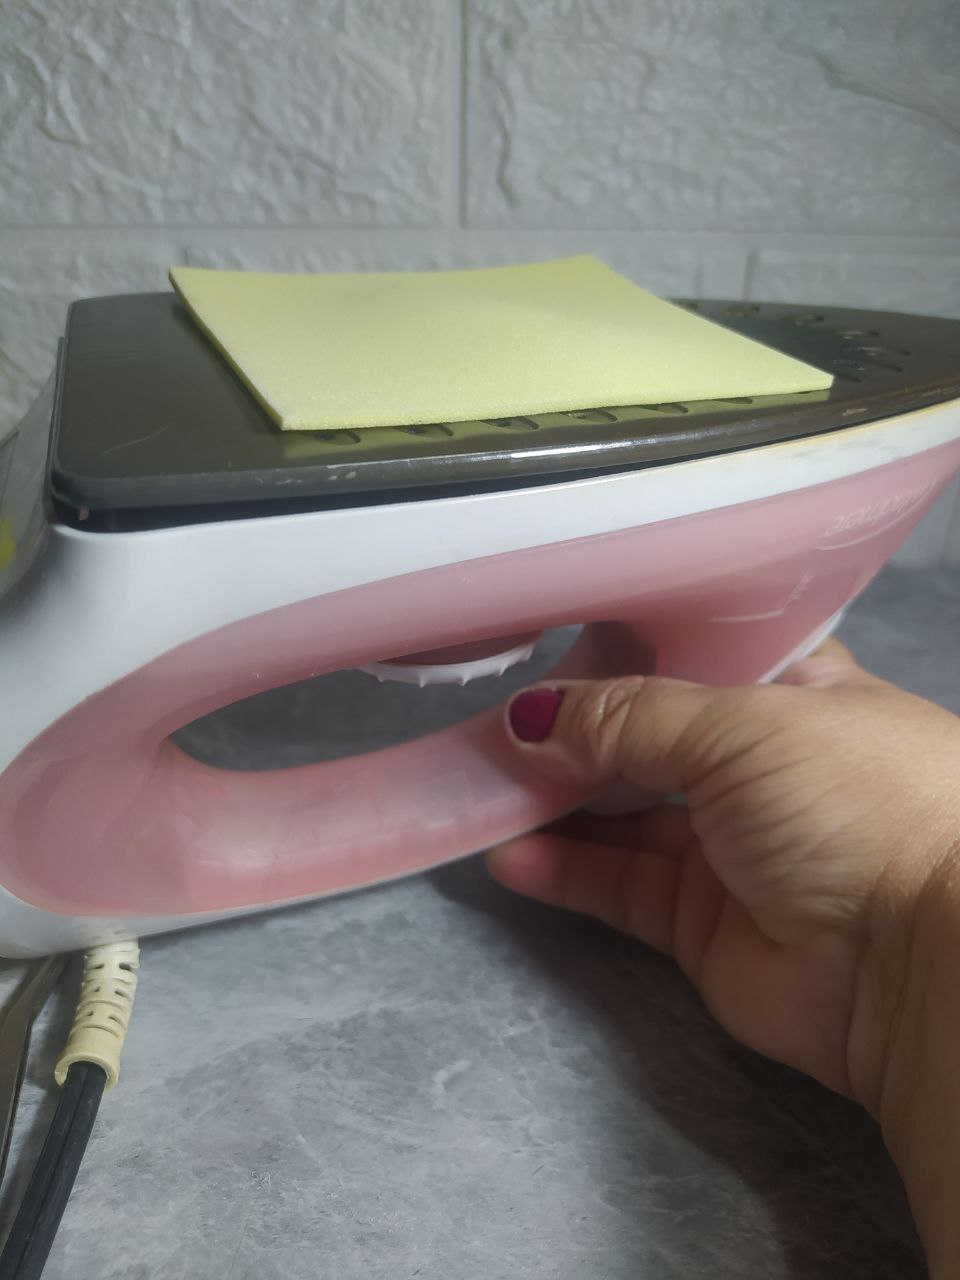
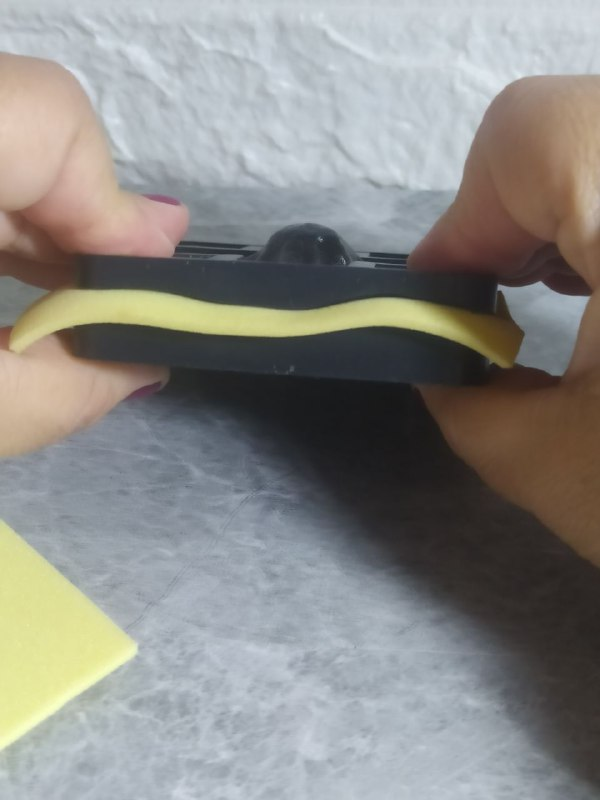
Heat the foam slightly with an iron to soften it considerably. This only takes a few minutes, maybe only 6 seconds. At this point, remove it from the iron to prevent it from deforming. You can quickly use your hands or use a pair of tongs.
Estos moldes de flores tal vez los conozcas, alguno son de metal, pero en este caso son de plástico, pero igualmente son muy fáciles de usar. Solo debes cortar un cuadrado en Foami o Goma Eva, un poco más grande que el molde.
El foami lo calientas un poco con la plancha, para que se ablande bastante, esto apenas son unos minutos, tal vez 6 segundos solamente. En ese momento debes retirarlo de la plancha para evitar que se deforme, puedes utilizar las manos de forma rápida o ayudarte de una pinza.
Quickly place the hot foam in the mold and press it down with your hands, perhaps for 5 or 6 seconds. When you open the mold, you can see that the foam has molded perfectly.
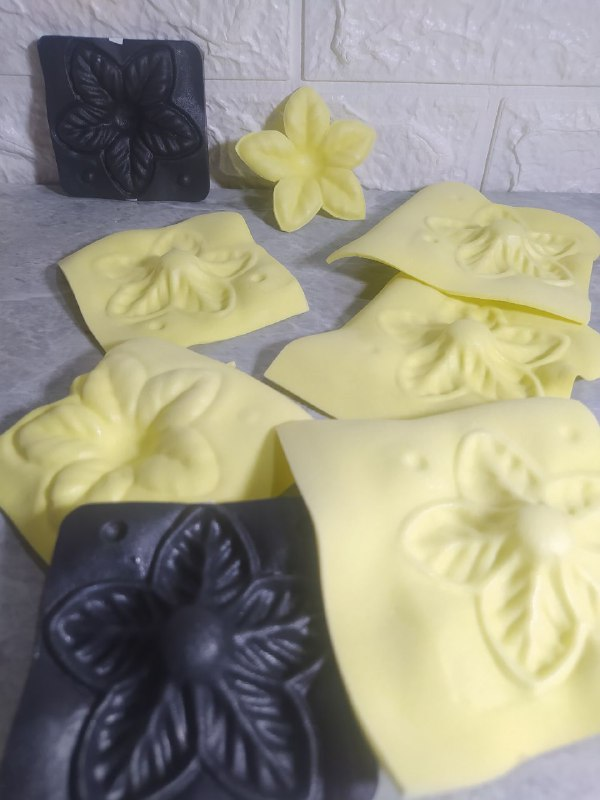
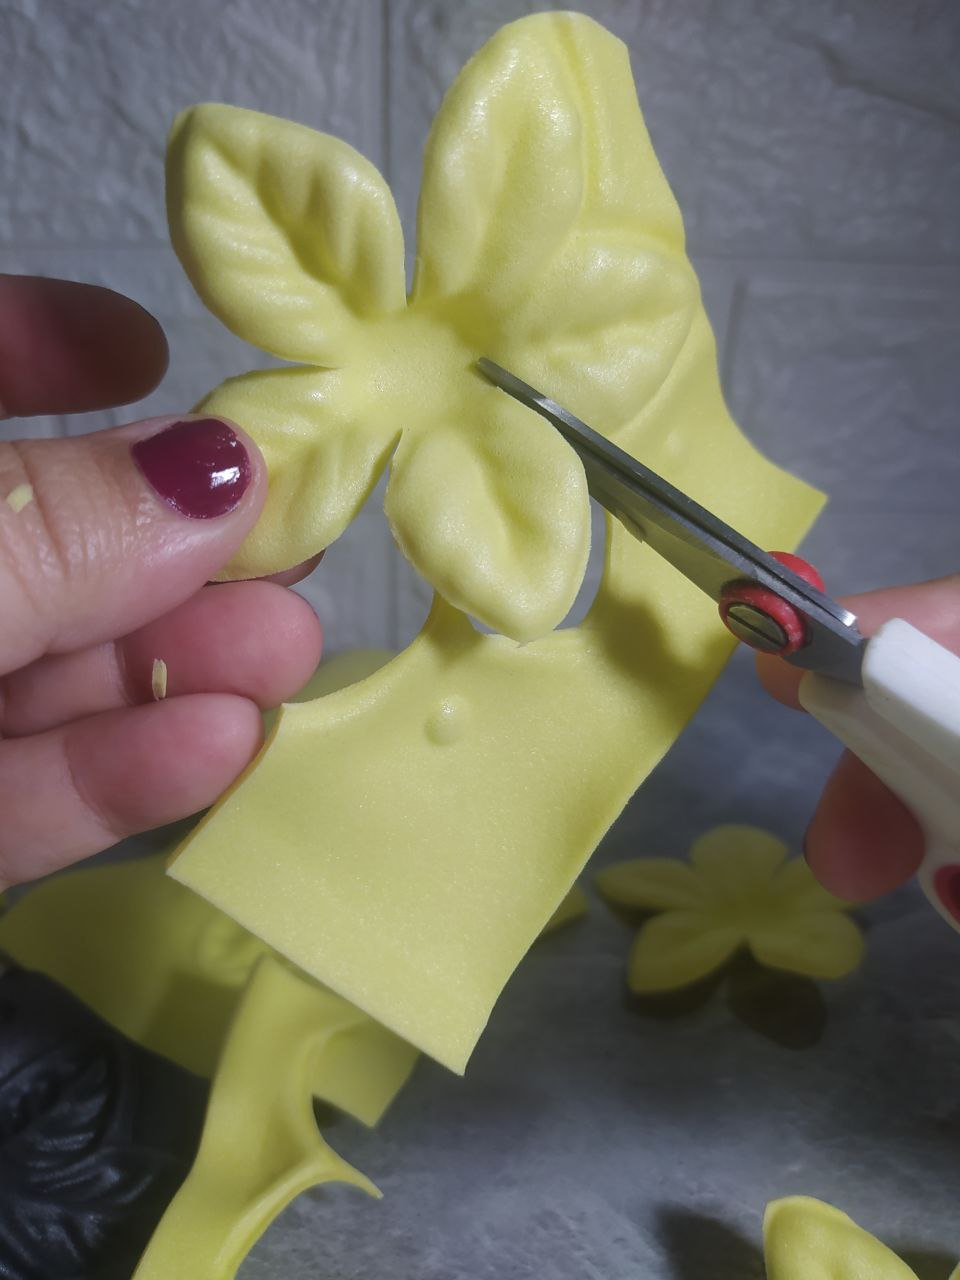
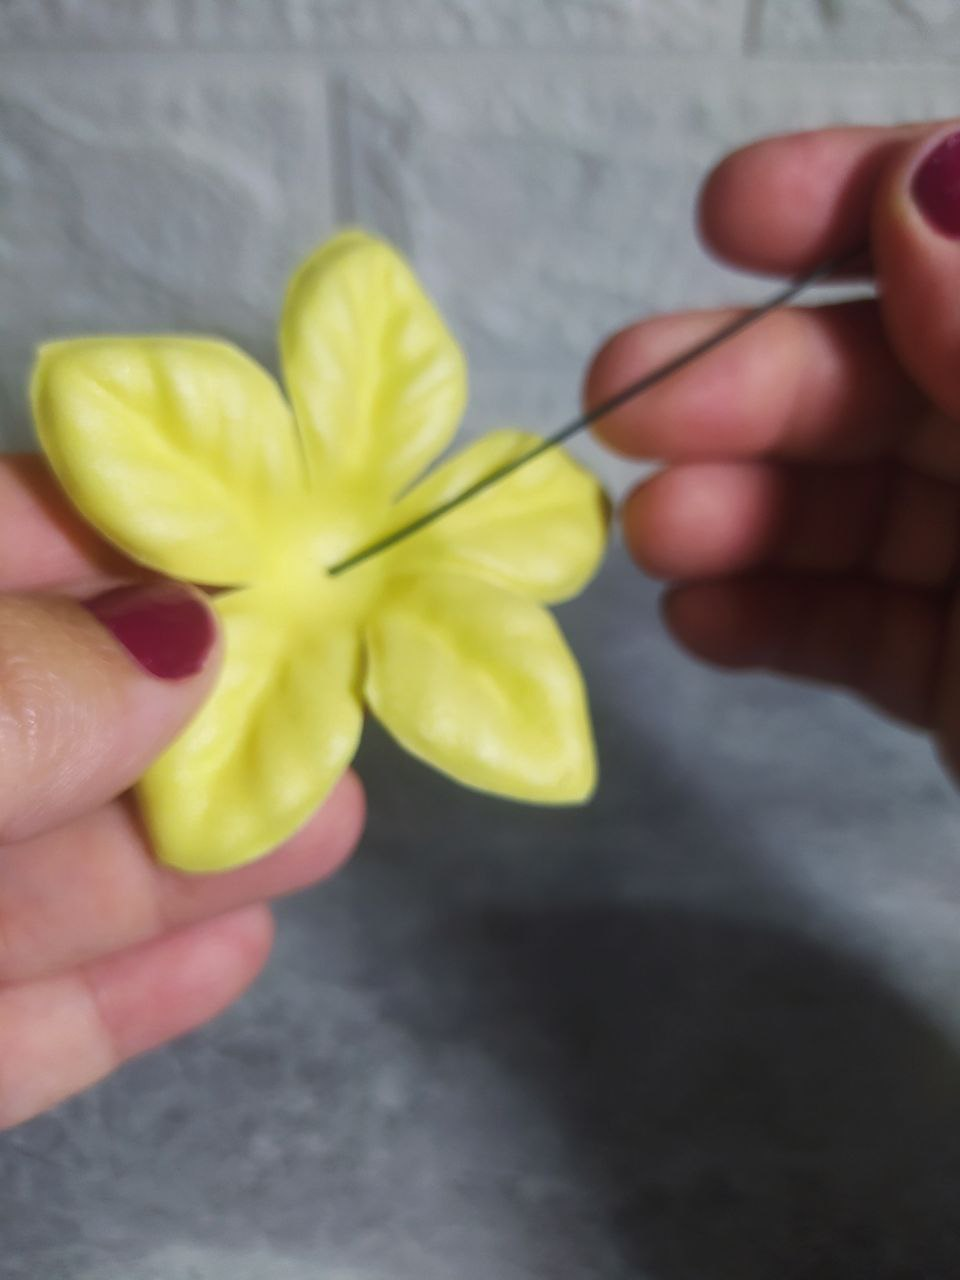
For a flower, I molded five pieces of foam, which I cut with scissors following their shape, so that each petal reaches the center of the design.
Rápidamente el foami caliente se coloca en el molde y se hace presión con las manos, puede ser durante unos 5 o 6 segundos igualmente. Al abrir el molde, ya podemos ver que el foami se moldeó perfectamente.
Para una flor, moldeé 5 pedazos de foami, los cuales recorté con la tijera siguiendo su forma y de esa forma cada pétalo llega hasta el centro del diseño.
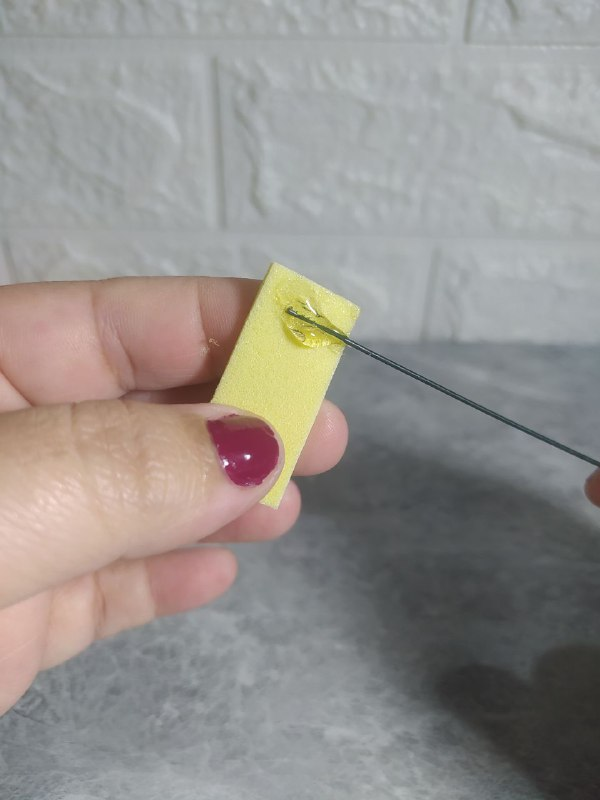
Once the 5 pieces were ready, I actually made 6 pieces in case I thought I'd need them. Using a rectangle of foam of the same color, I applied some hot glue and also attached one end of the floral wire. I wrapped it around it, creating the center of the flower.
Now I insert one of the 5 flower pieces through the other end of the wire.
Listas las 5 piezas, realmente hice 6 piezas por si me parecía que lo necesitaría. Con un rectángulo de foami del mismo color, le coloqué un poco de silicón caliente y coloqué también un extremo del alambre floral, lo enrollé y de esta forma tengo el centro de la flor.
Ahora introduzco por el otro extremo del alambre una de las 5 piezas de la flor.
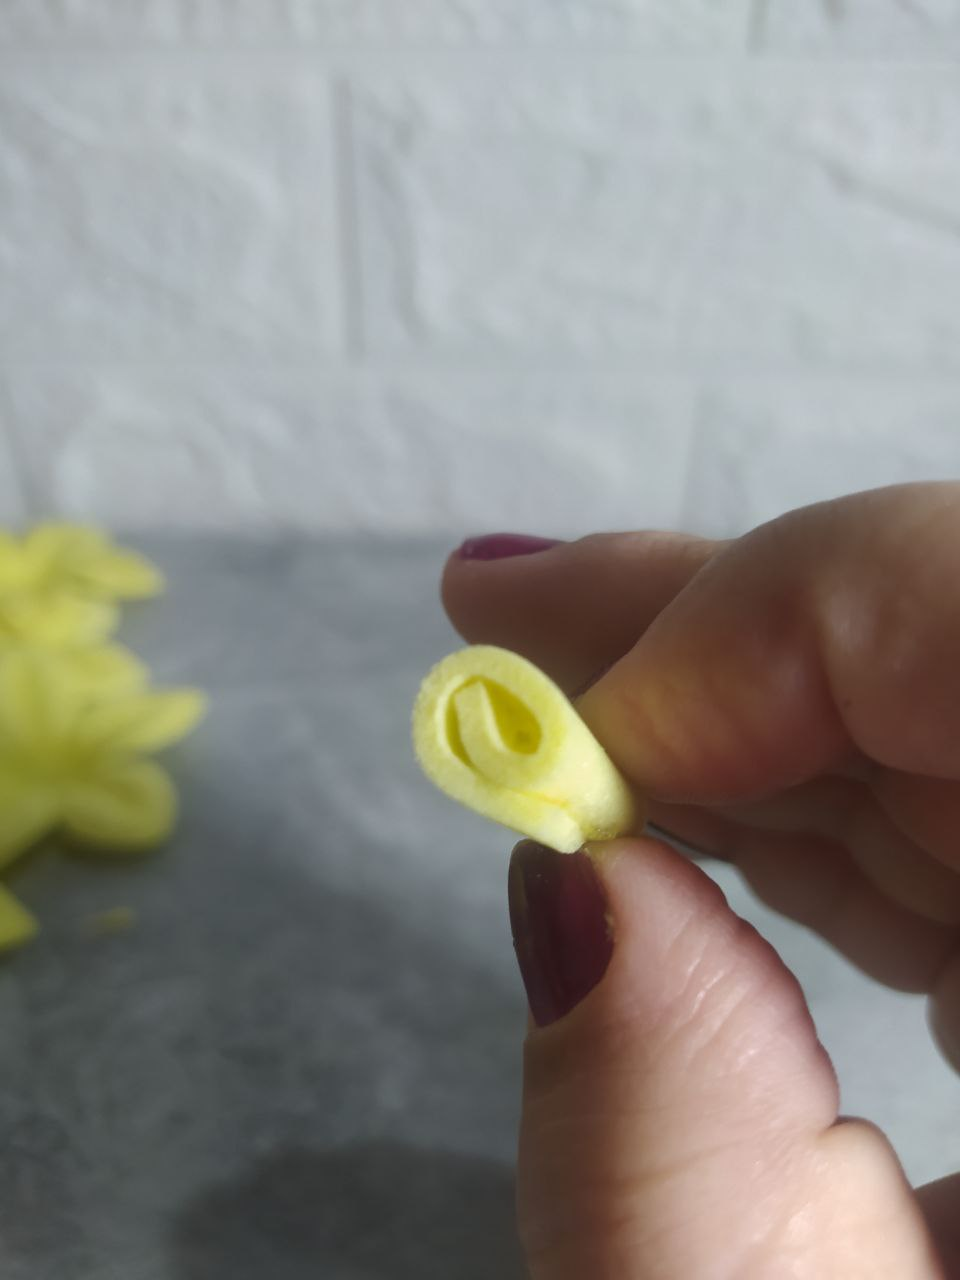
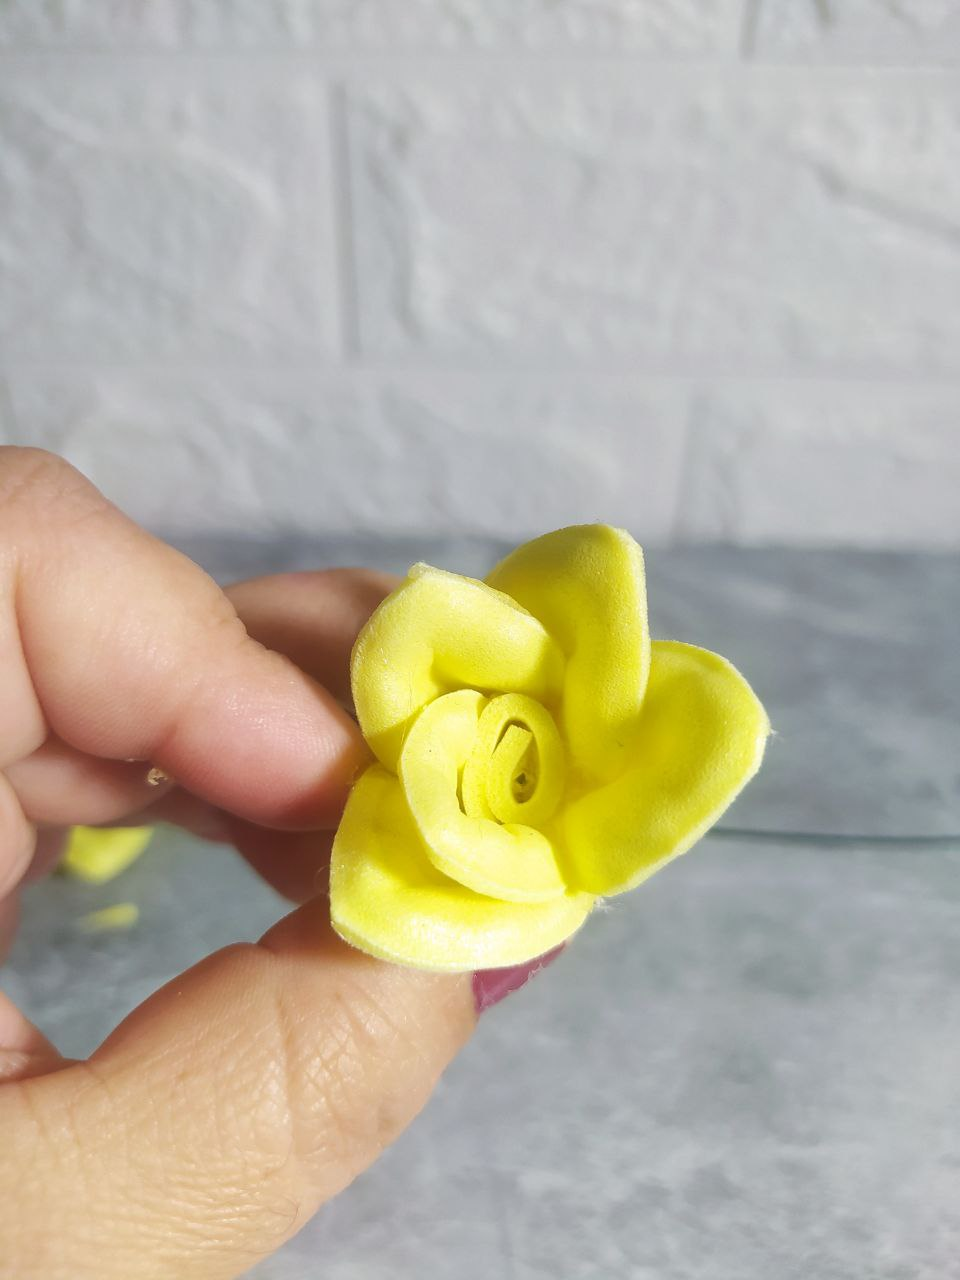
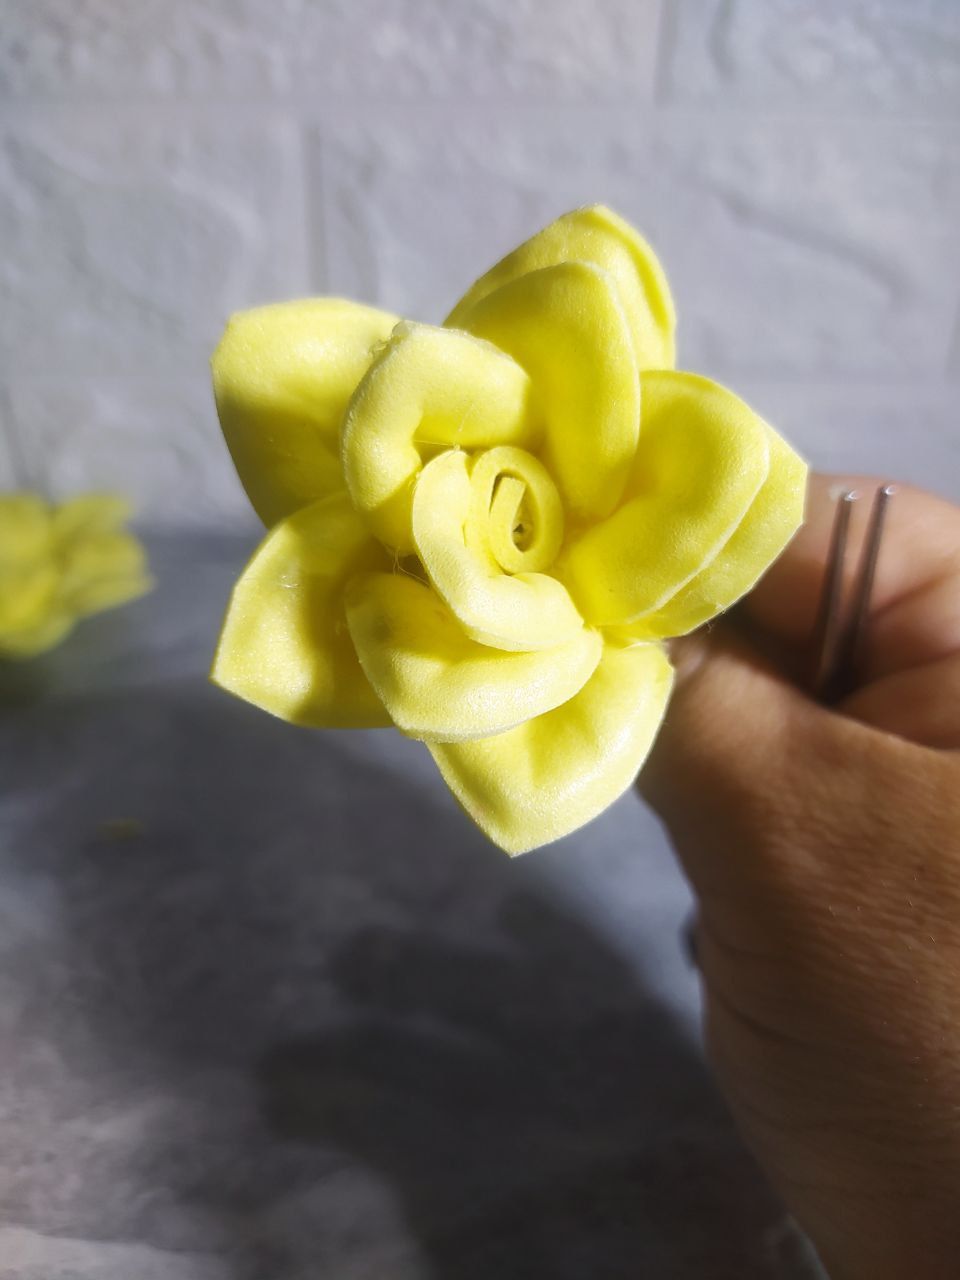
I bring it to the top and secure it with a drop of hot glue. Now I place a drop of hot glue on each leaf and overlap it with the next, and so on until the petals are finished.
This first piece will have all the petals tightly glued or pressed together, and this is how the central bud will form. I continue inserting the flower pieces using the same securing procedure, then attaching each petal to the next.
La llevo hasta arriba y fijo con una gota de silicón caliente. Ahora coloco una gota de silicón caliente en cada hoja y la sobrepongo en la siguiente, y así hasta terminar los pétalos.
Ésta primera pieza tendrá todos los pétalos bien pegados o apretados, y así se iría formando el capullo central. Continúo introduciendo las piezas de la flor con el mismo procedimiento de fijar y luego cada pétalo montado en el siguiente.
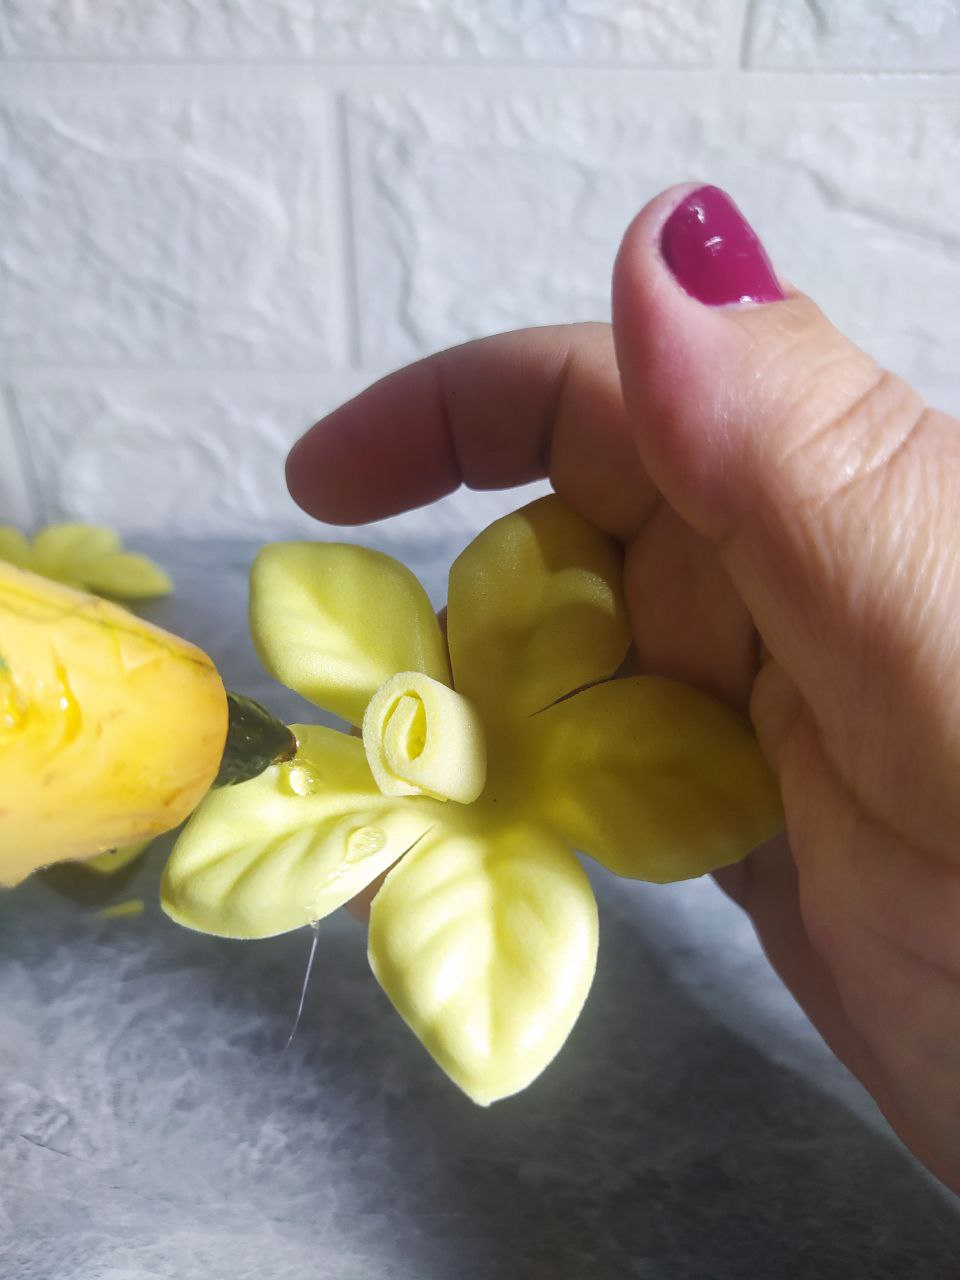
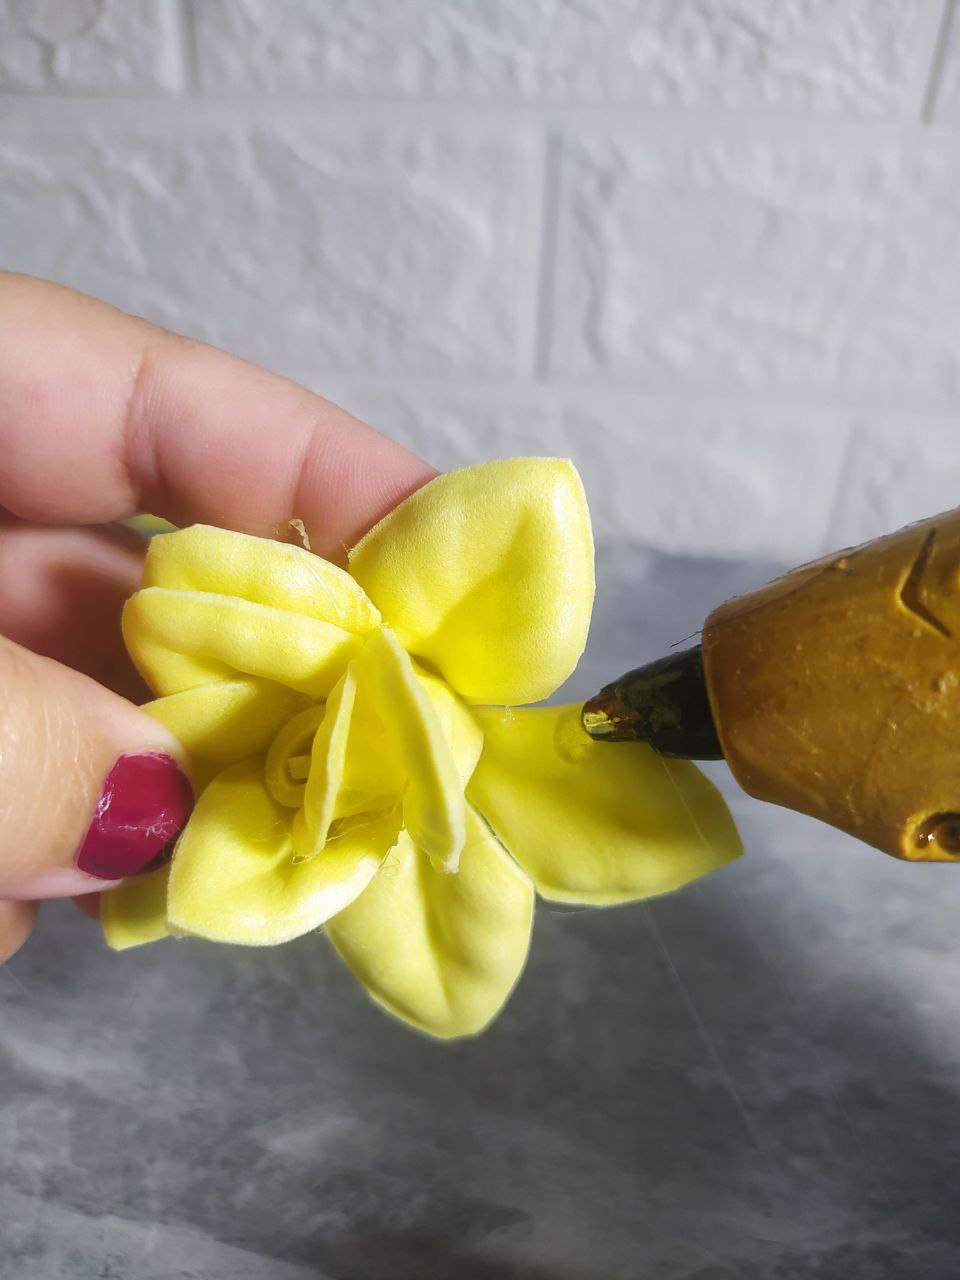
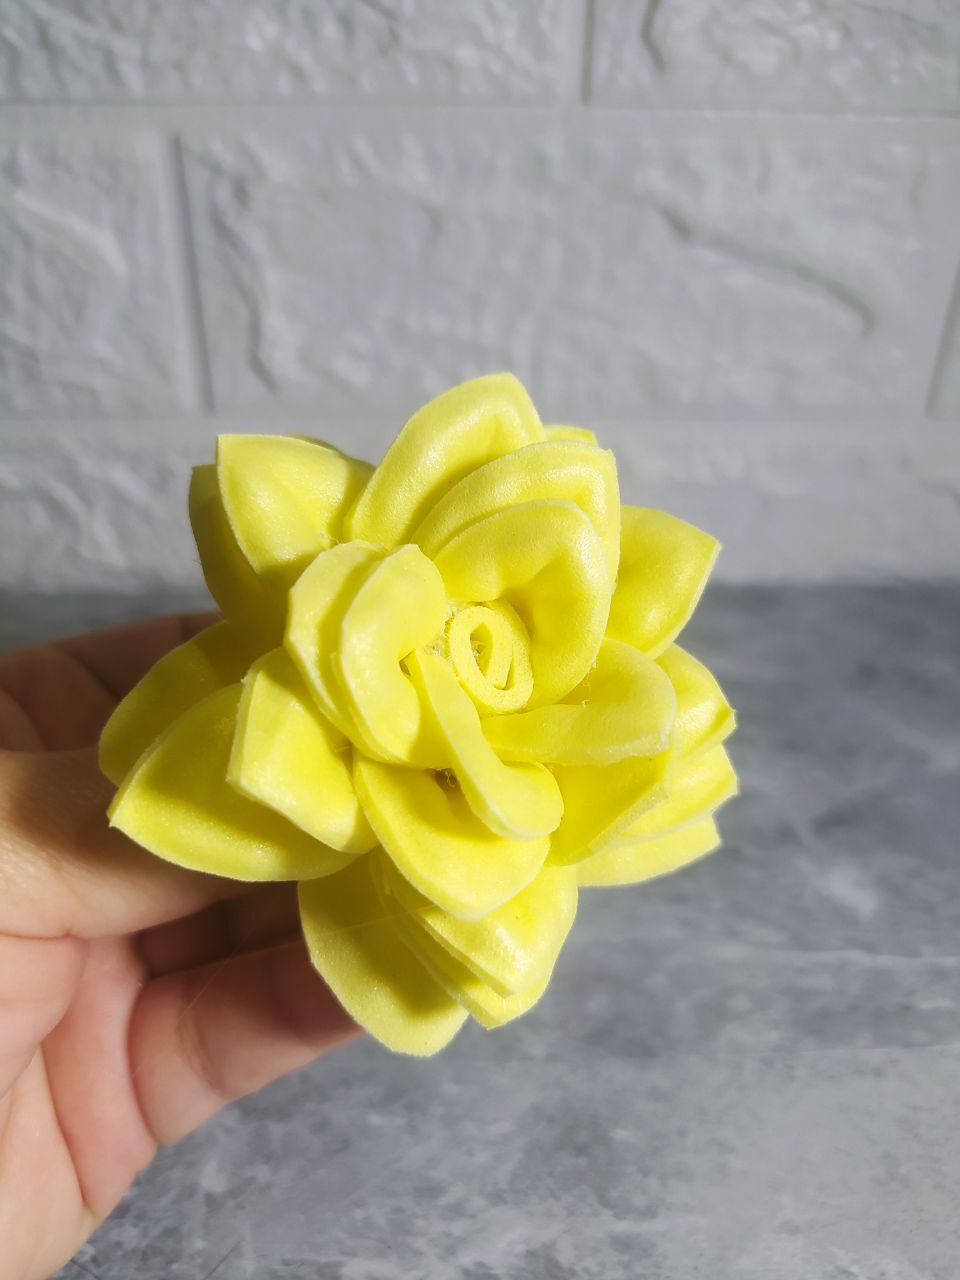
This process is repeated for all the pieces. It's repetitive, but it's very relaxing to do this type of craft.
Este proceso se va a repetir en todas las piezas, es repetitivo, pero es muy relajante realizar este tipo de manualidades.
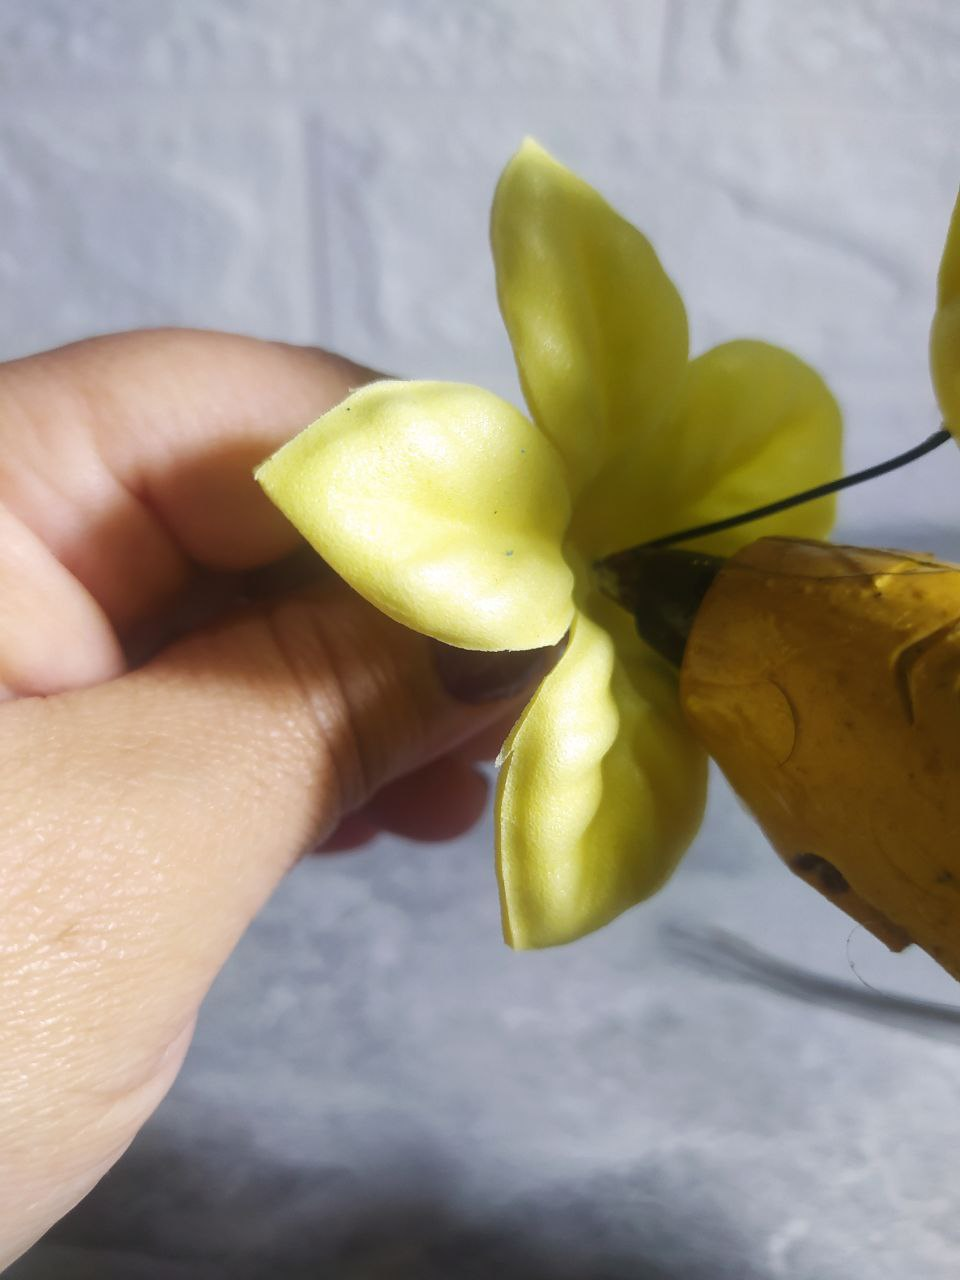
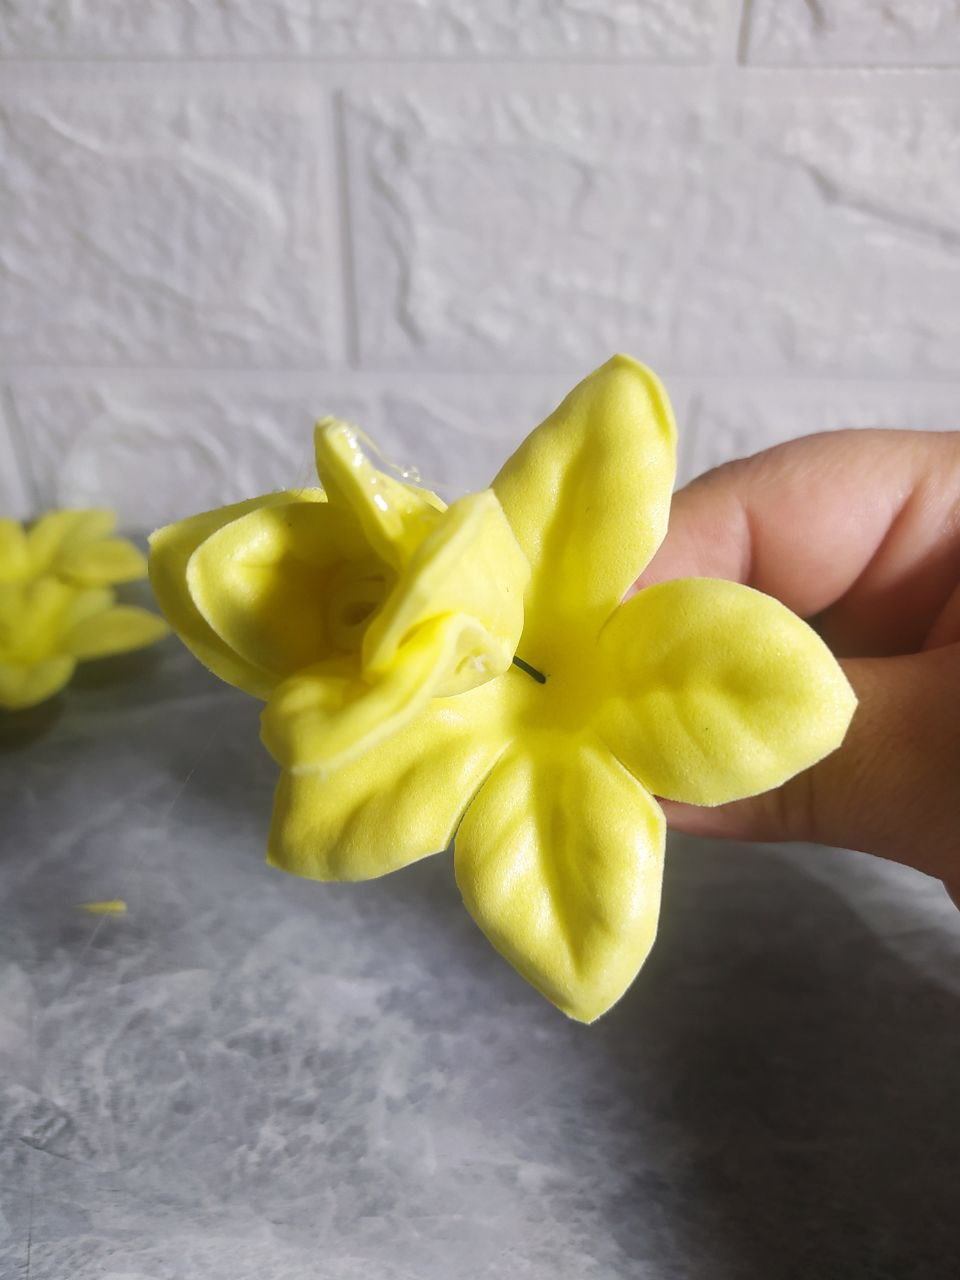
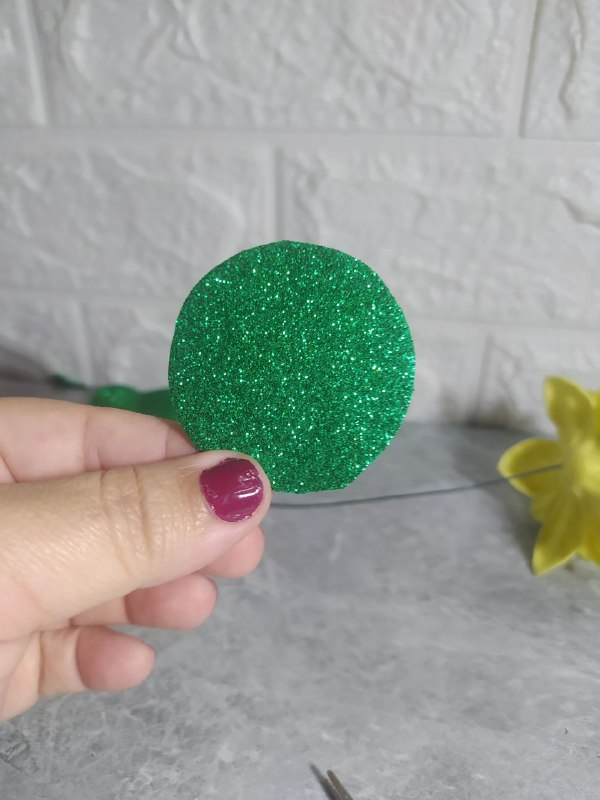
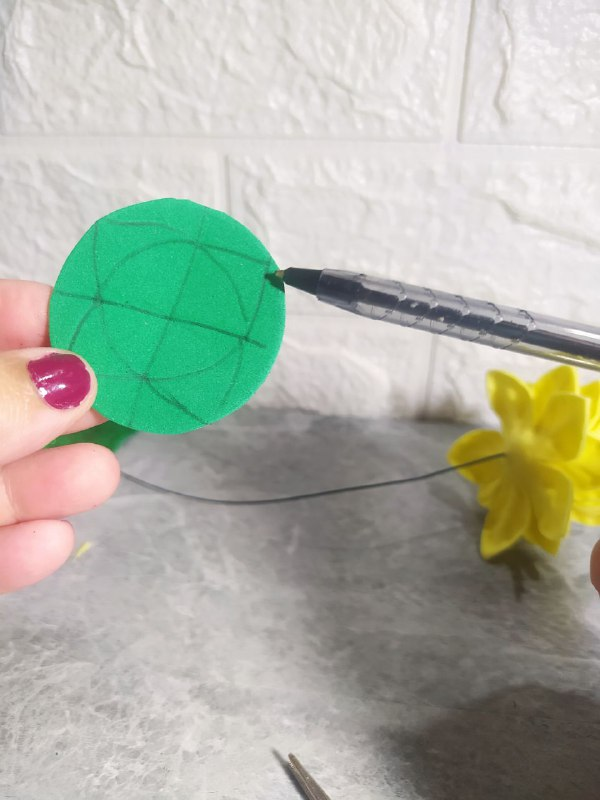
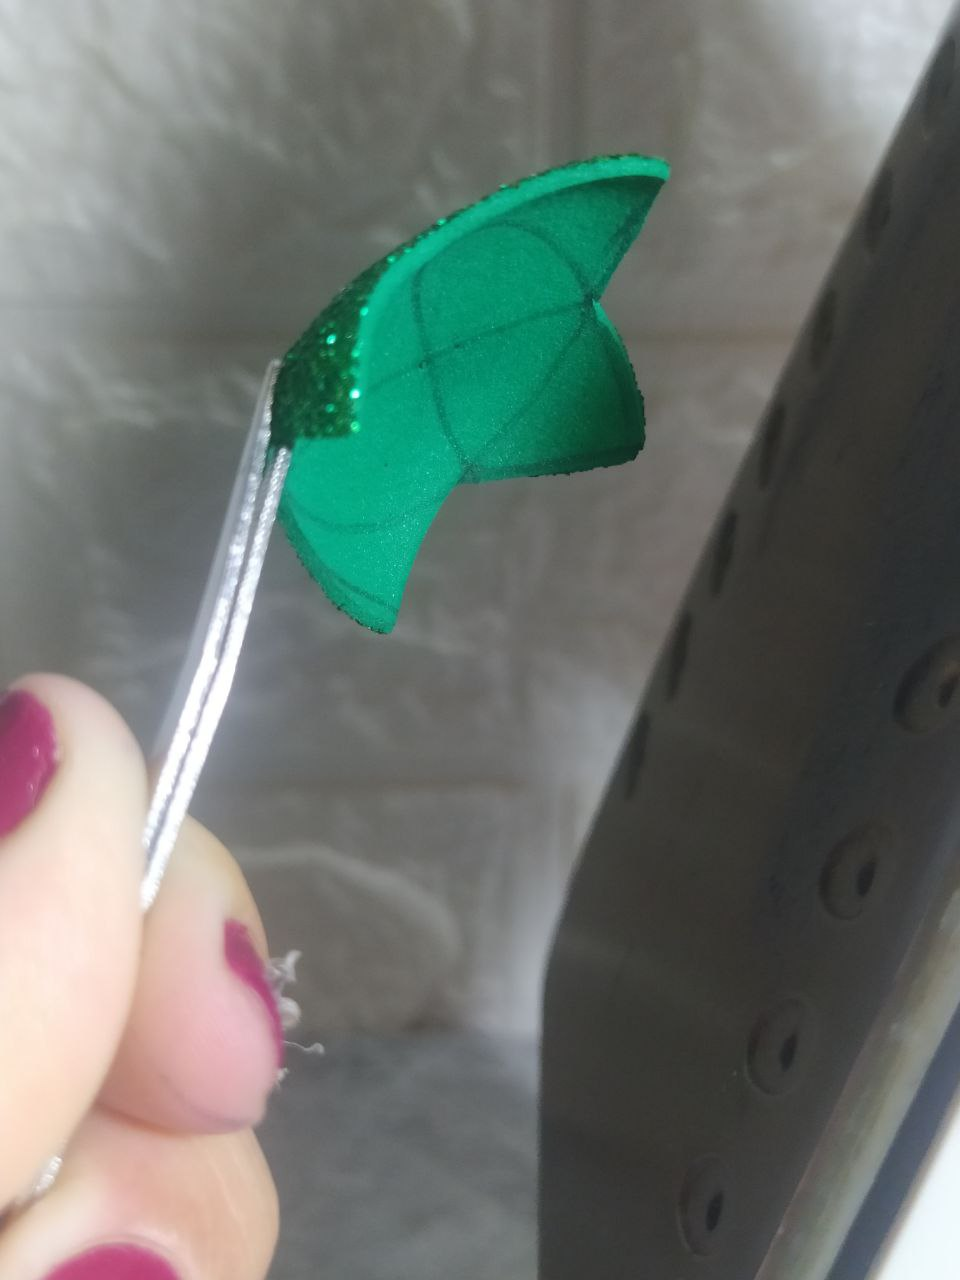
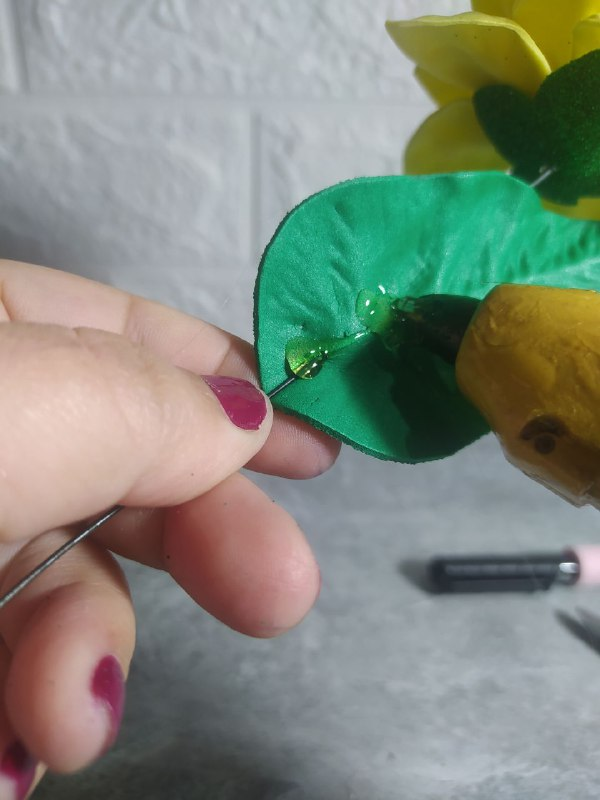
For the bottom, I cut a circle out of green foam, divided it into four parts, made another smaller circle, and using those references, formed four triangles. I cut them out and ironed them to curve with the heat.
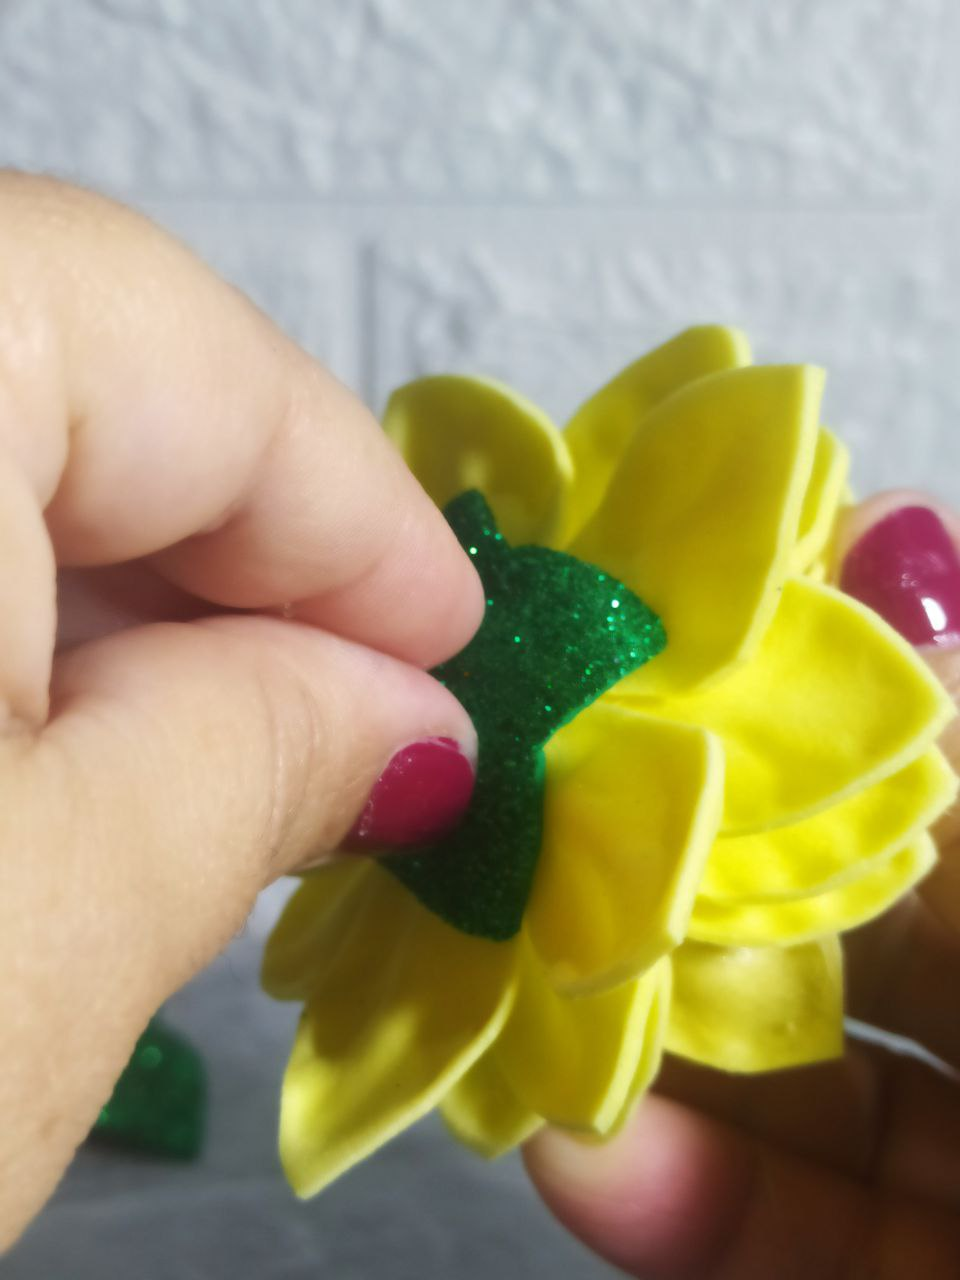
Then, I inserted it into the wire, raised it, and secured it with silicone, firmly glued to the flower.
Para la parte de abajo, corté un círculo de foami de color verde, lo dividí en cuatro partes, hice otro círculo más pequeño y con esas referencia formé cuatro triángulos, que recorté y llevé a la plancha para que se curveara con el calor.
Luego, lo introduzco en el alambre, subo y fijo con silicón, bien pegado de la flor.
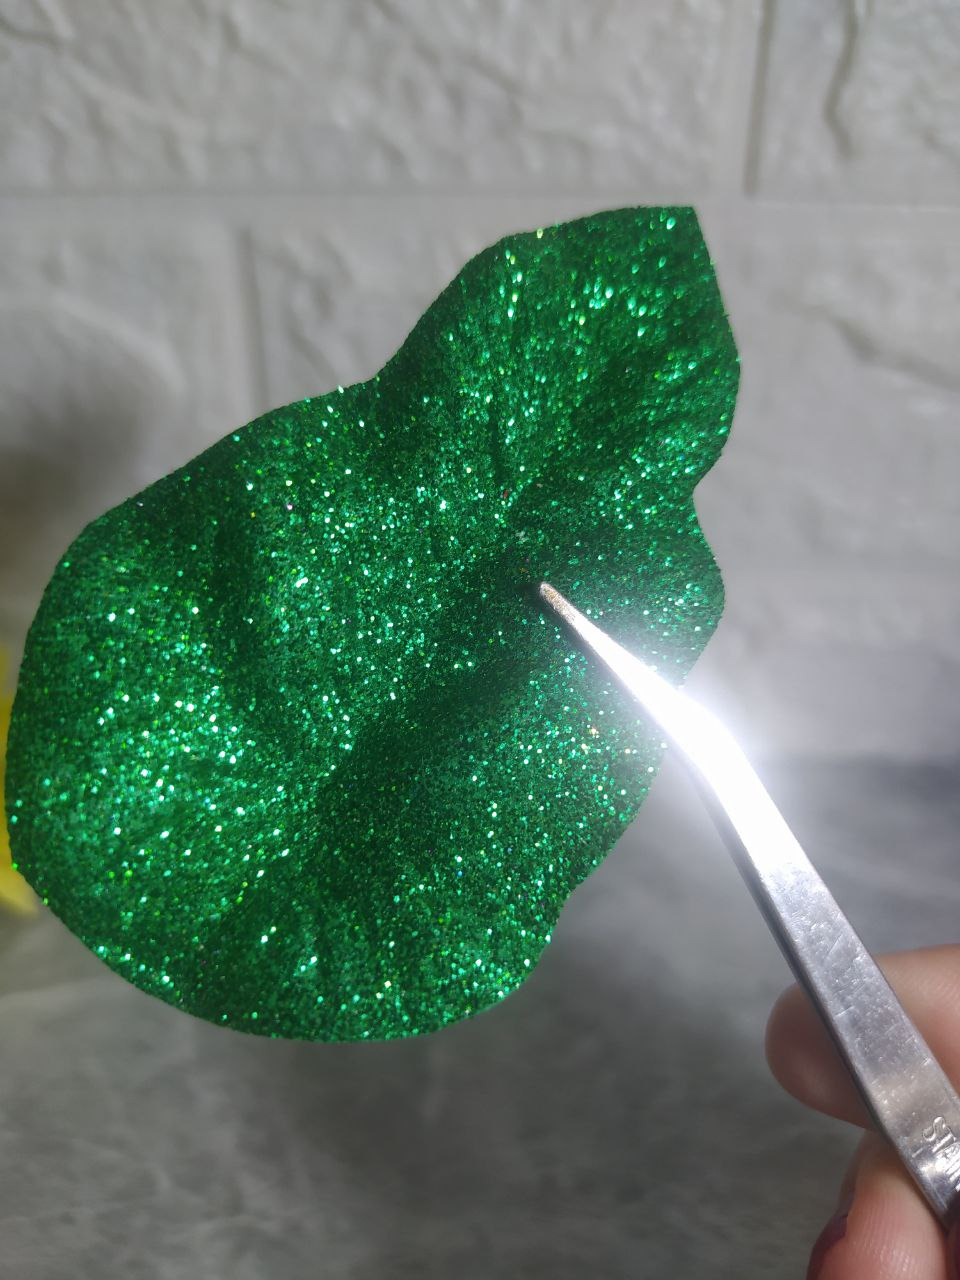
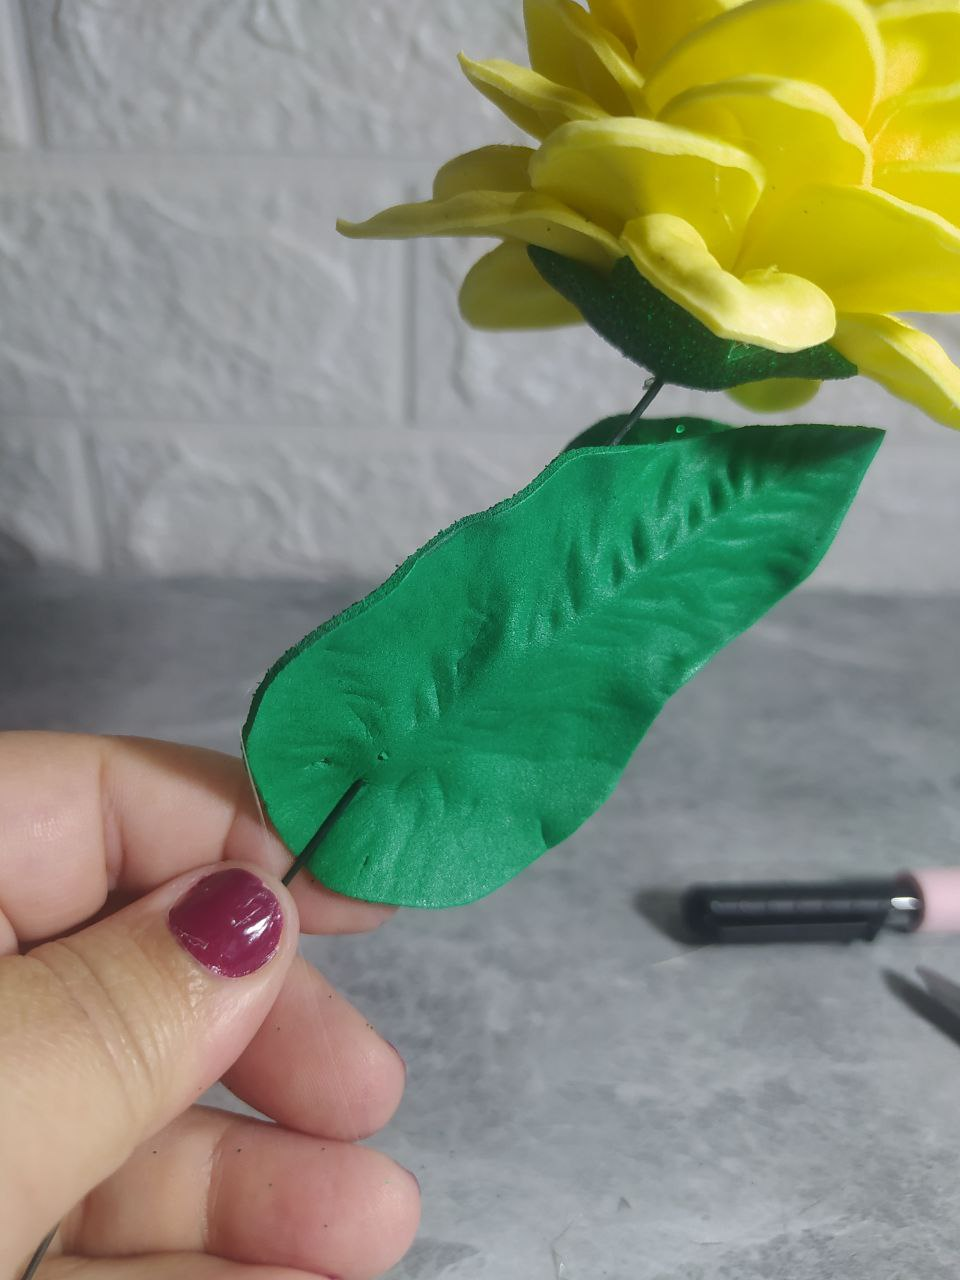
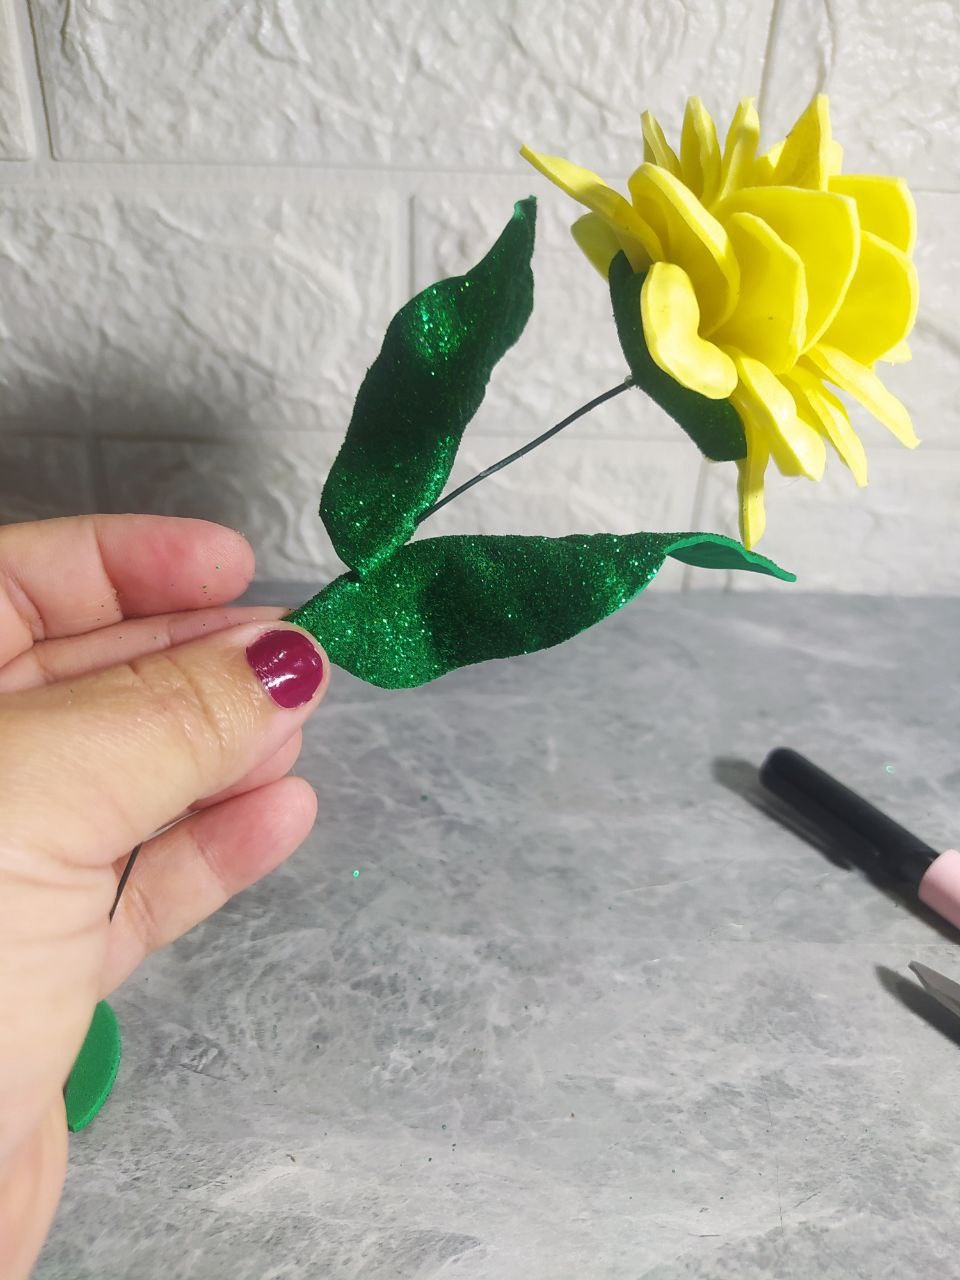
Using another mold, but this time in the shape of a leaf, I repeated the same process on the sheet metal, then cut out two pieces for two leaves. I inserted them into the wire and secured them with hot silicone, giving them a little shape.
Con otro molde, pero ahora con forma de hoja, repetí el mismo proceso en plancha, y luego recorté. Dos piezas para dos hojas. Las introduje en el alambre, fijé con silicón caliente dando un poco de forma.
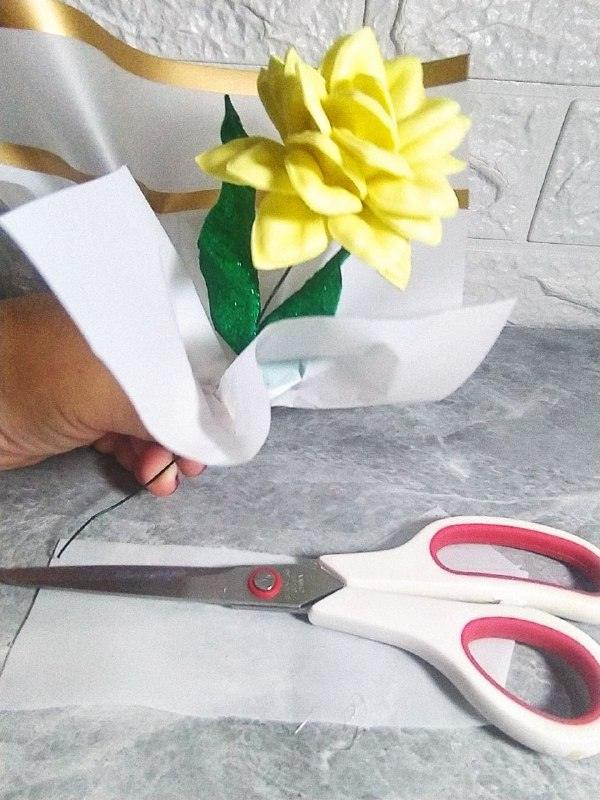
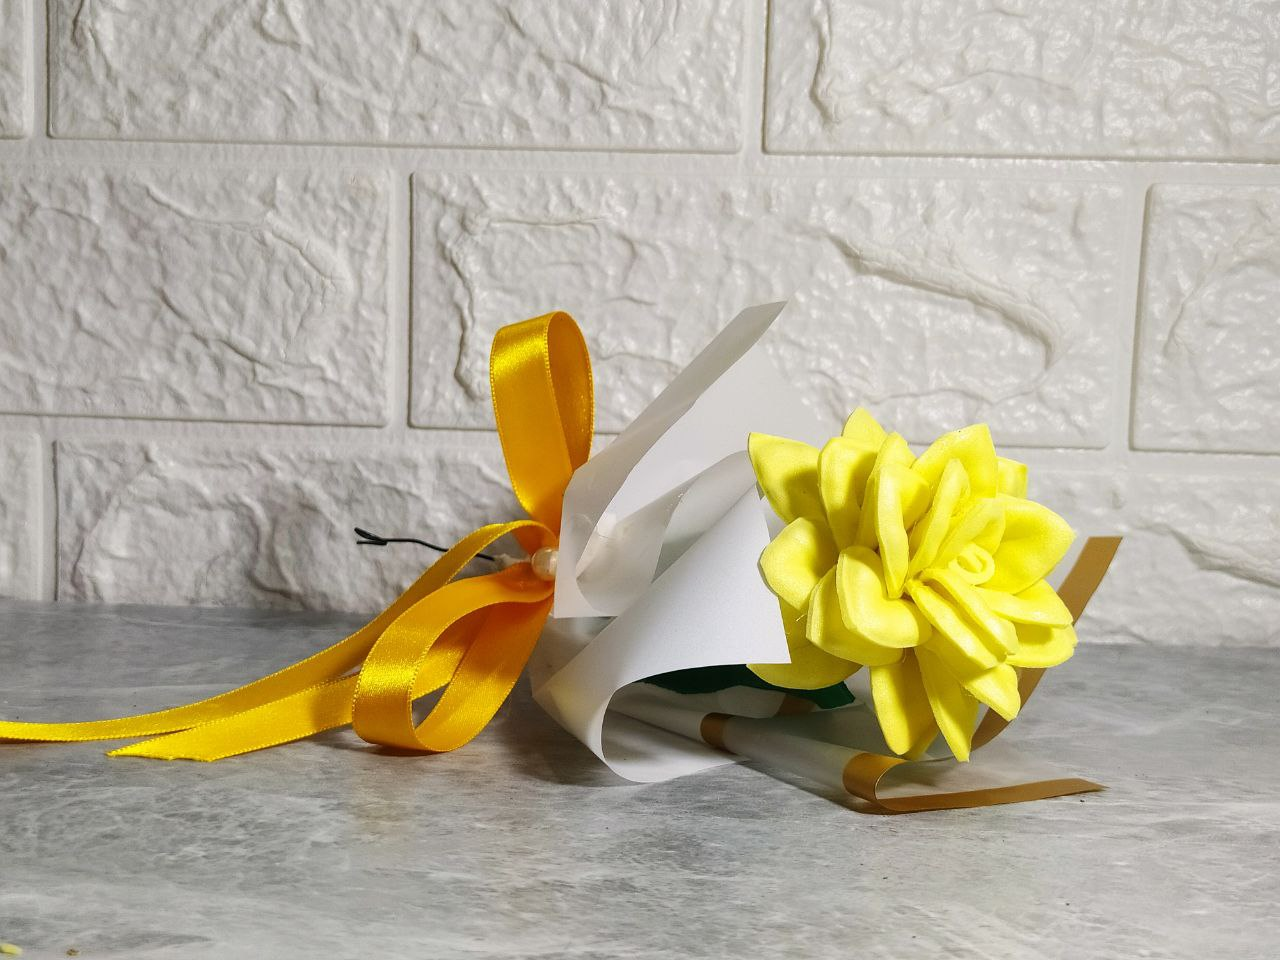
To present the finished flower, I used a piece of wrapping paper, to which I applied a little hot silicone and to finish it off, a yellow bow as well.
Para presentar la flor ya terminada, utilicé un trozo de papel de regalo, al que coloqué un poco de silicón caliente y para finalizar un lazo amarillo también.
My daughter didn't expect this detail; she thought I wasn't paying attention to these dates, which are basically viral on social media, but I did take them into account because she does.
I loved making this DIY HUB project, using my flower molds, presenting it with wrapping paper and a ribbon, and I loved it even more that my daughter liked it and was excited about it.
Mi hija no se esperaba este detalle, pensó que yo no le prestaba atención a estas fechas que son básicamente virales en Redes Sociales, pero si las tomo en cuenta porque ella las toma en cuenta.
Me encantó realizar este proyecto DIY HUB, utilizar mis moldes de flores, presentar con papel de regalo y un lazo, y todavía me gustó más que a mi hija le gustara y se emocionara.
I hope you enjoyed this project. I hope you received your yellow flower or flowers today. Thank you for reading this far, and I'll see you in the next post.
Deseo que les haya gustado este proyecto, ojalá hayan recibido su flor o flores amarillas hoy, les agradezco por llegar hasta aquí y nos leemos en el siguiente post.
I took the photos with my phone Redmi Note 8
Apps I used:
Canva Pro for Cover, Collage and Banners
I used Deepl Translator
My social networks:
Discord: YennysYaneth#0189
Twitter: @yennysferm
Instagram: @yennysyaneth
Las fotos las tomé con mi teléfono Redmi Note 8
Apps que utilicé:
Canva Pro para la Portada, Collage y Banners
Utilicé el Traductor Deepl
Mi redes sociales:
Discord: YennysYaneth#0189
Twitter: @yennysferm
Instagram: @yennysyaneth