English [🇺🇸]
Aloha everyone!
In my introductory post and this other post, I shared a little about my journey in photography and surf photography.
I started photographing in 2012 and started surfing later, in 2016. And I only delved deeper into surf photography in 2018 when I moved to California. In the last 5 years, I believe I have learned a lot about surf photography, enough to pass on some of my experience.
I don't consider myself a professional surf photographer, but it is one of my jobs contributing to my monthly income. So, I put together this post to share some tips and learnings that I've been adding over this time, and some of them will help you get more into this market and even sell more photos if that's your goal. That is because practically everyone starts photography as a hobby until it becomes their job.
1. Learn the basics of surfing
You can trust me. If you want to enter any field of photography, you must understand what it is like to be in front of the camera because you see your subject superficially when you are only behind the camera.
In the case of surf photography, learning to surf will make you understand, for example, how surfers position themselves in the water and what are the most critical moments when riding a wave.
I felt very comfortable when I started photographing surfing because I already understood the sport and wanted to see records and photos of myself from those moments.
You don't need to be an athlete or professional in surfing, but understanding the basics will significantly advance your process in this field and save you time, clicks, and money.
Getting straight to the point, important moments in surfing are the drop (the moment the surfer gets up and stands on the board), bottom turns, maneuvers, and barrels. Here are some examples of situations and photos that I consider good:
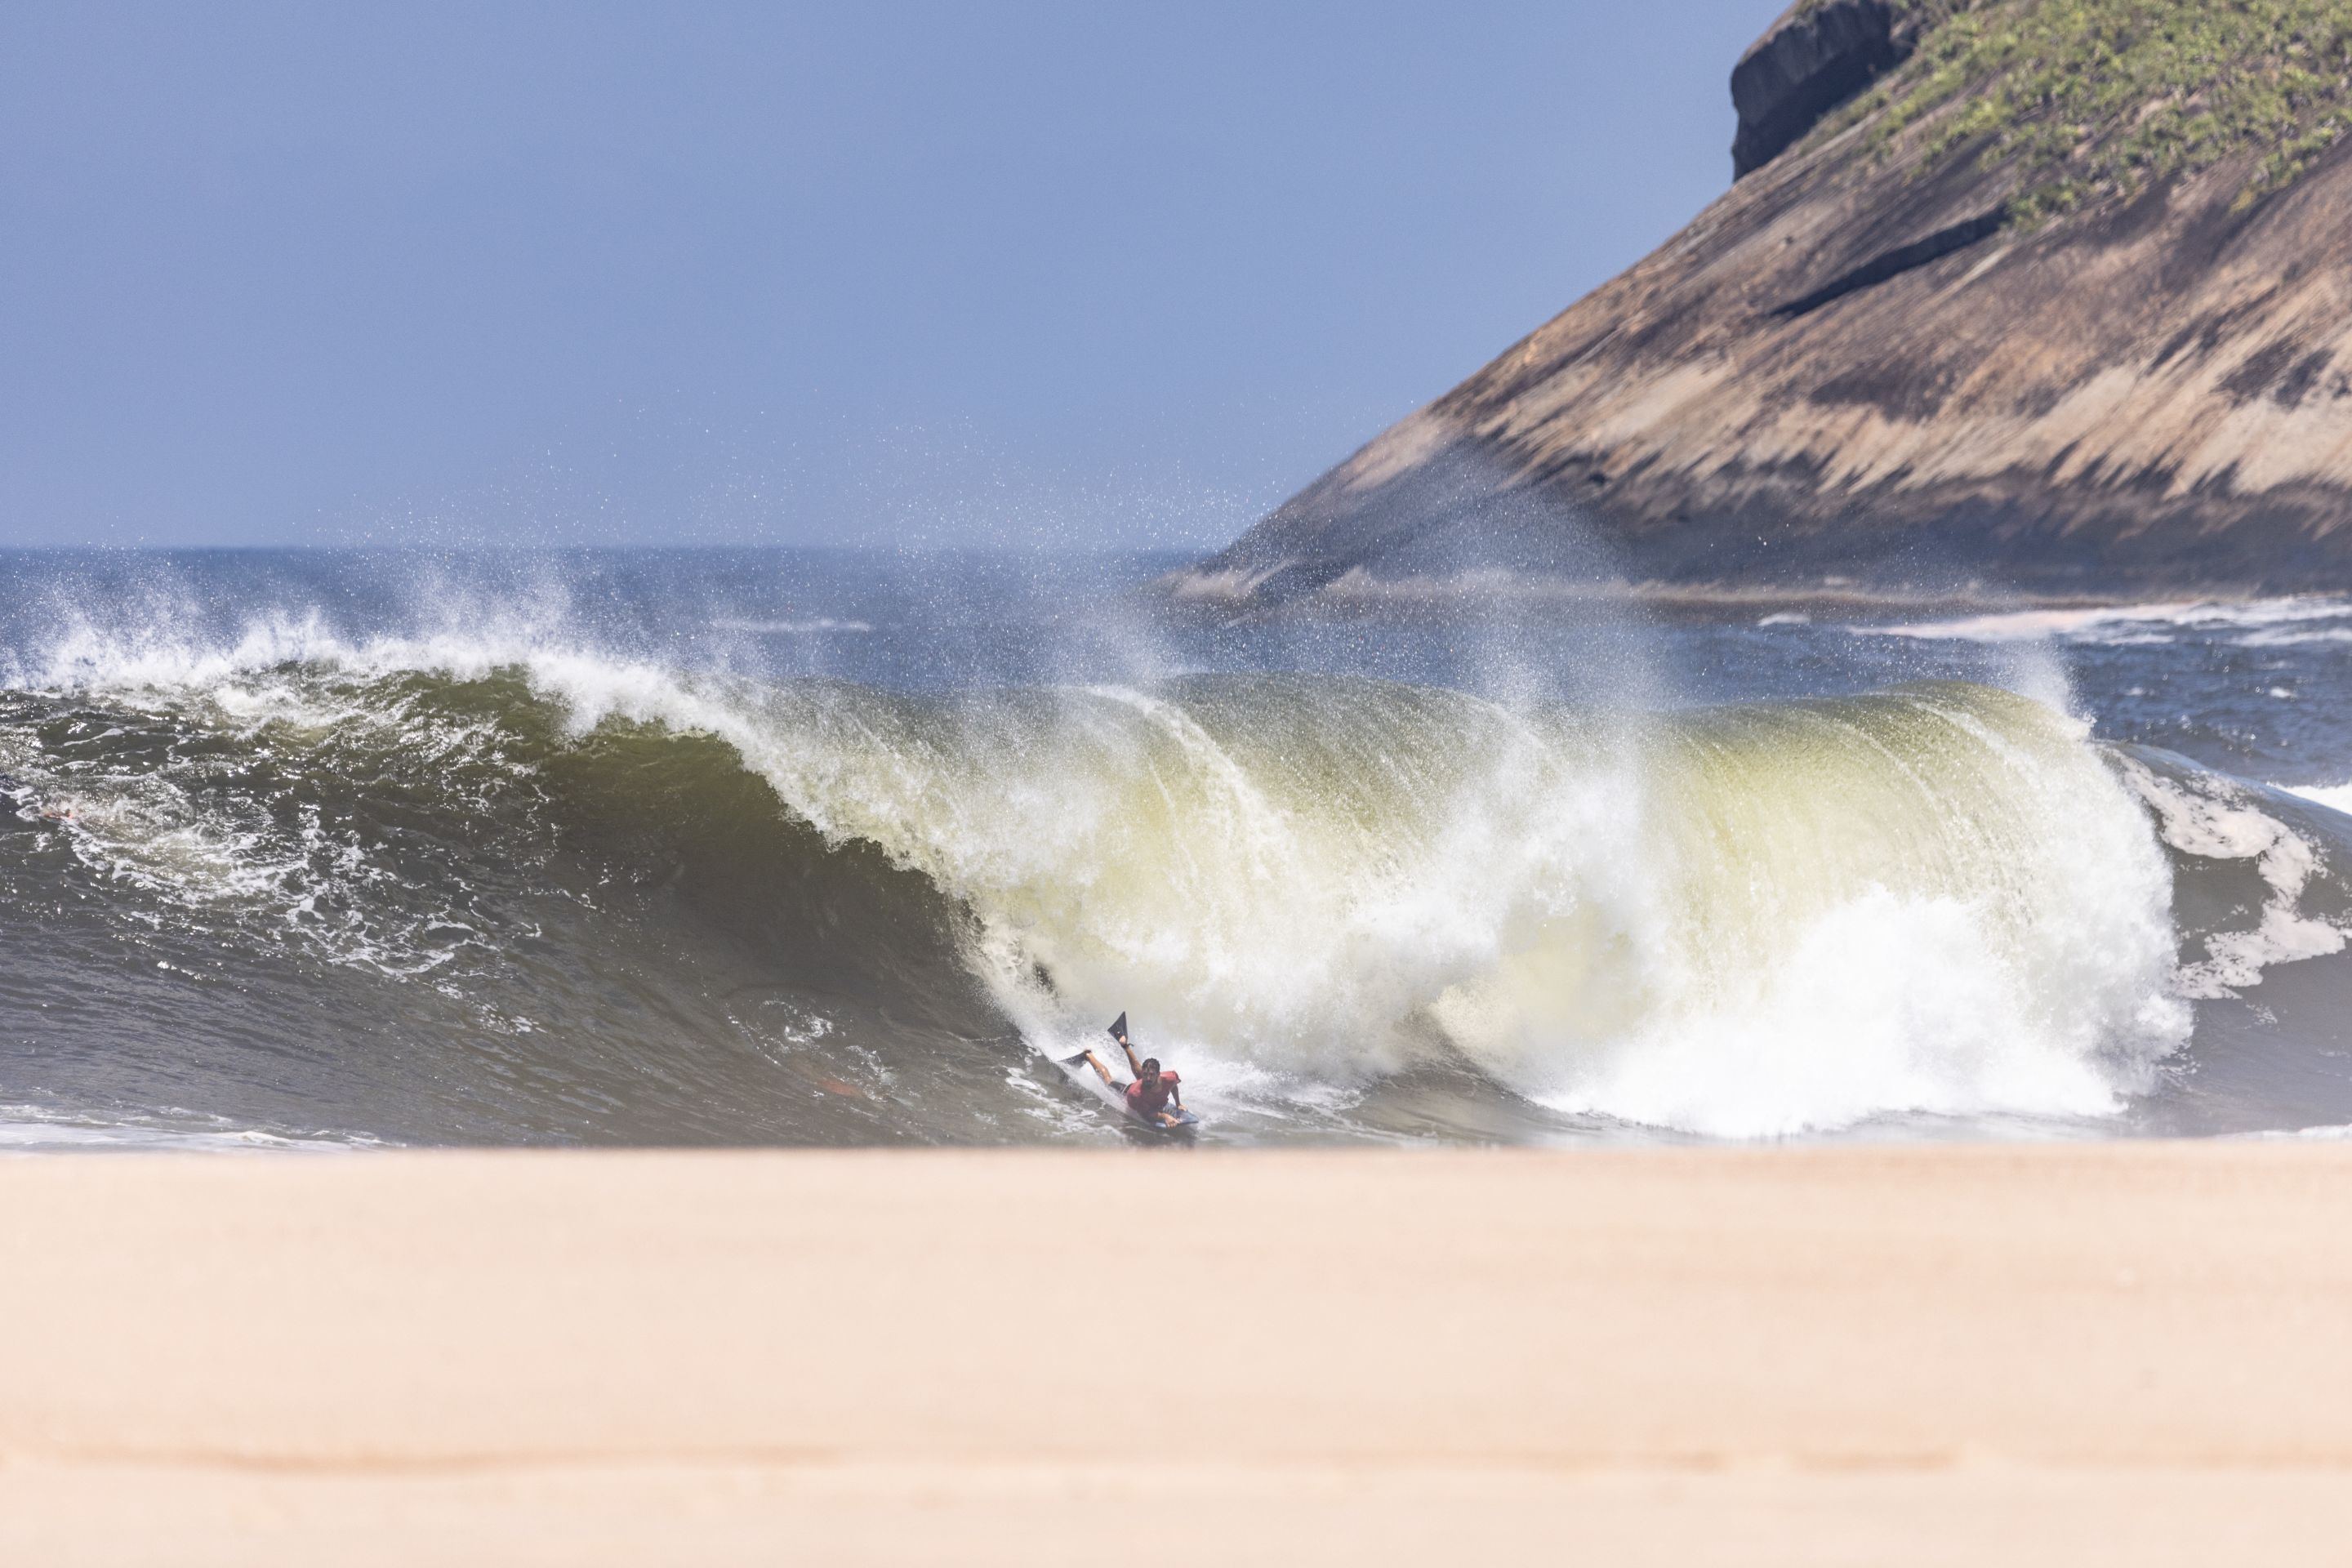
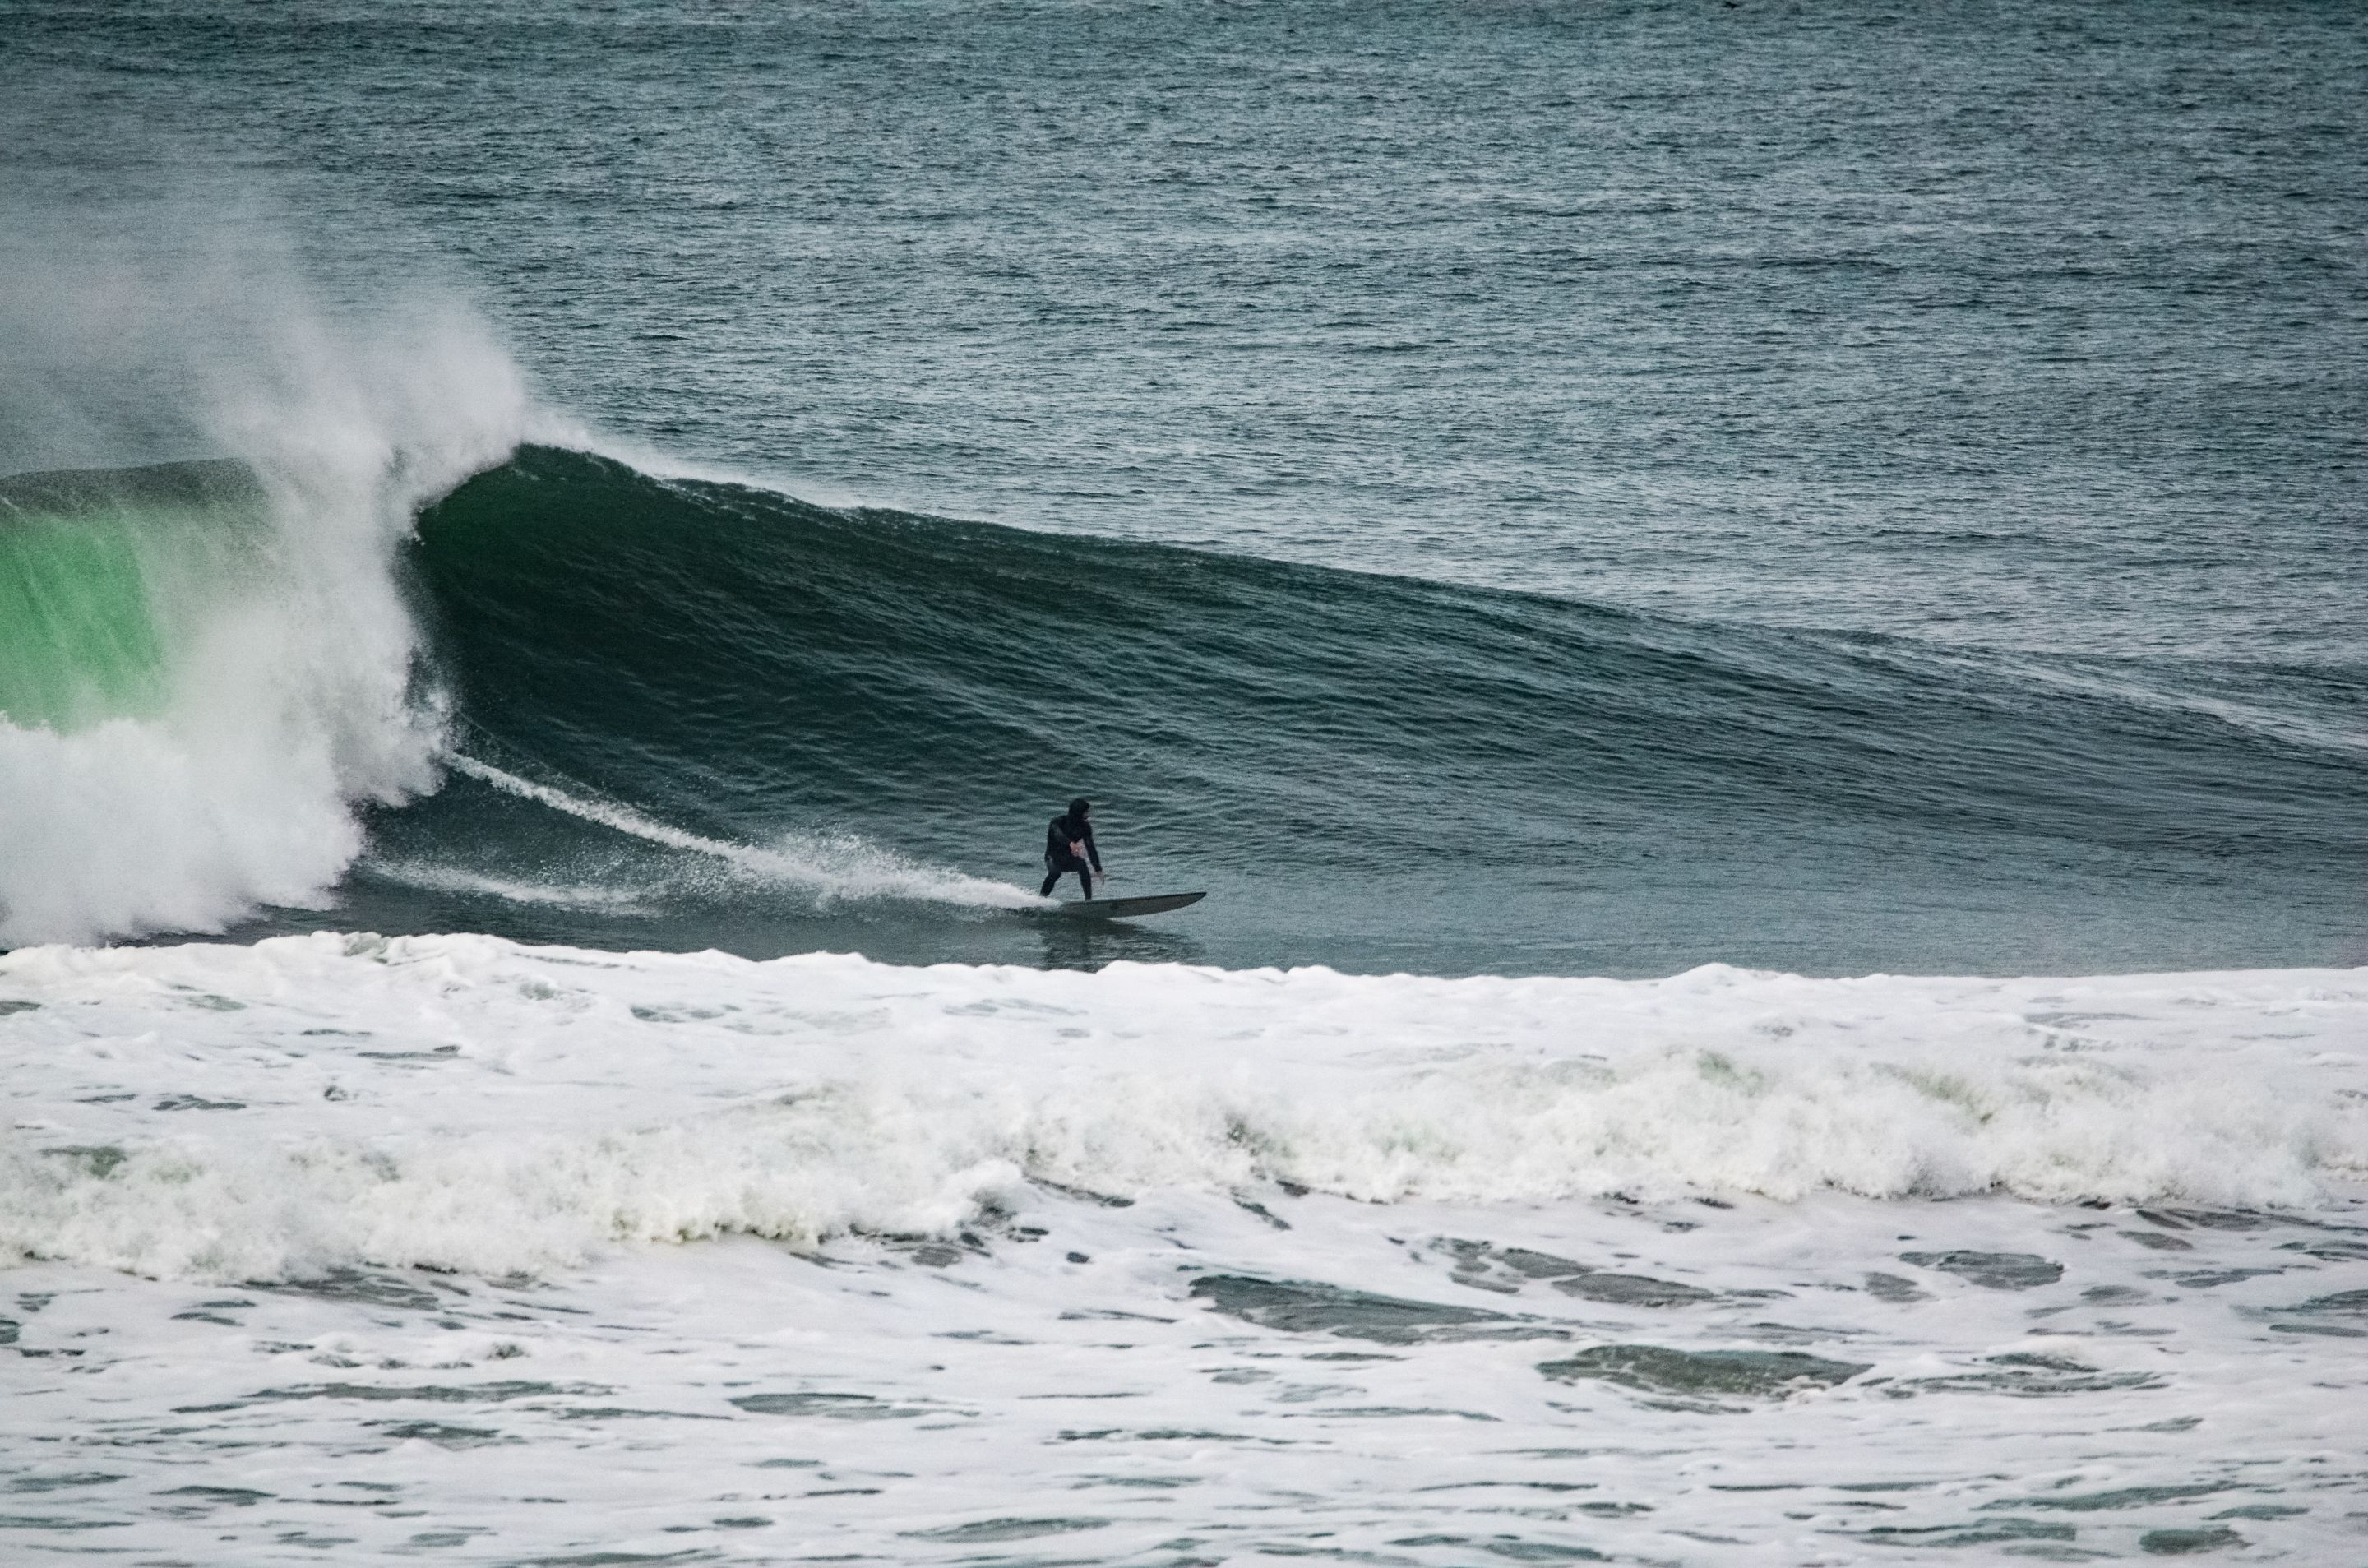
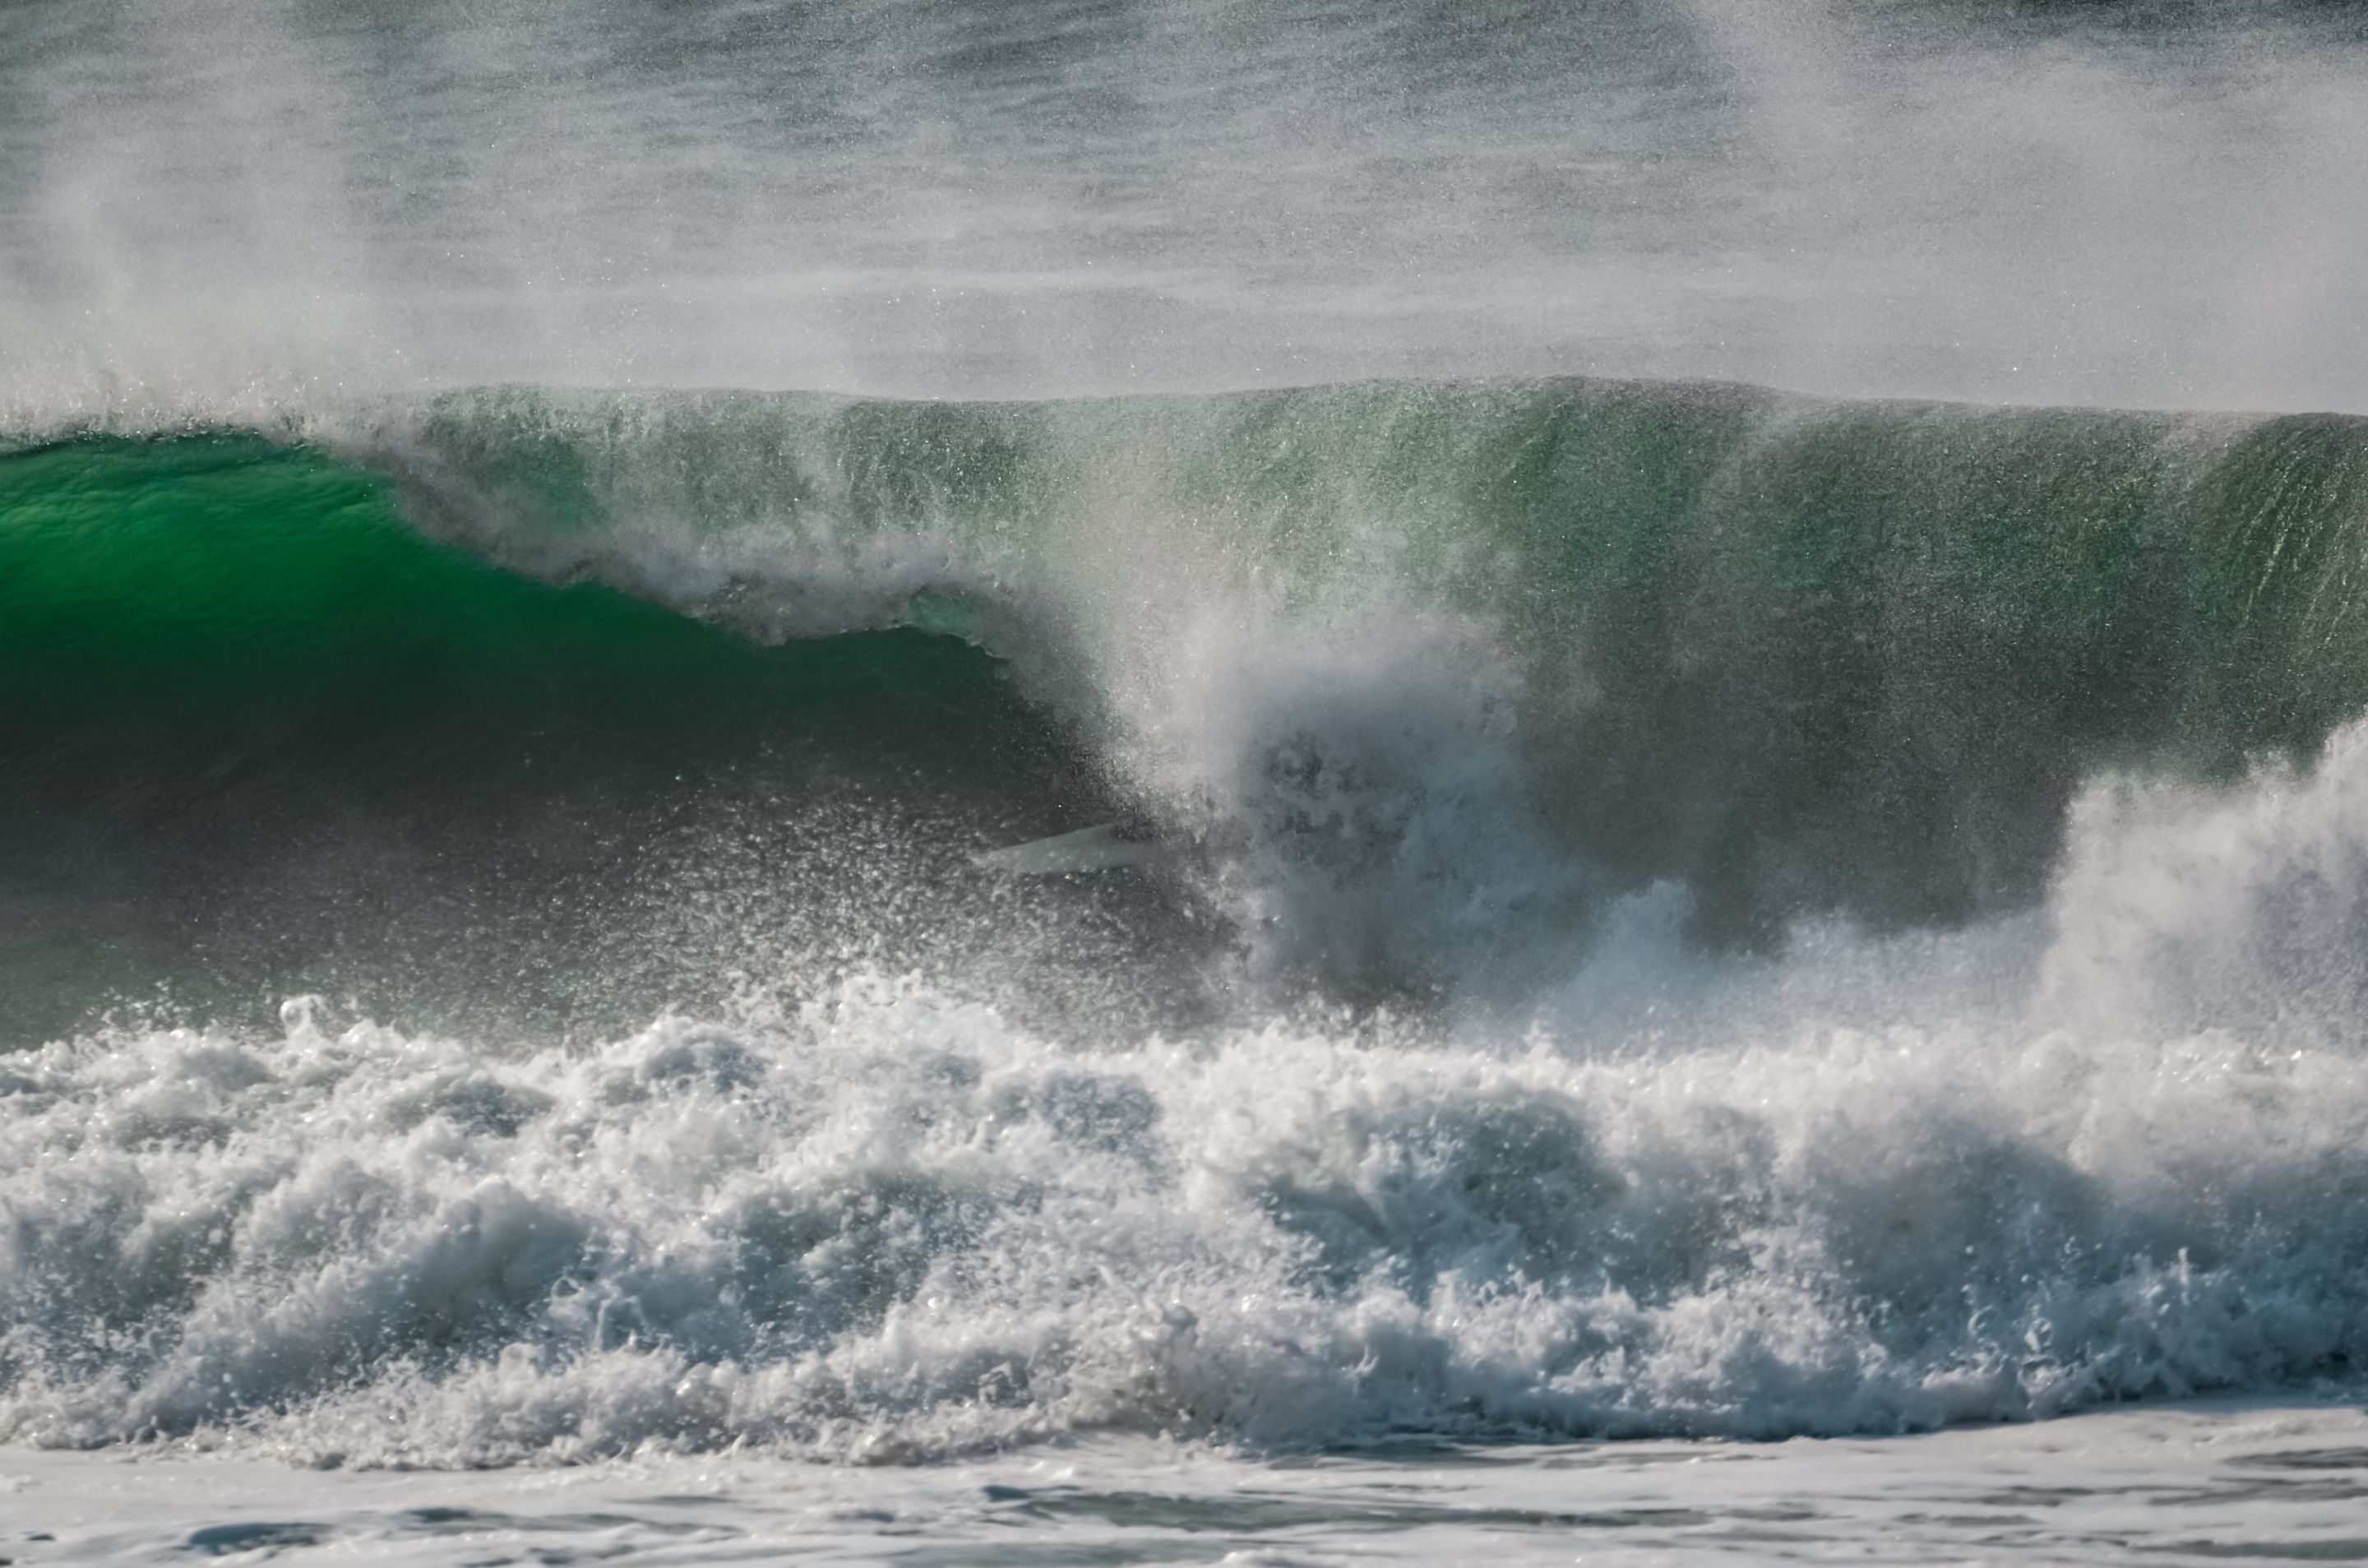
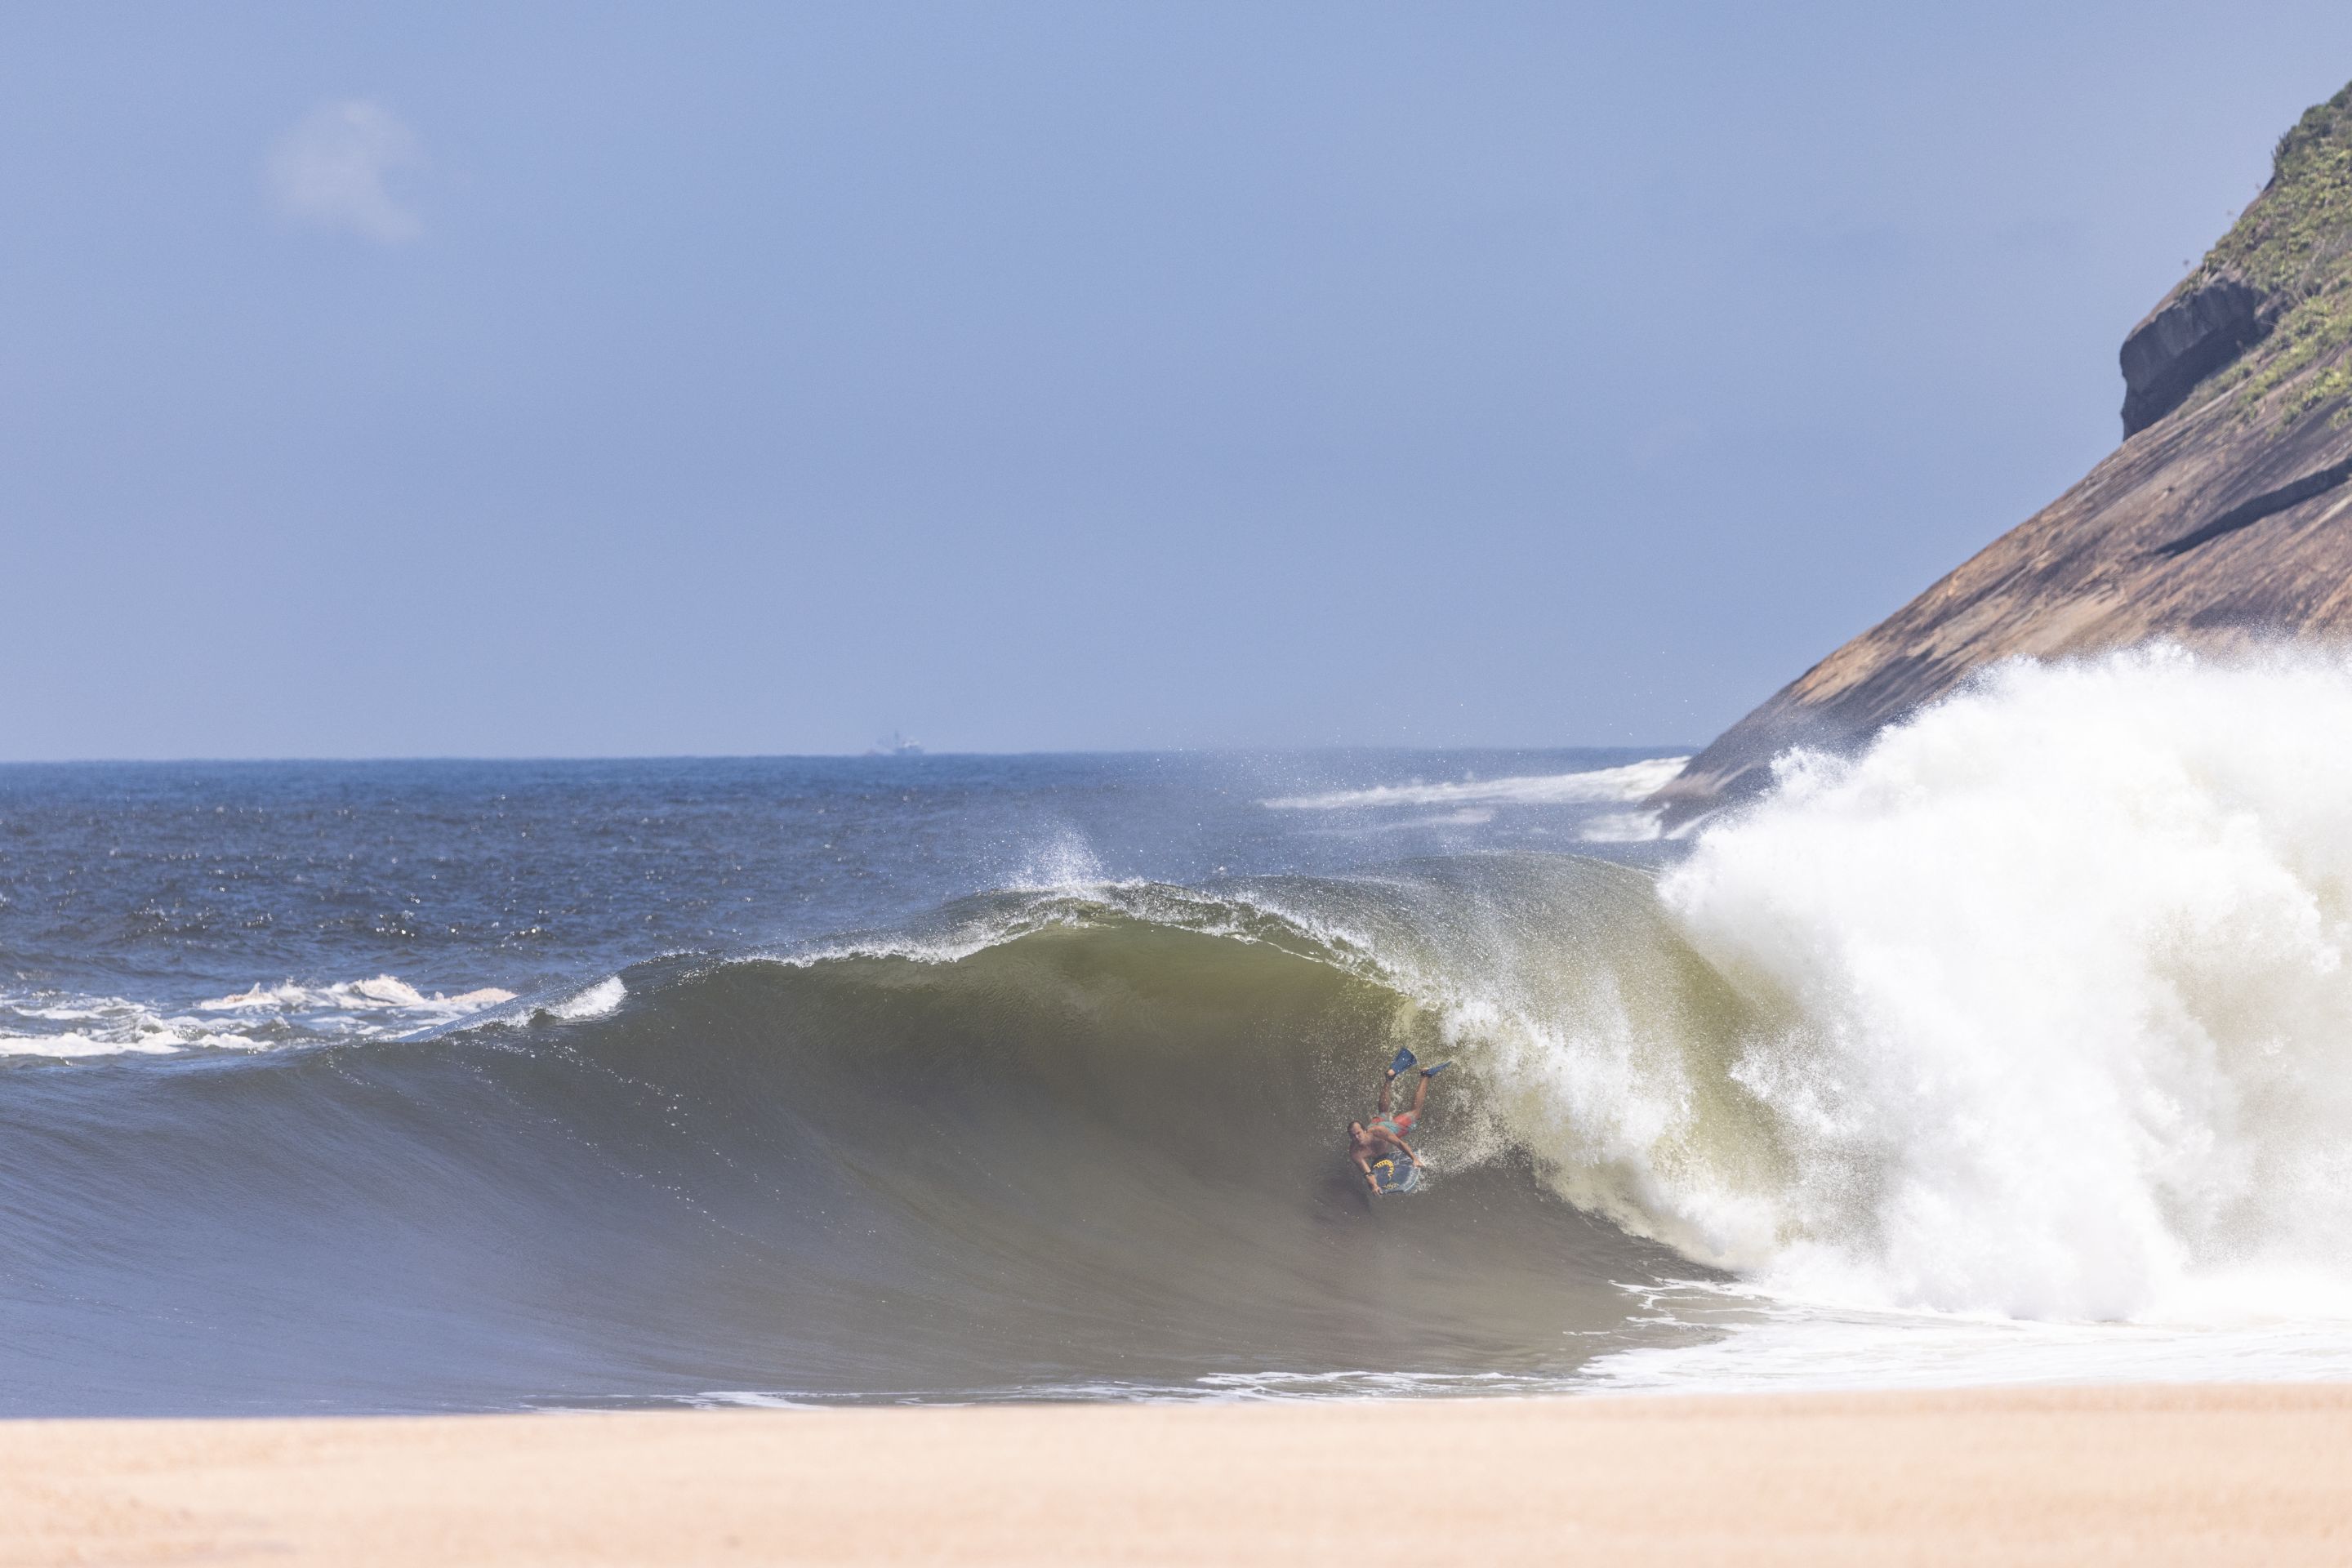
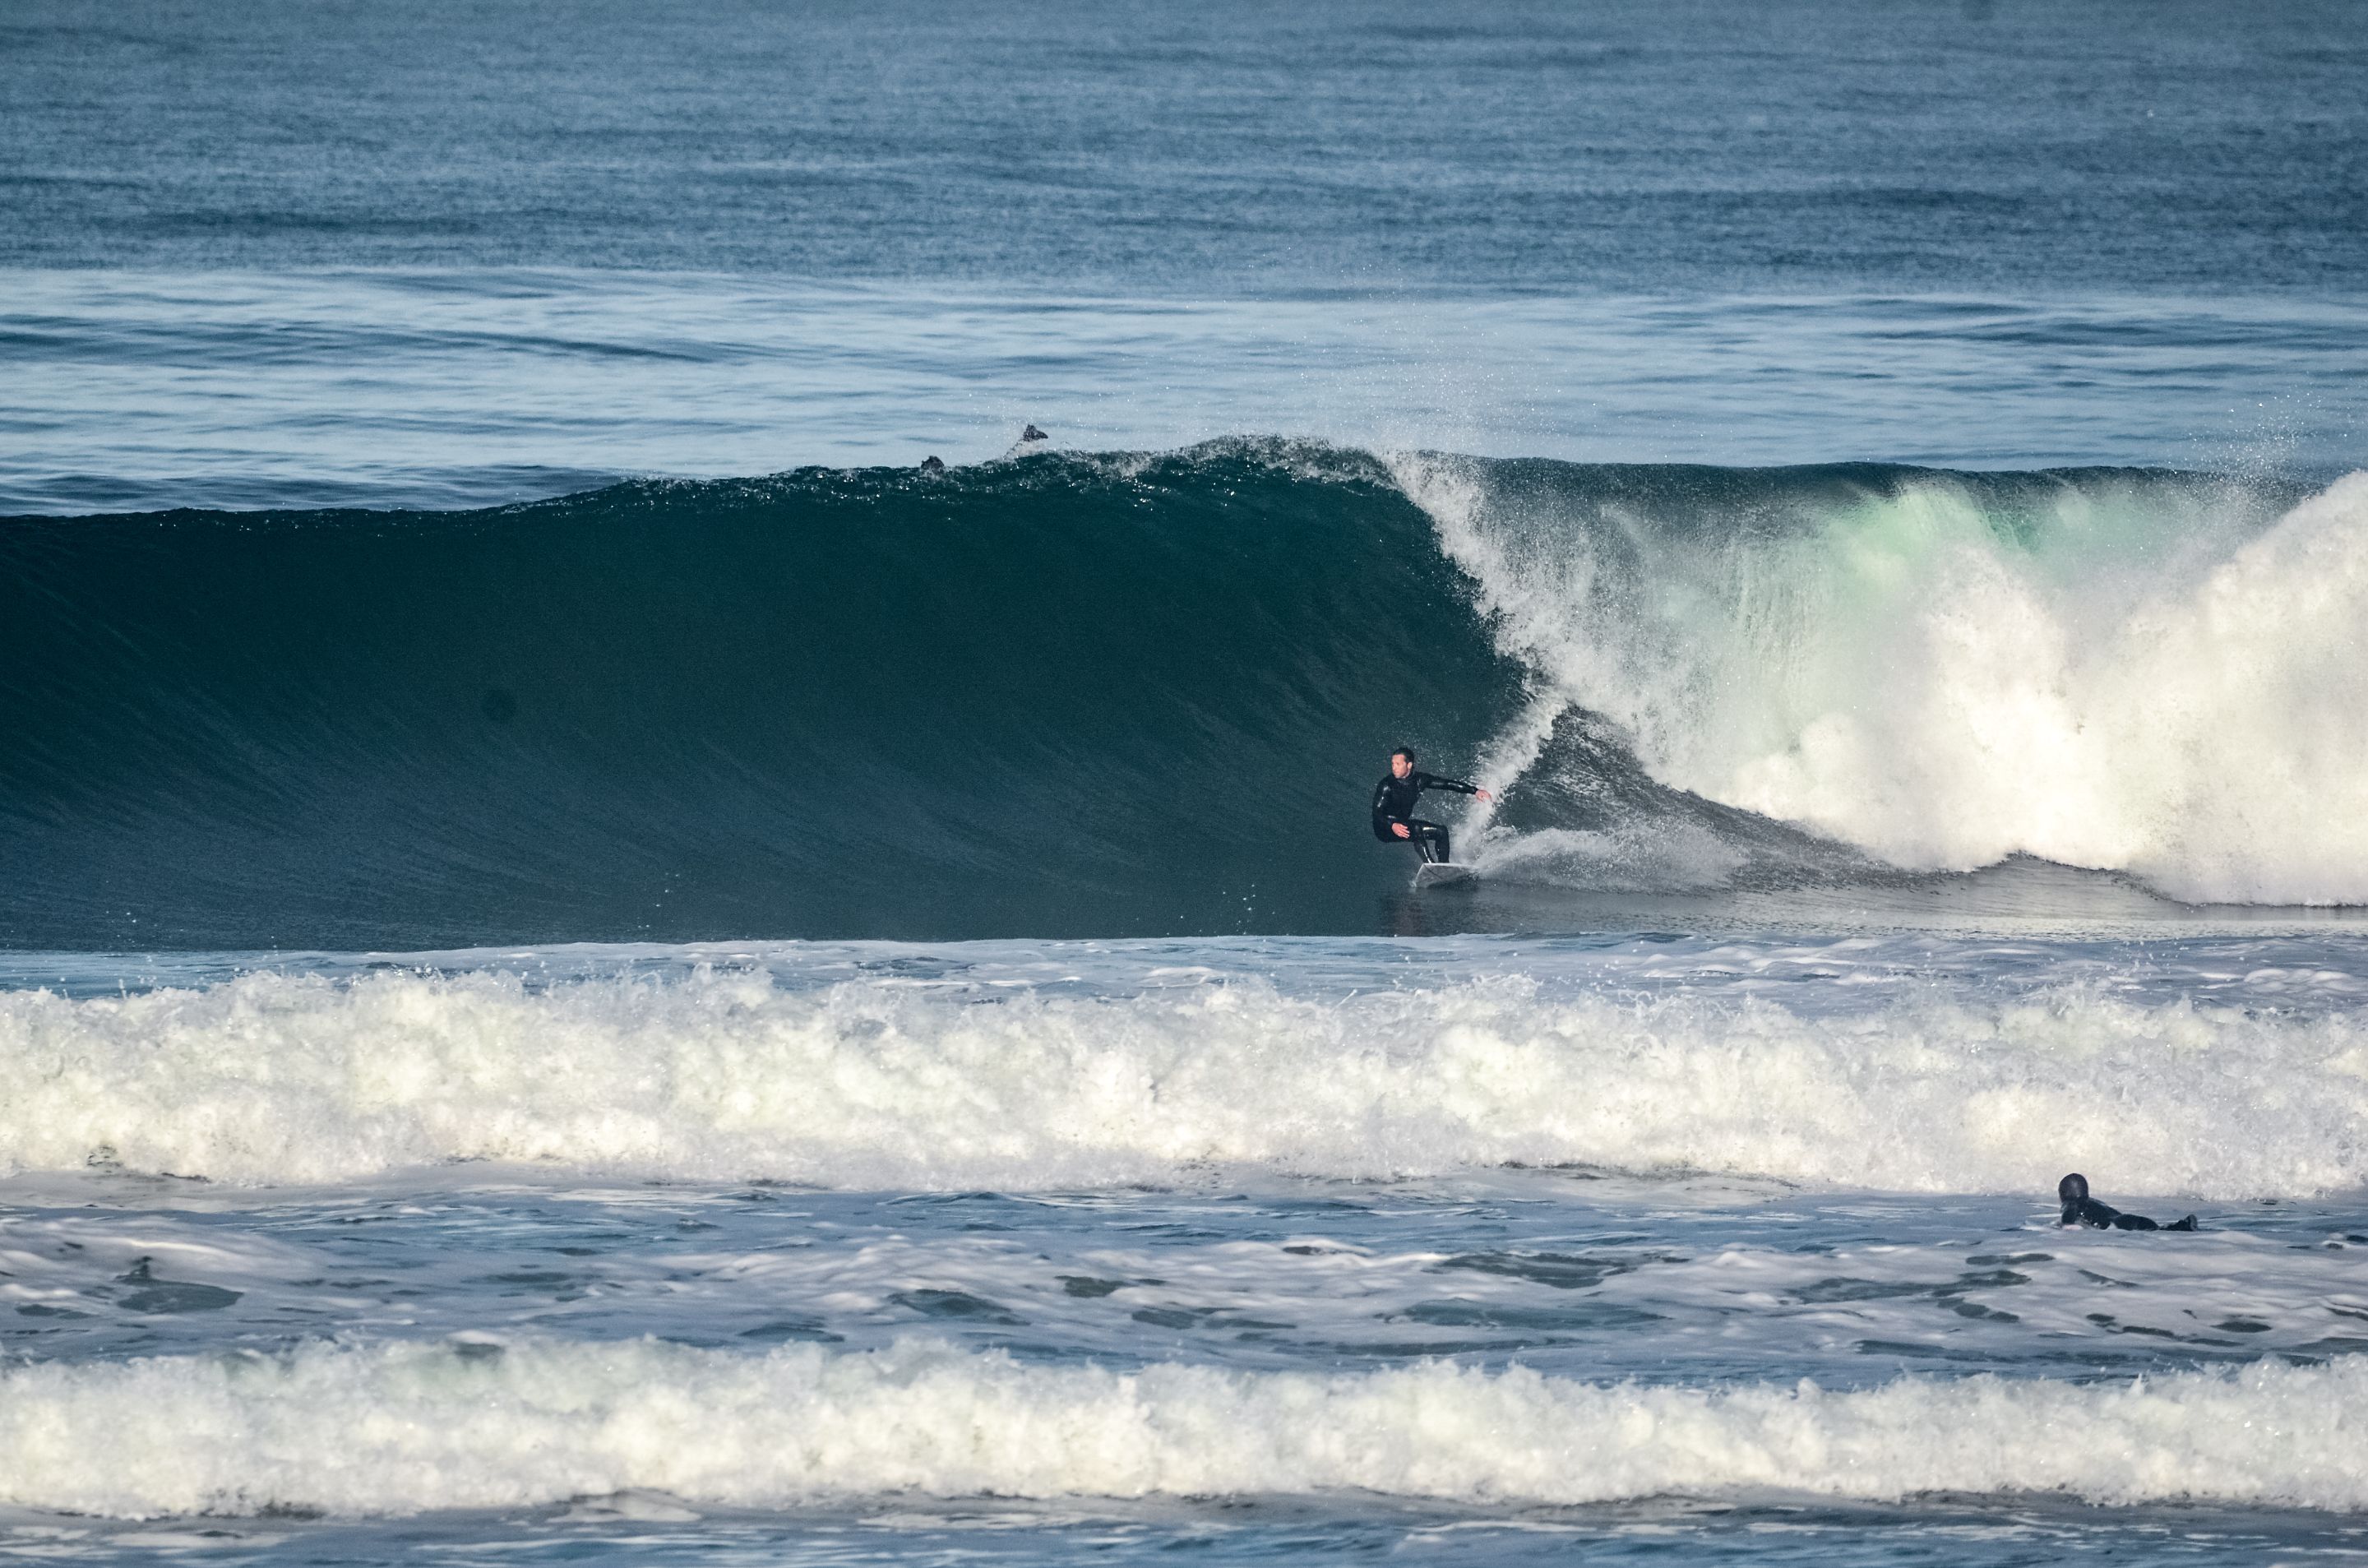
- When the drop is difficult or very vertical, especially in the case of big or hollow/tubular waves:
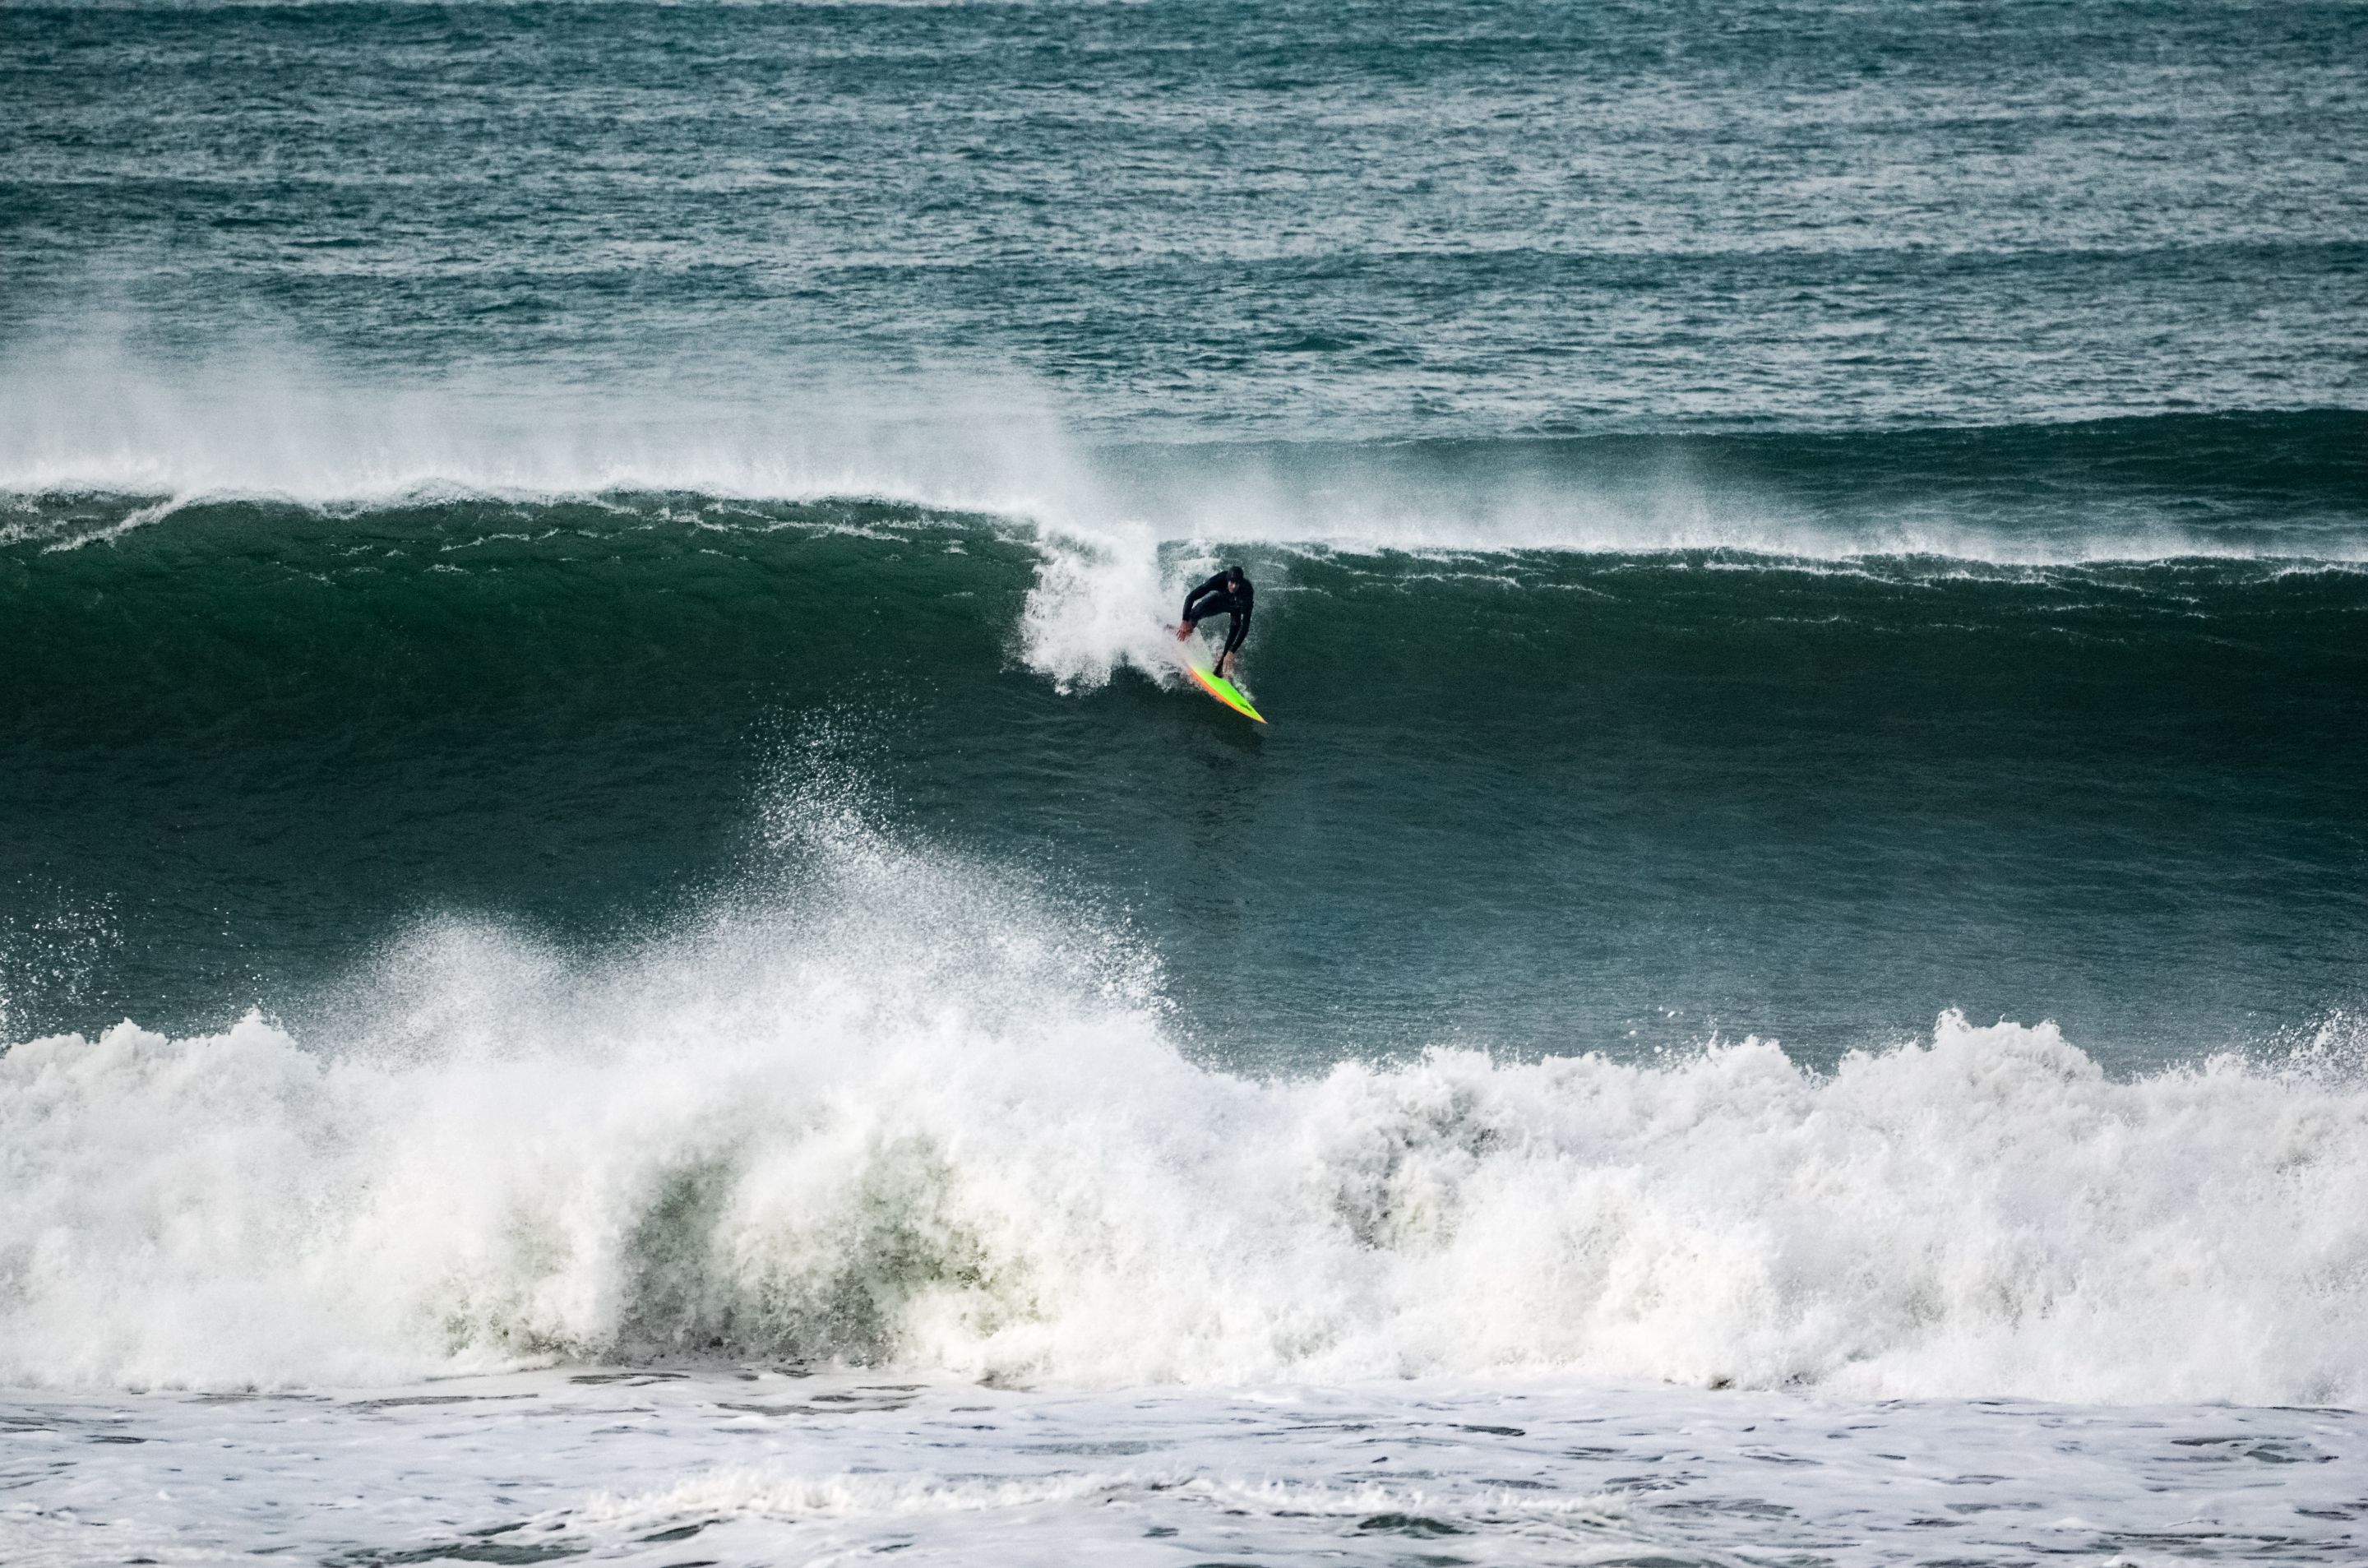
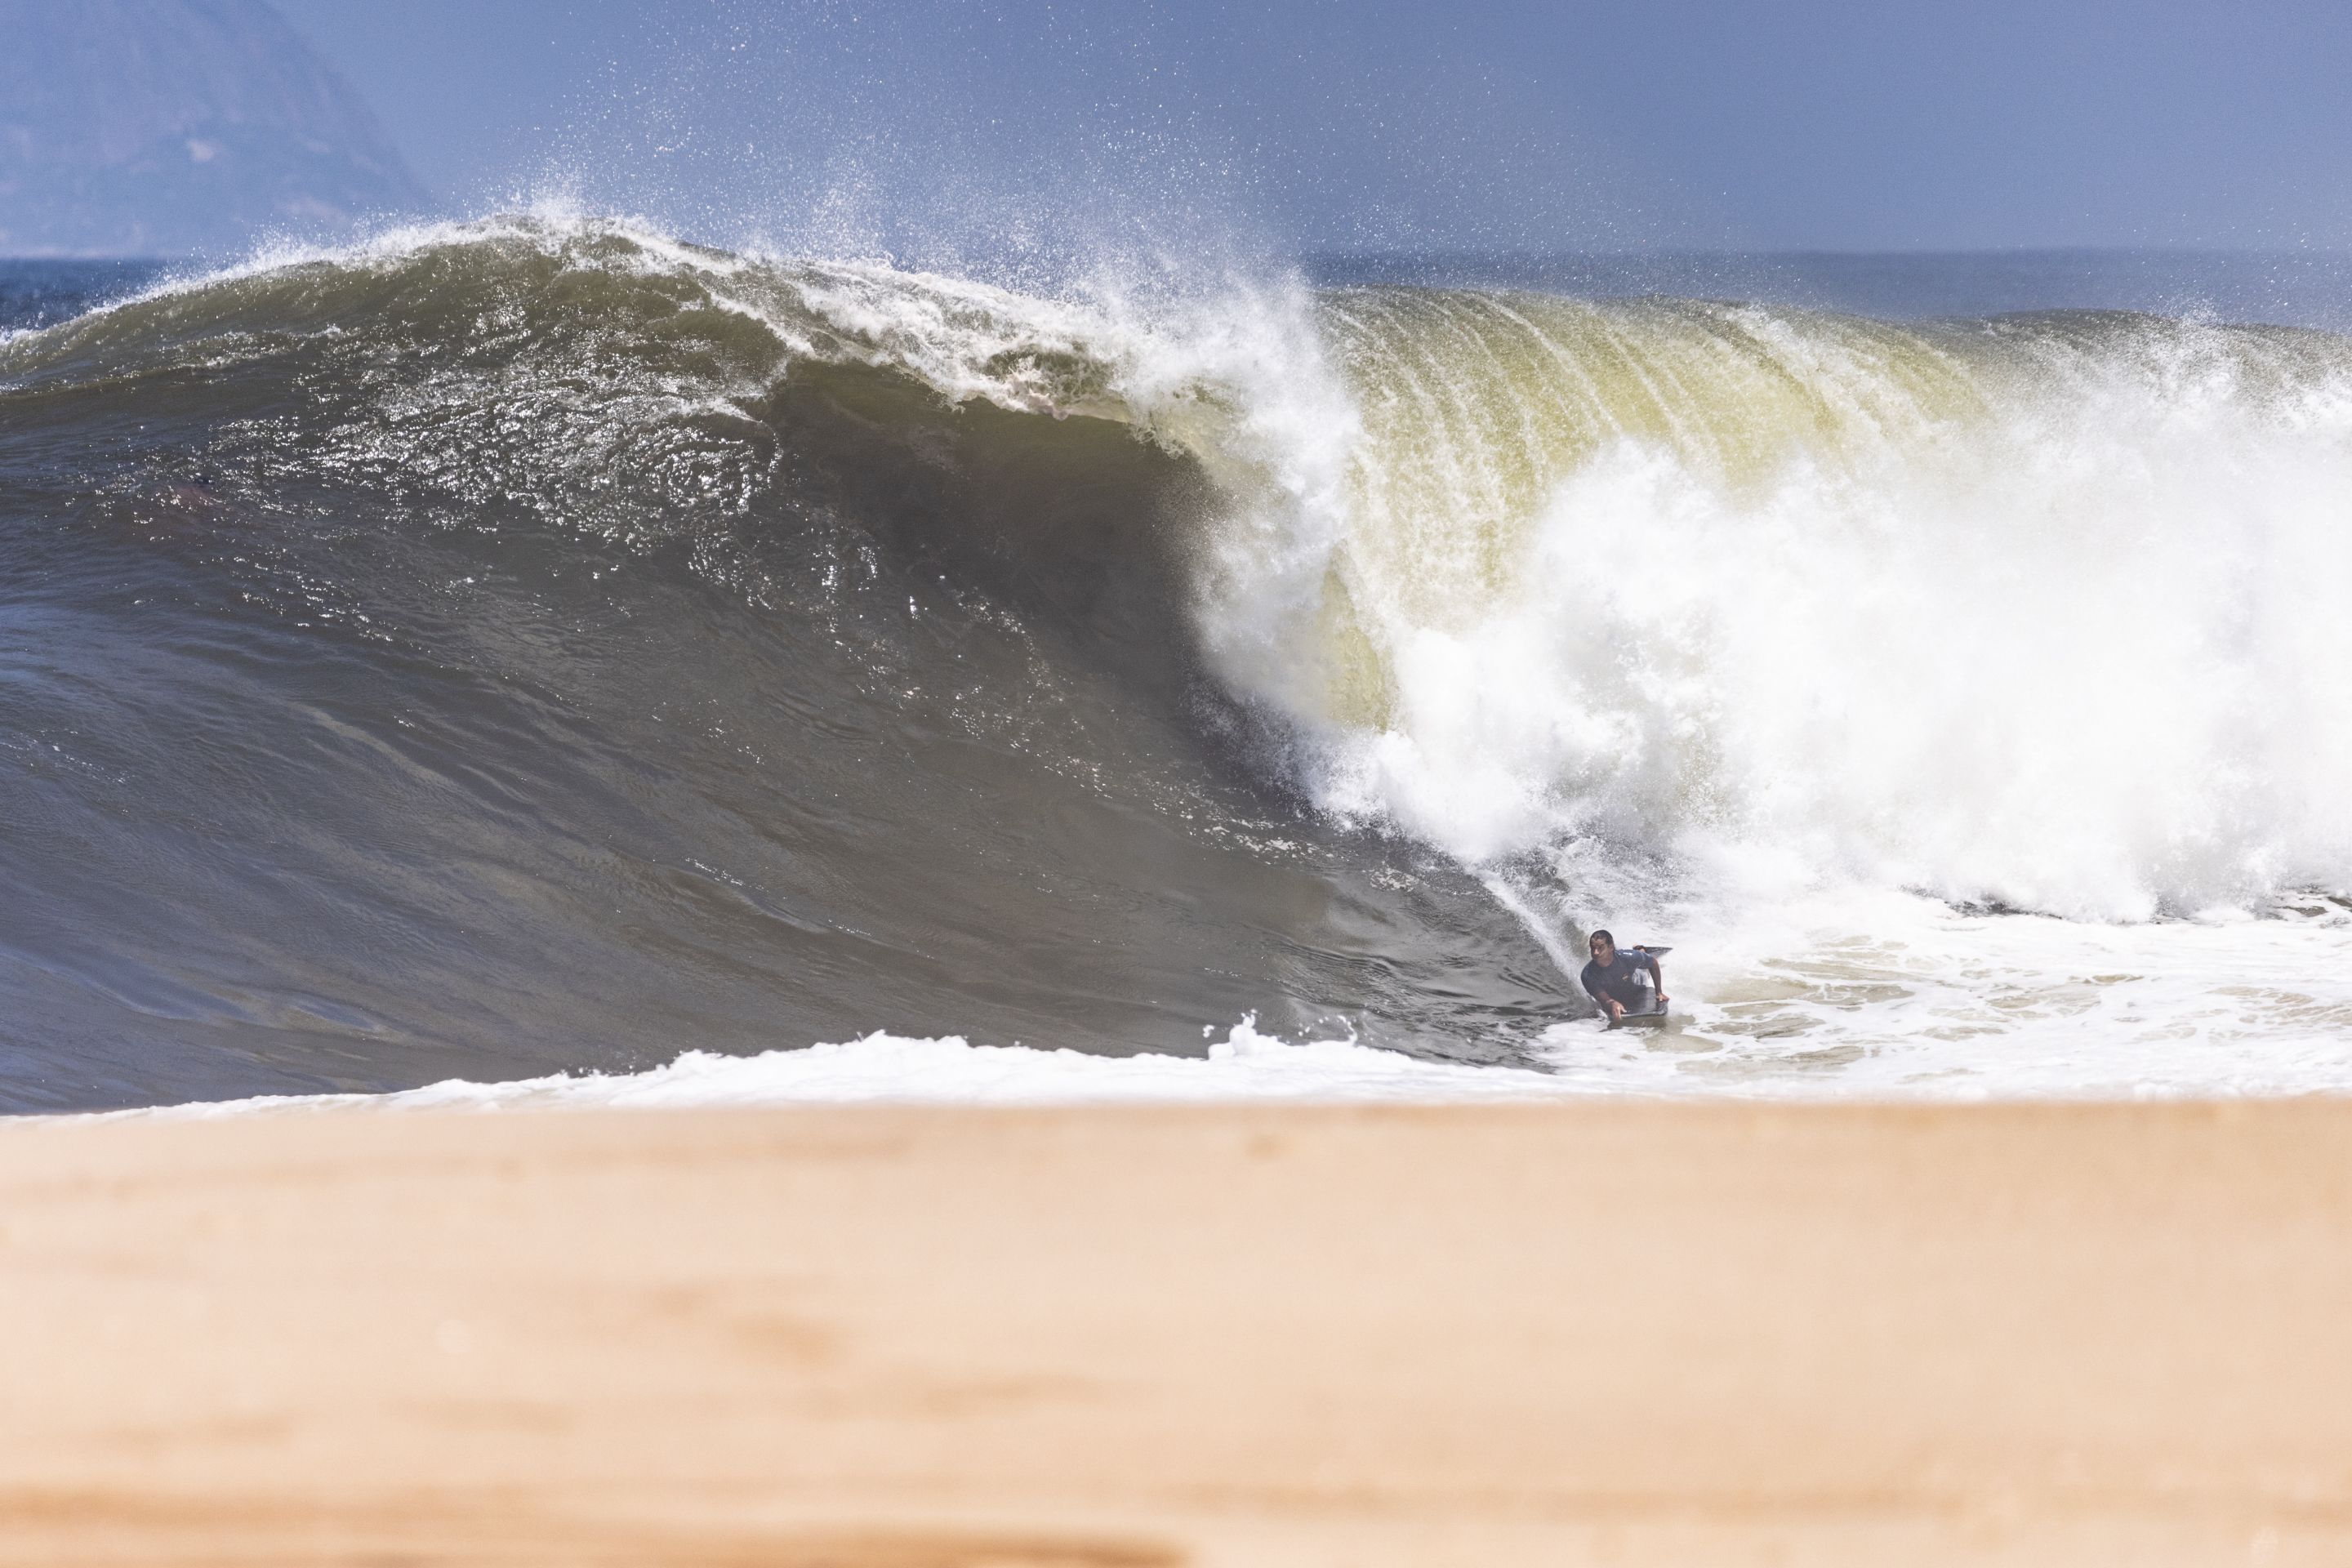
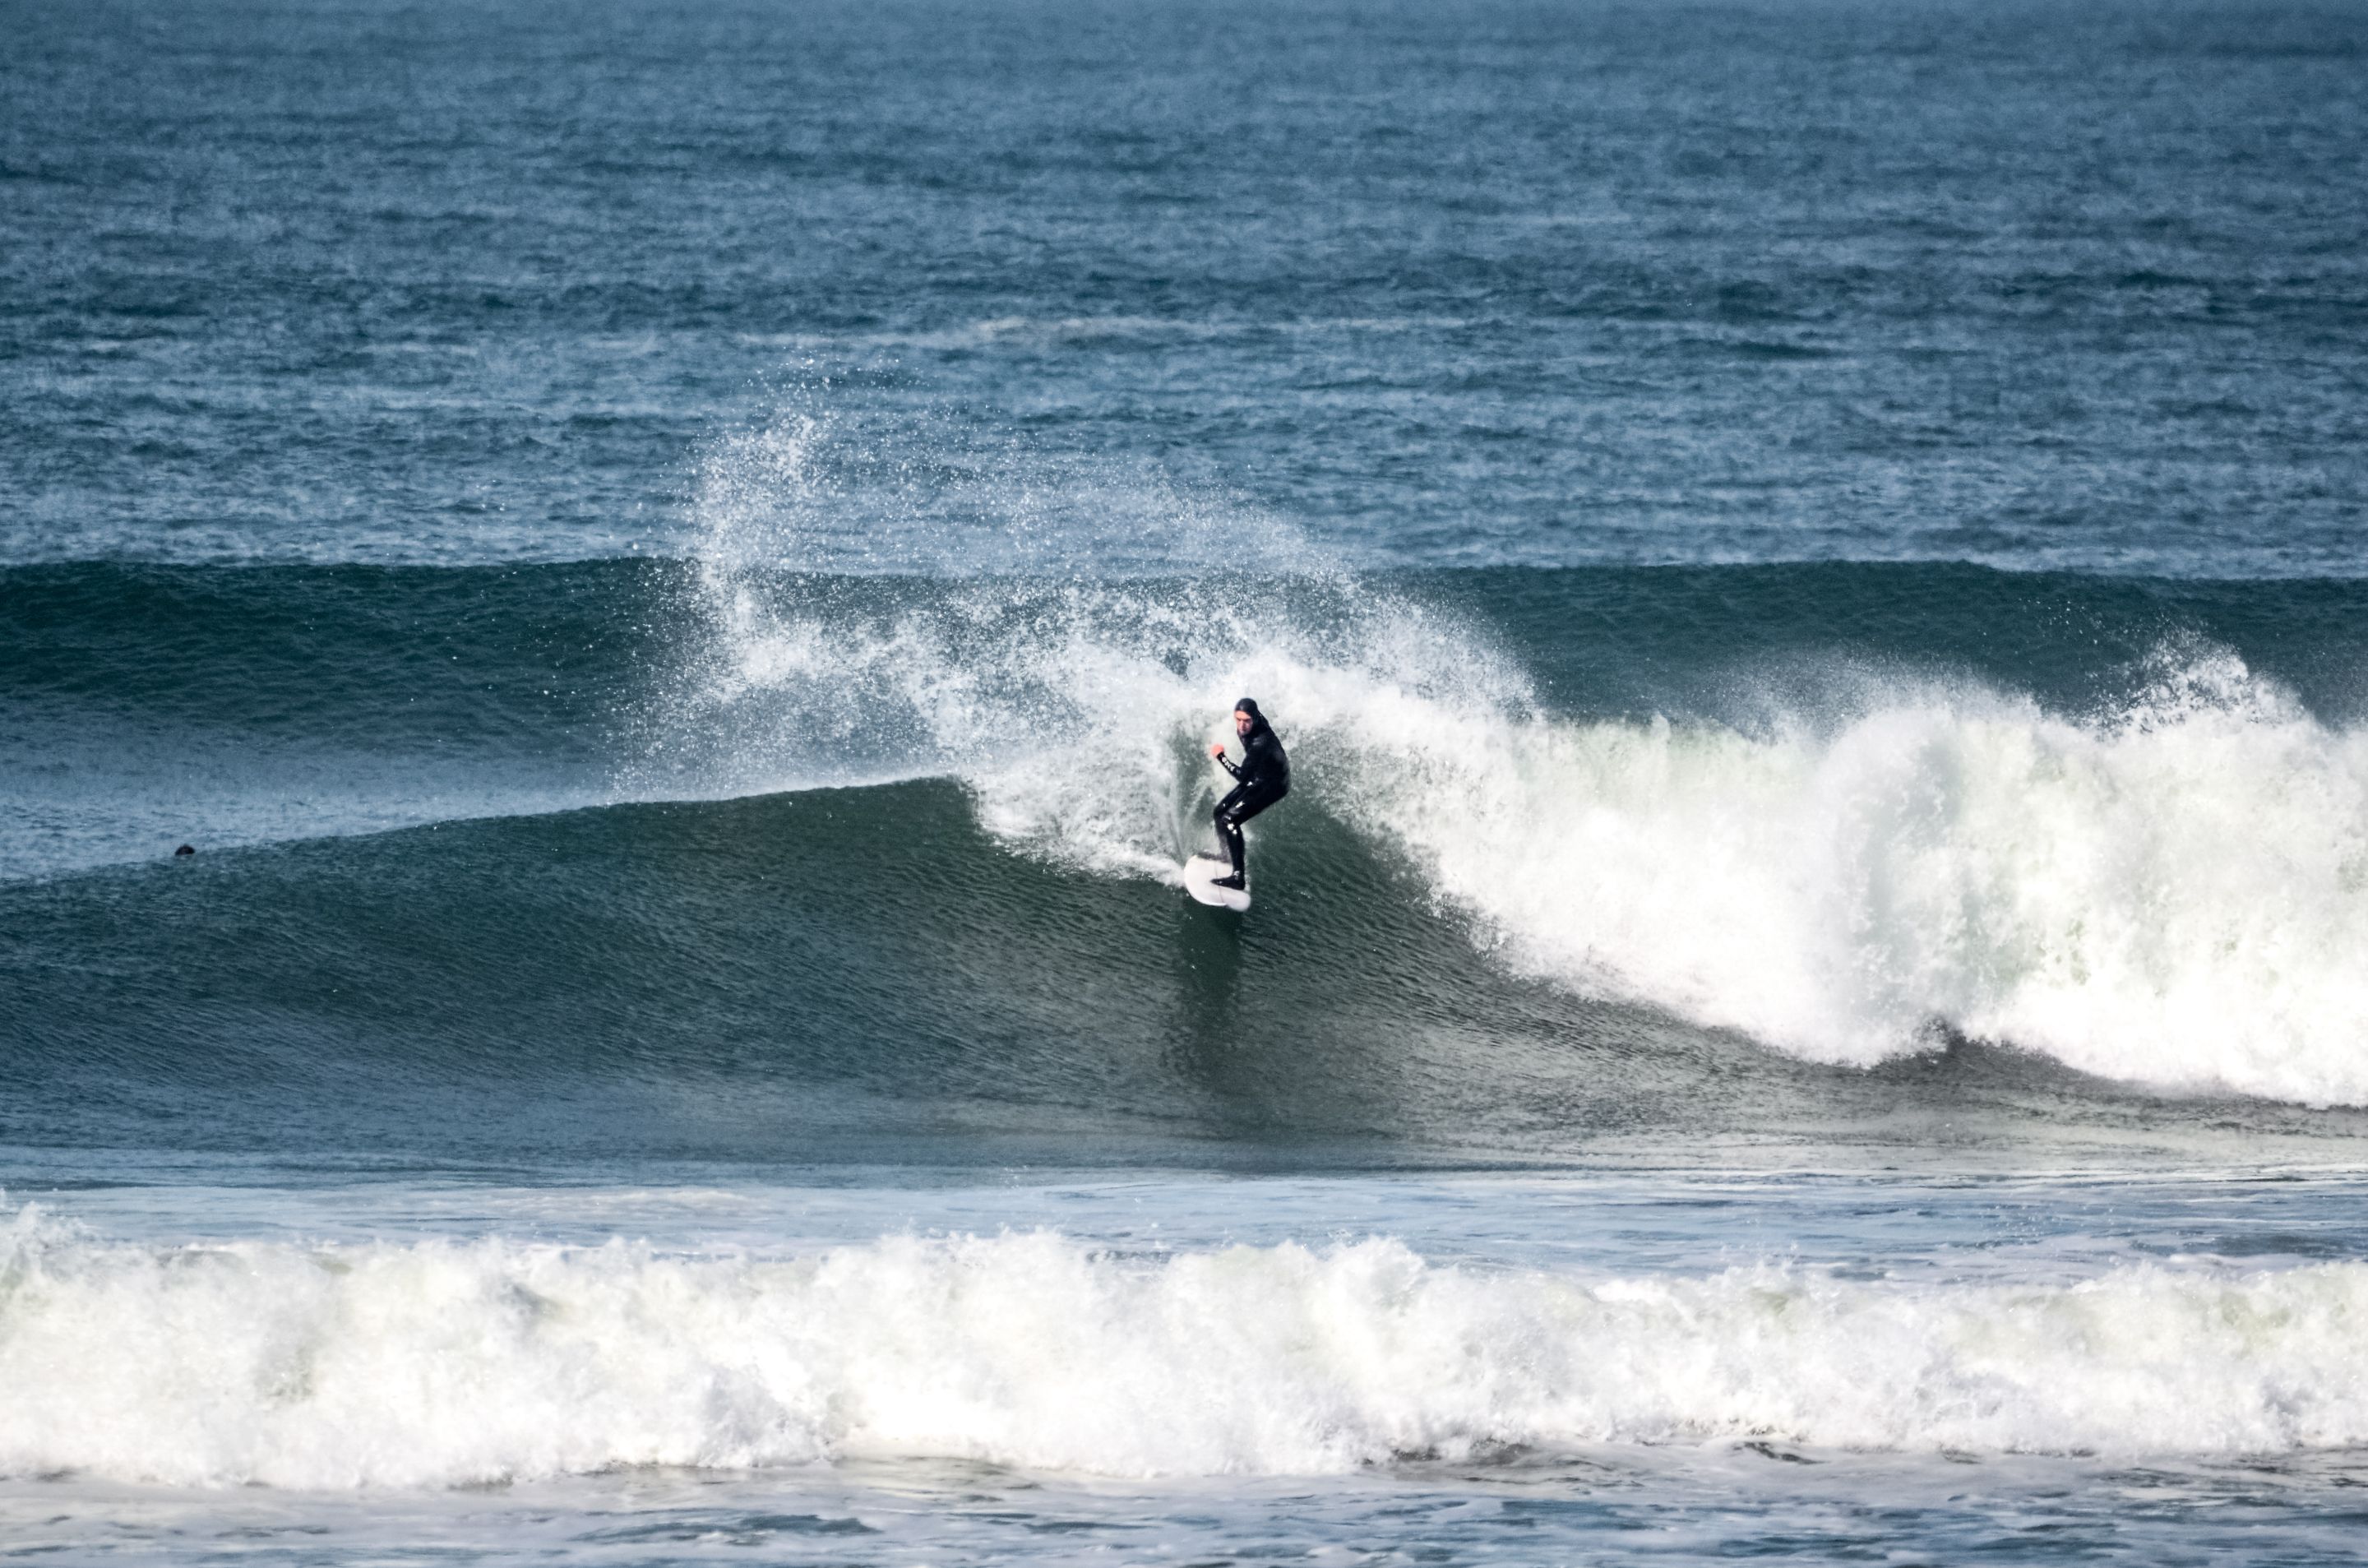
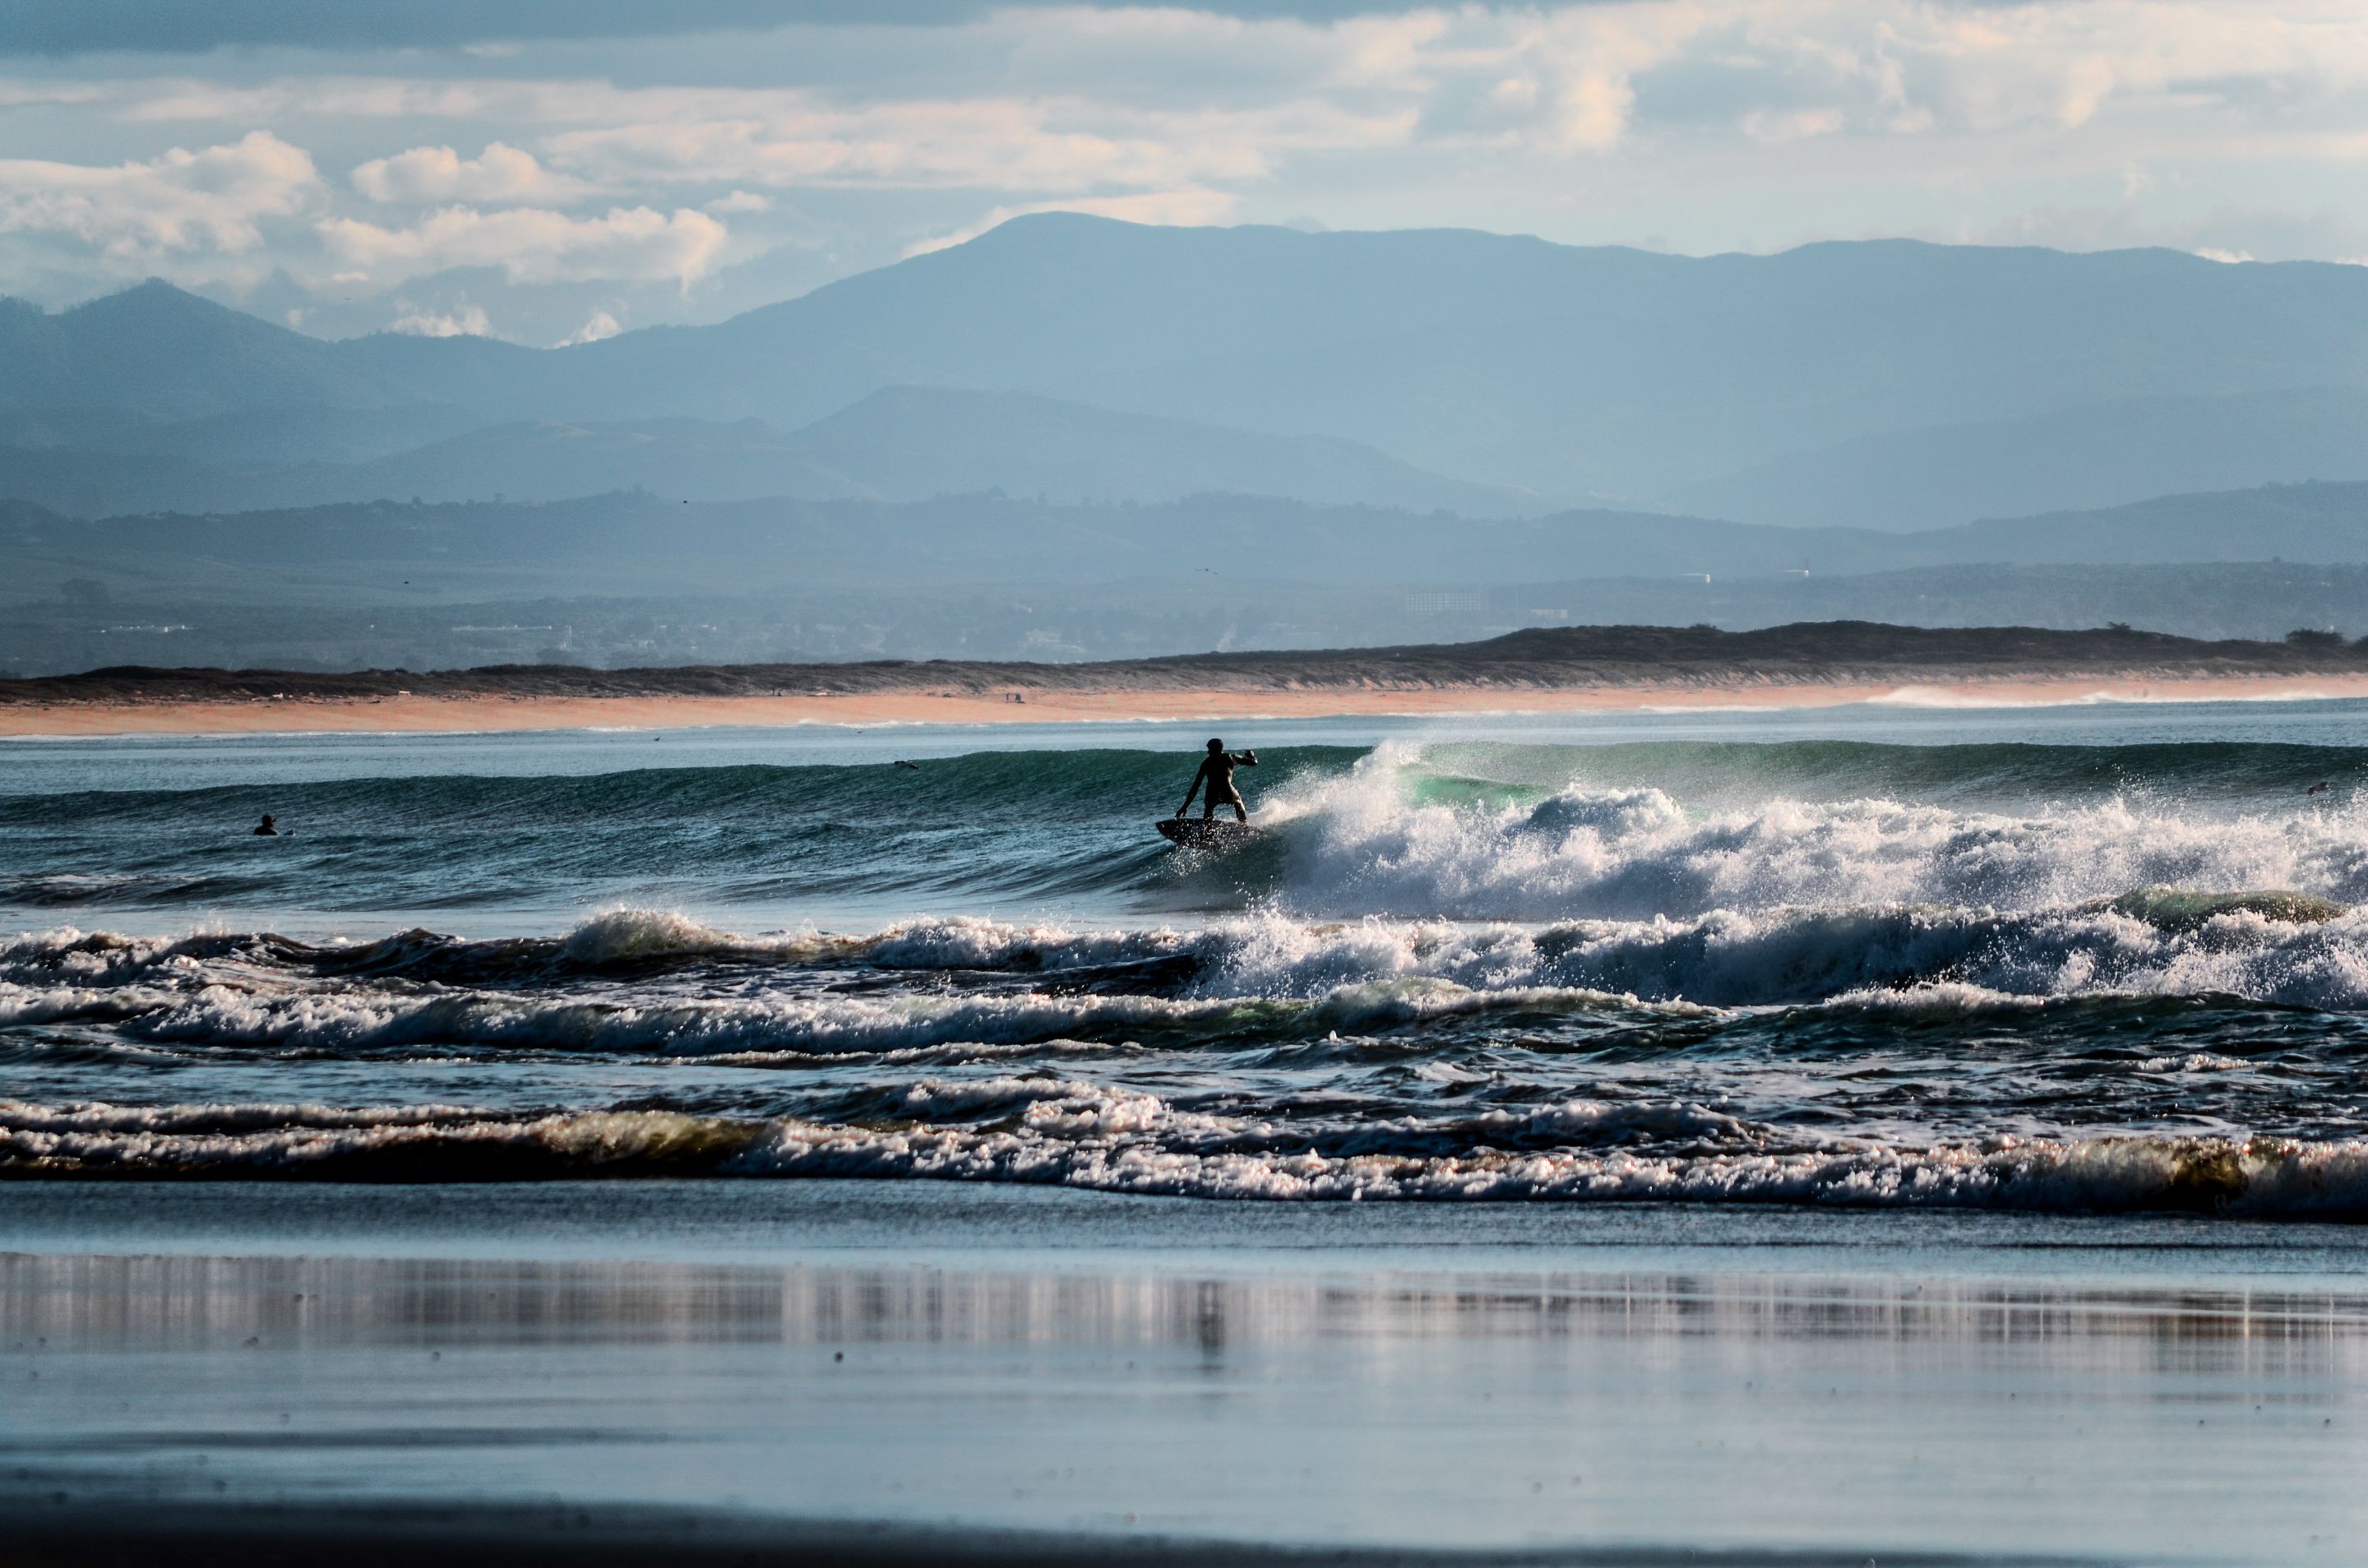
- In bottom turns - when the surfer is at the base of the wave - you can get a sense of the size of the wave in relation to the surfer. For those who enjoy big waves or like to venture into bigger seas, this could be the type of photo that will please the surfer:

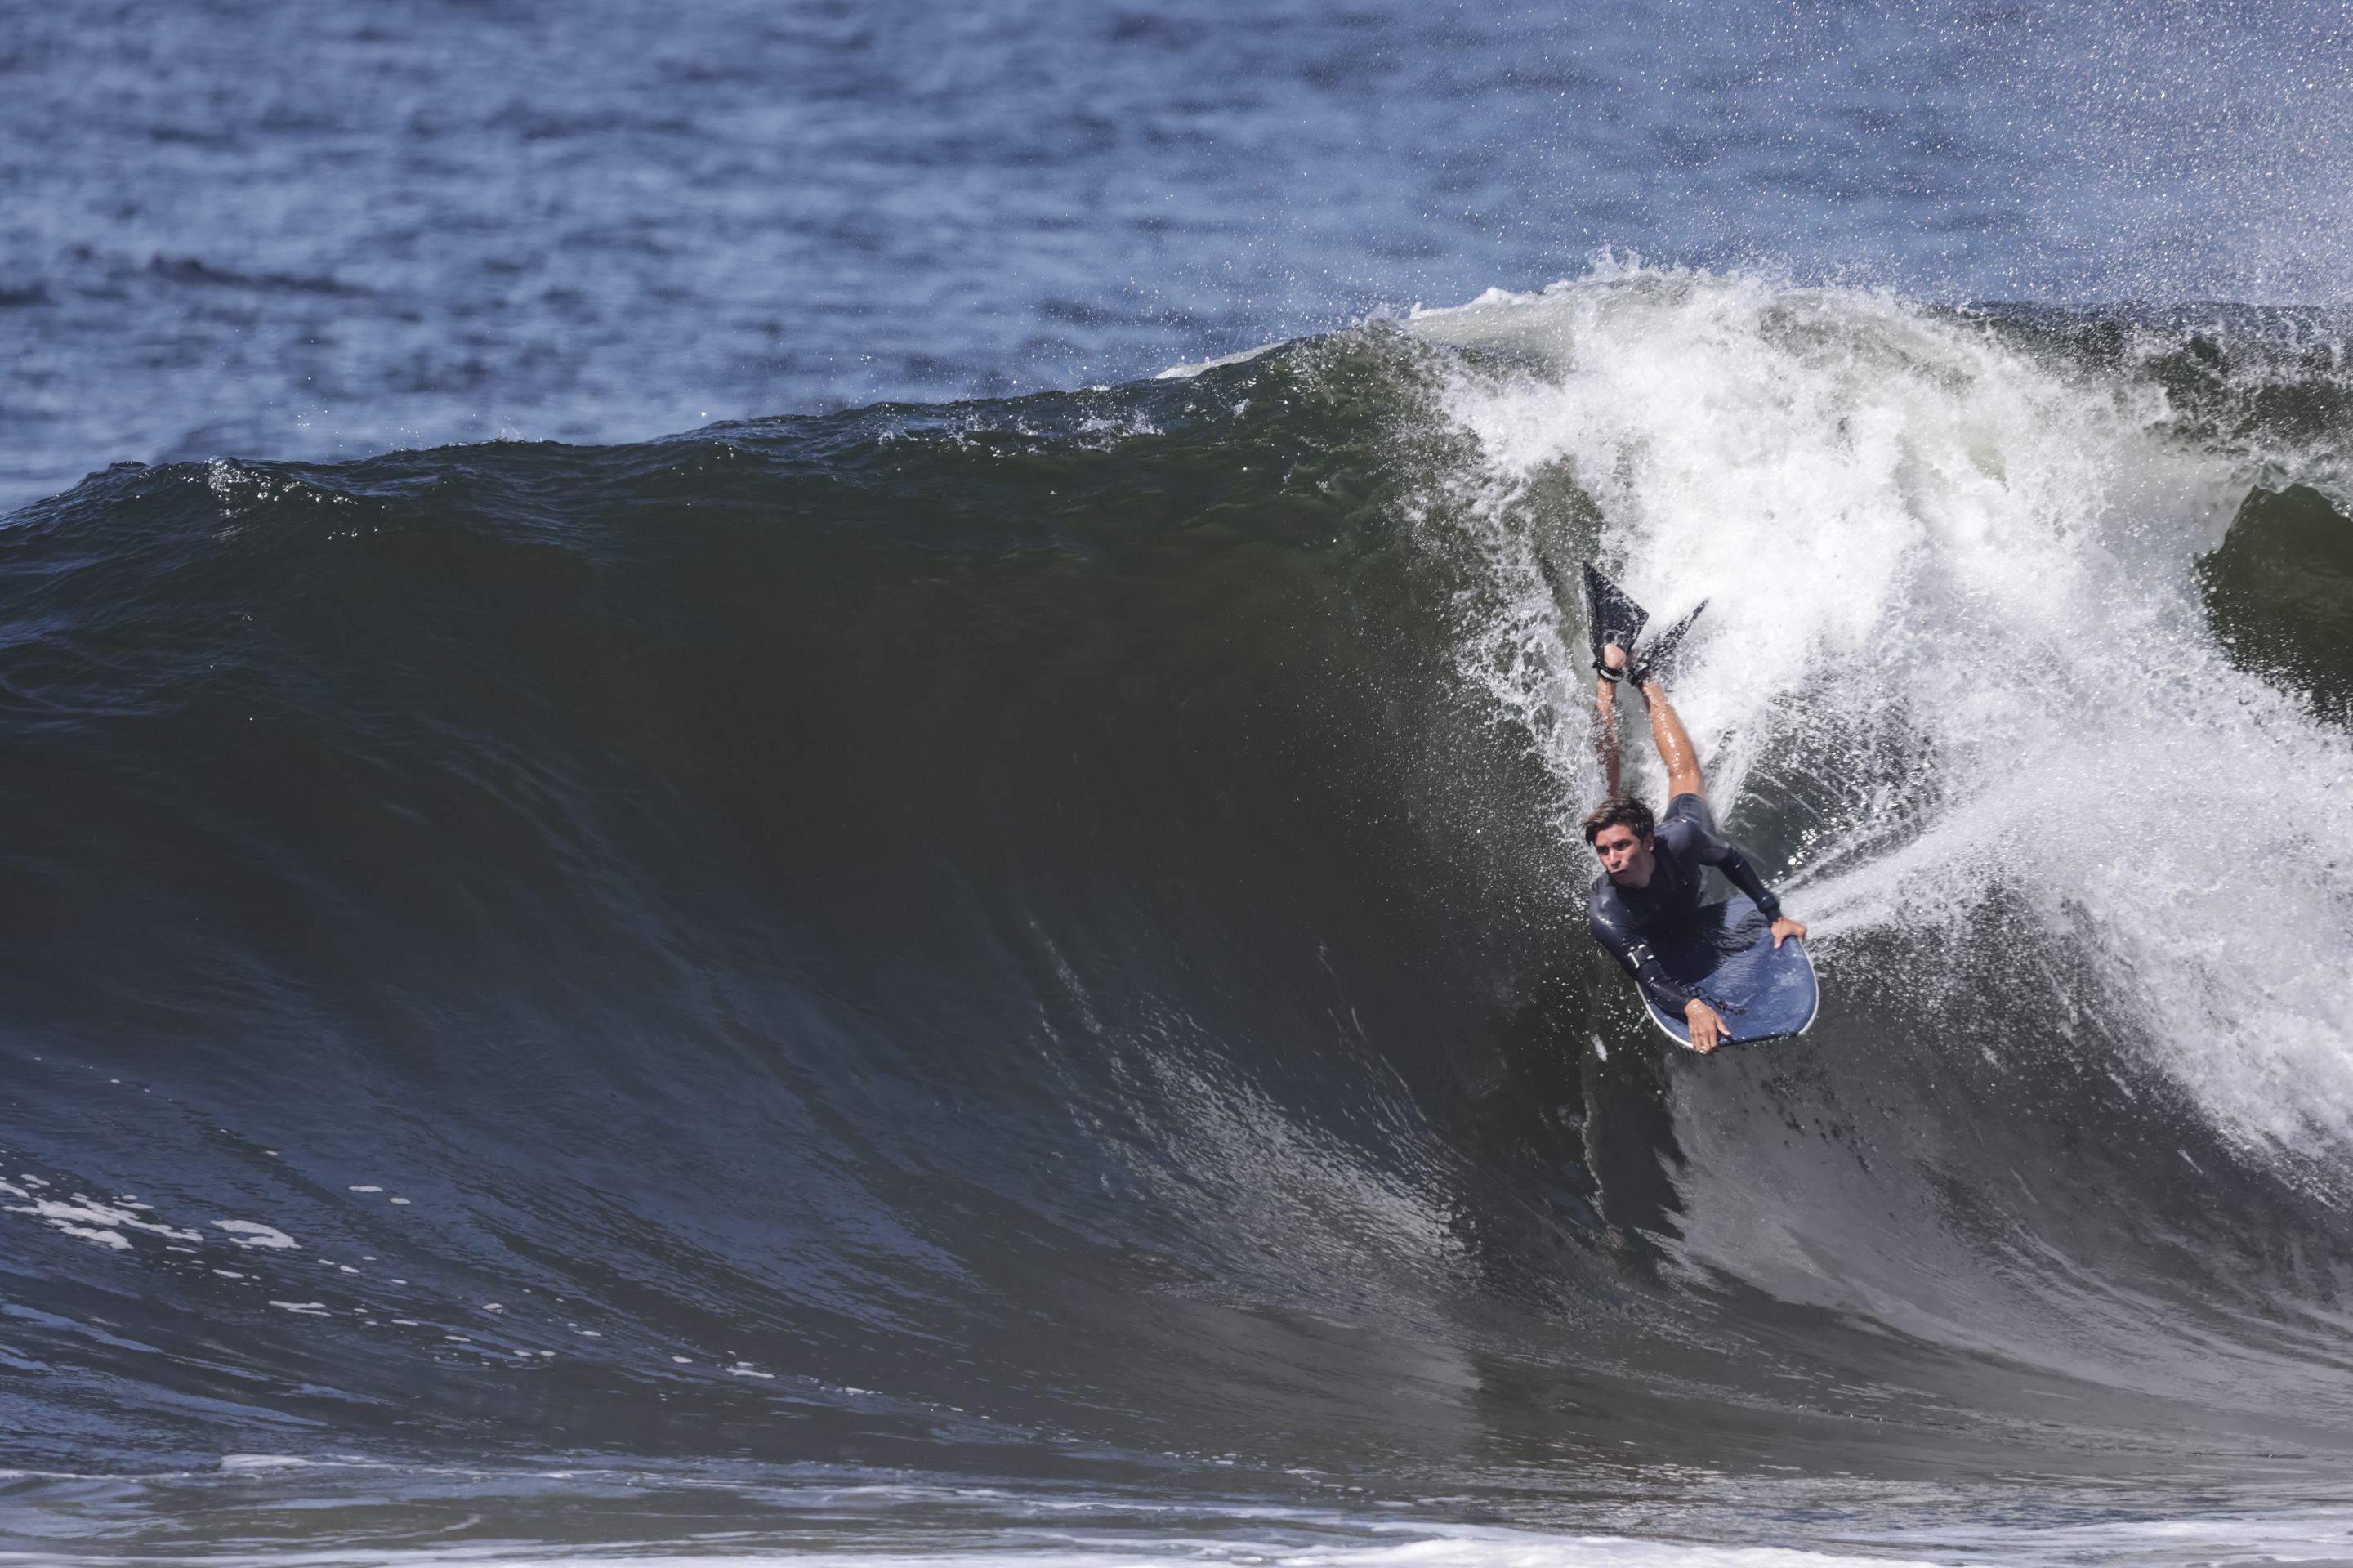
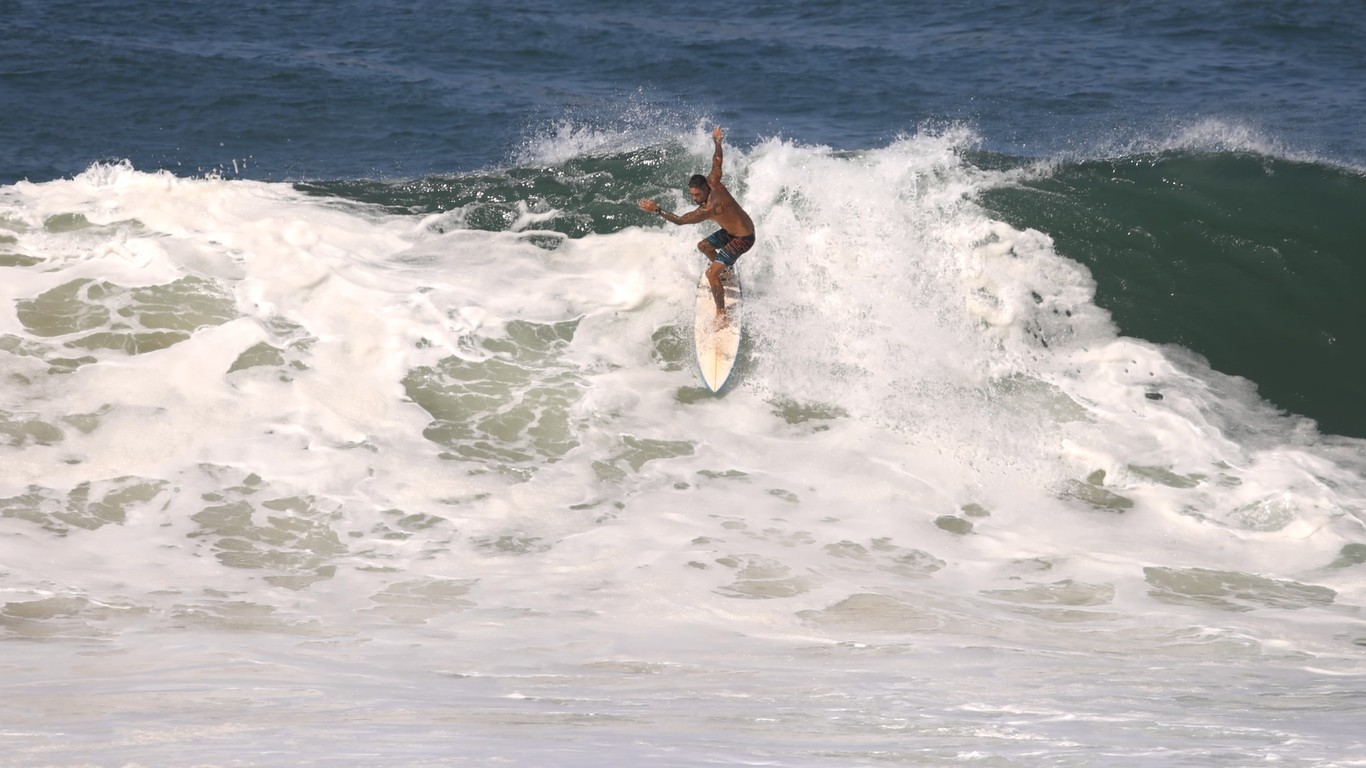
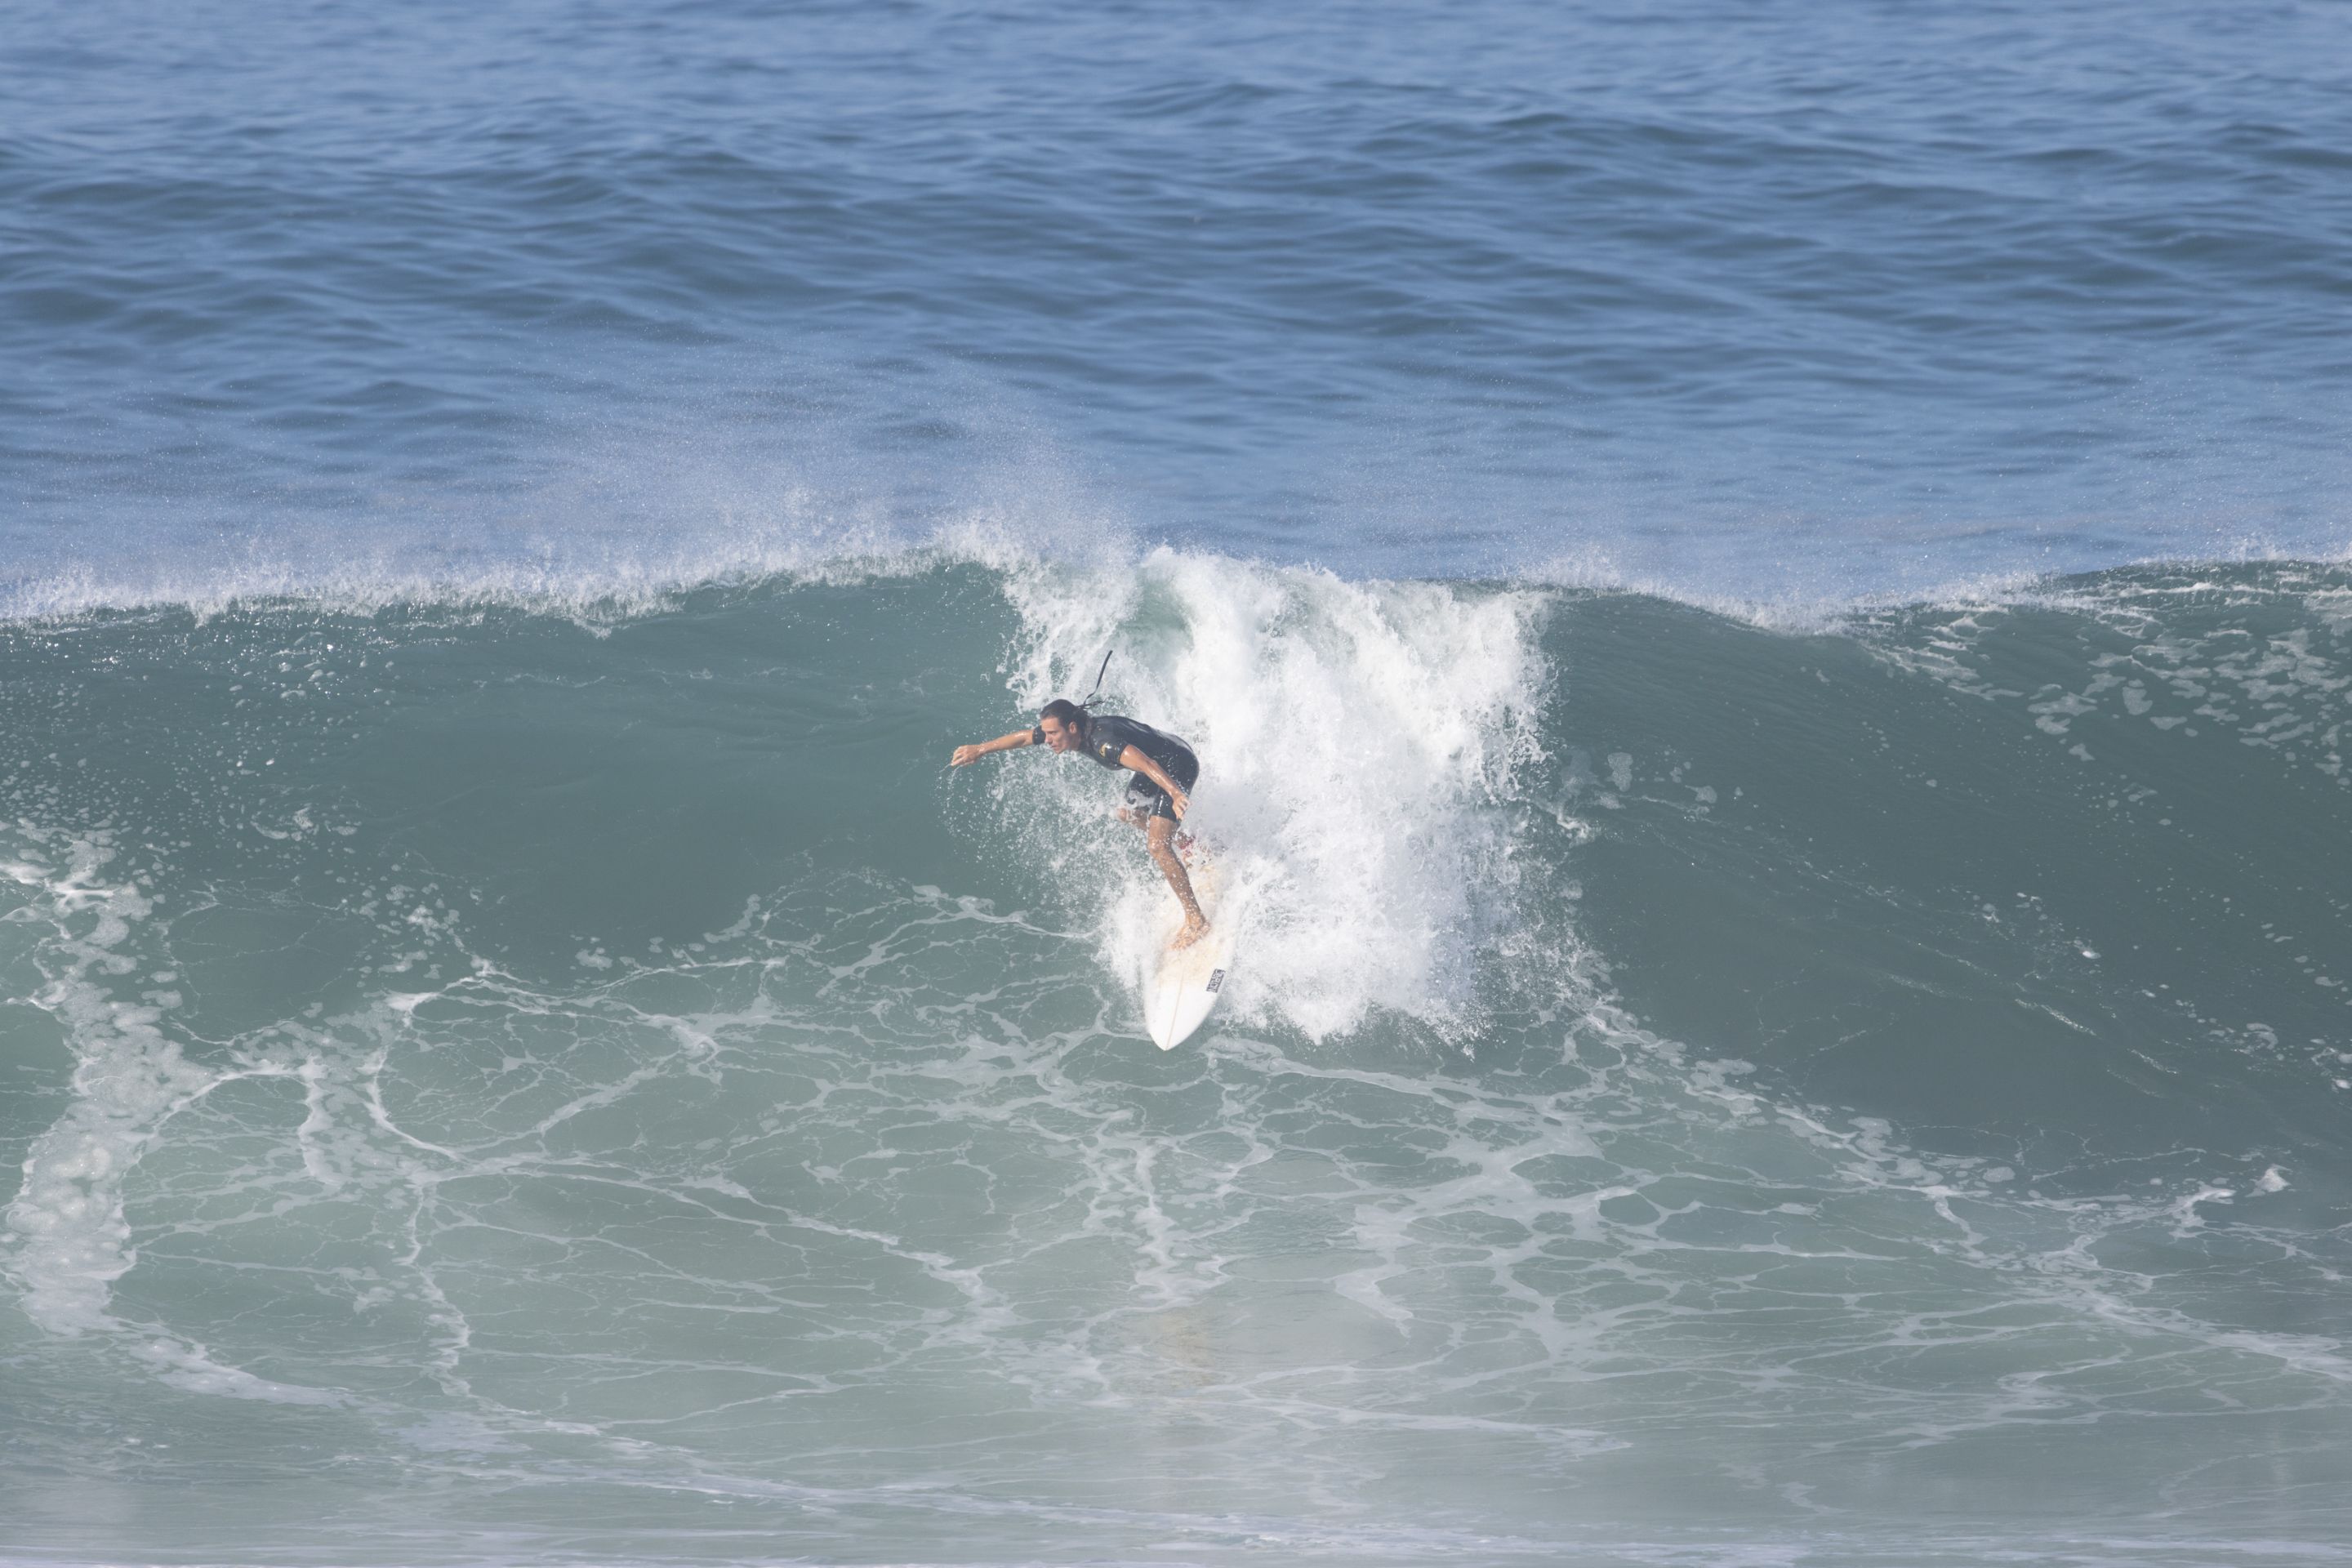
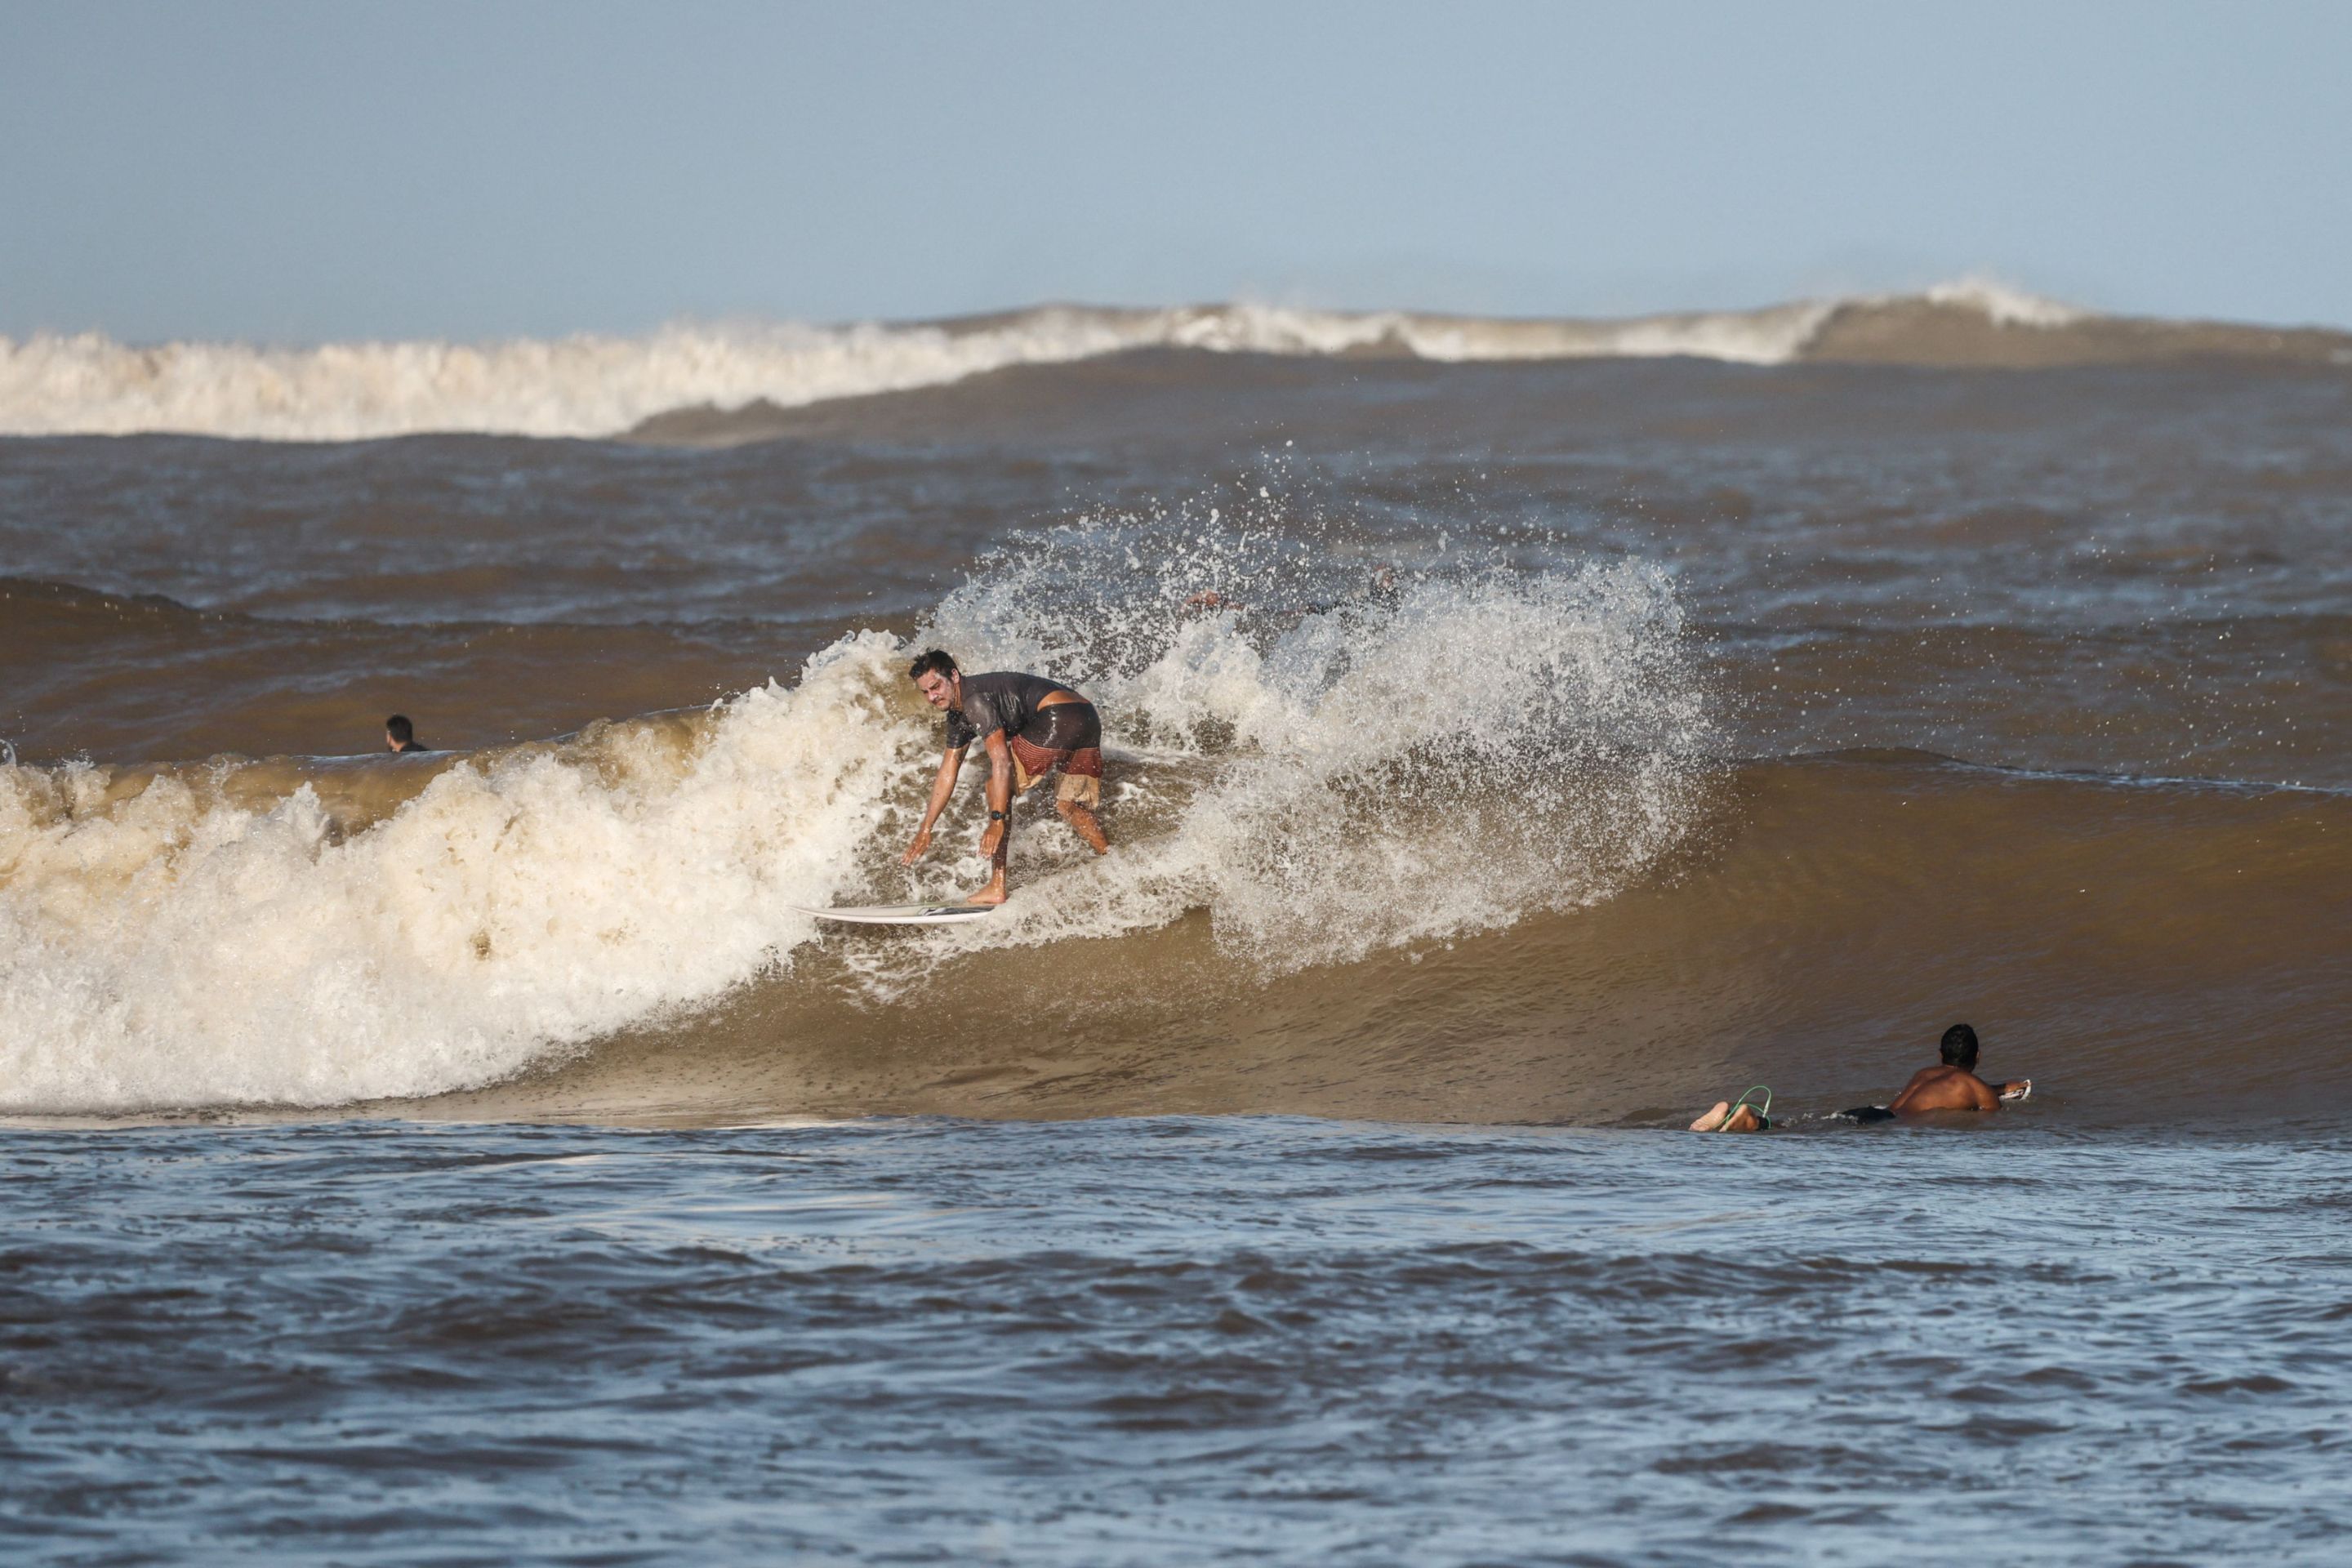
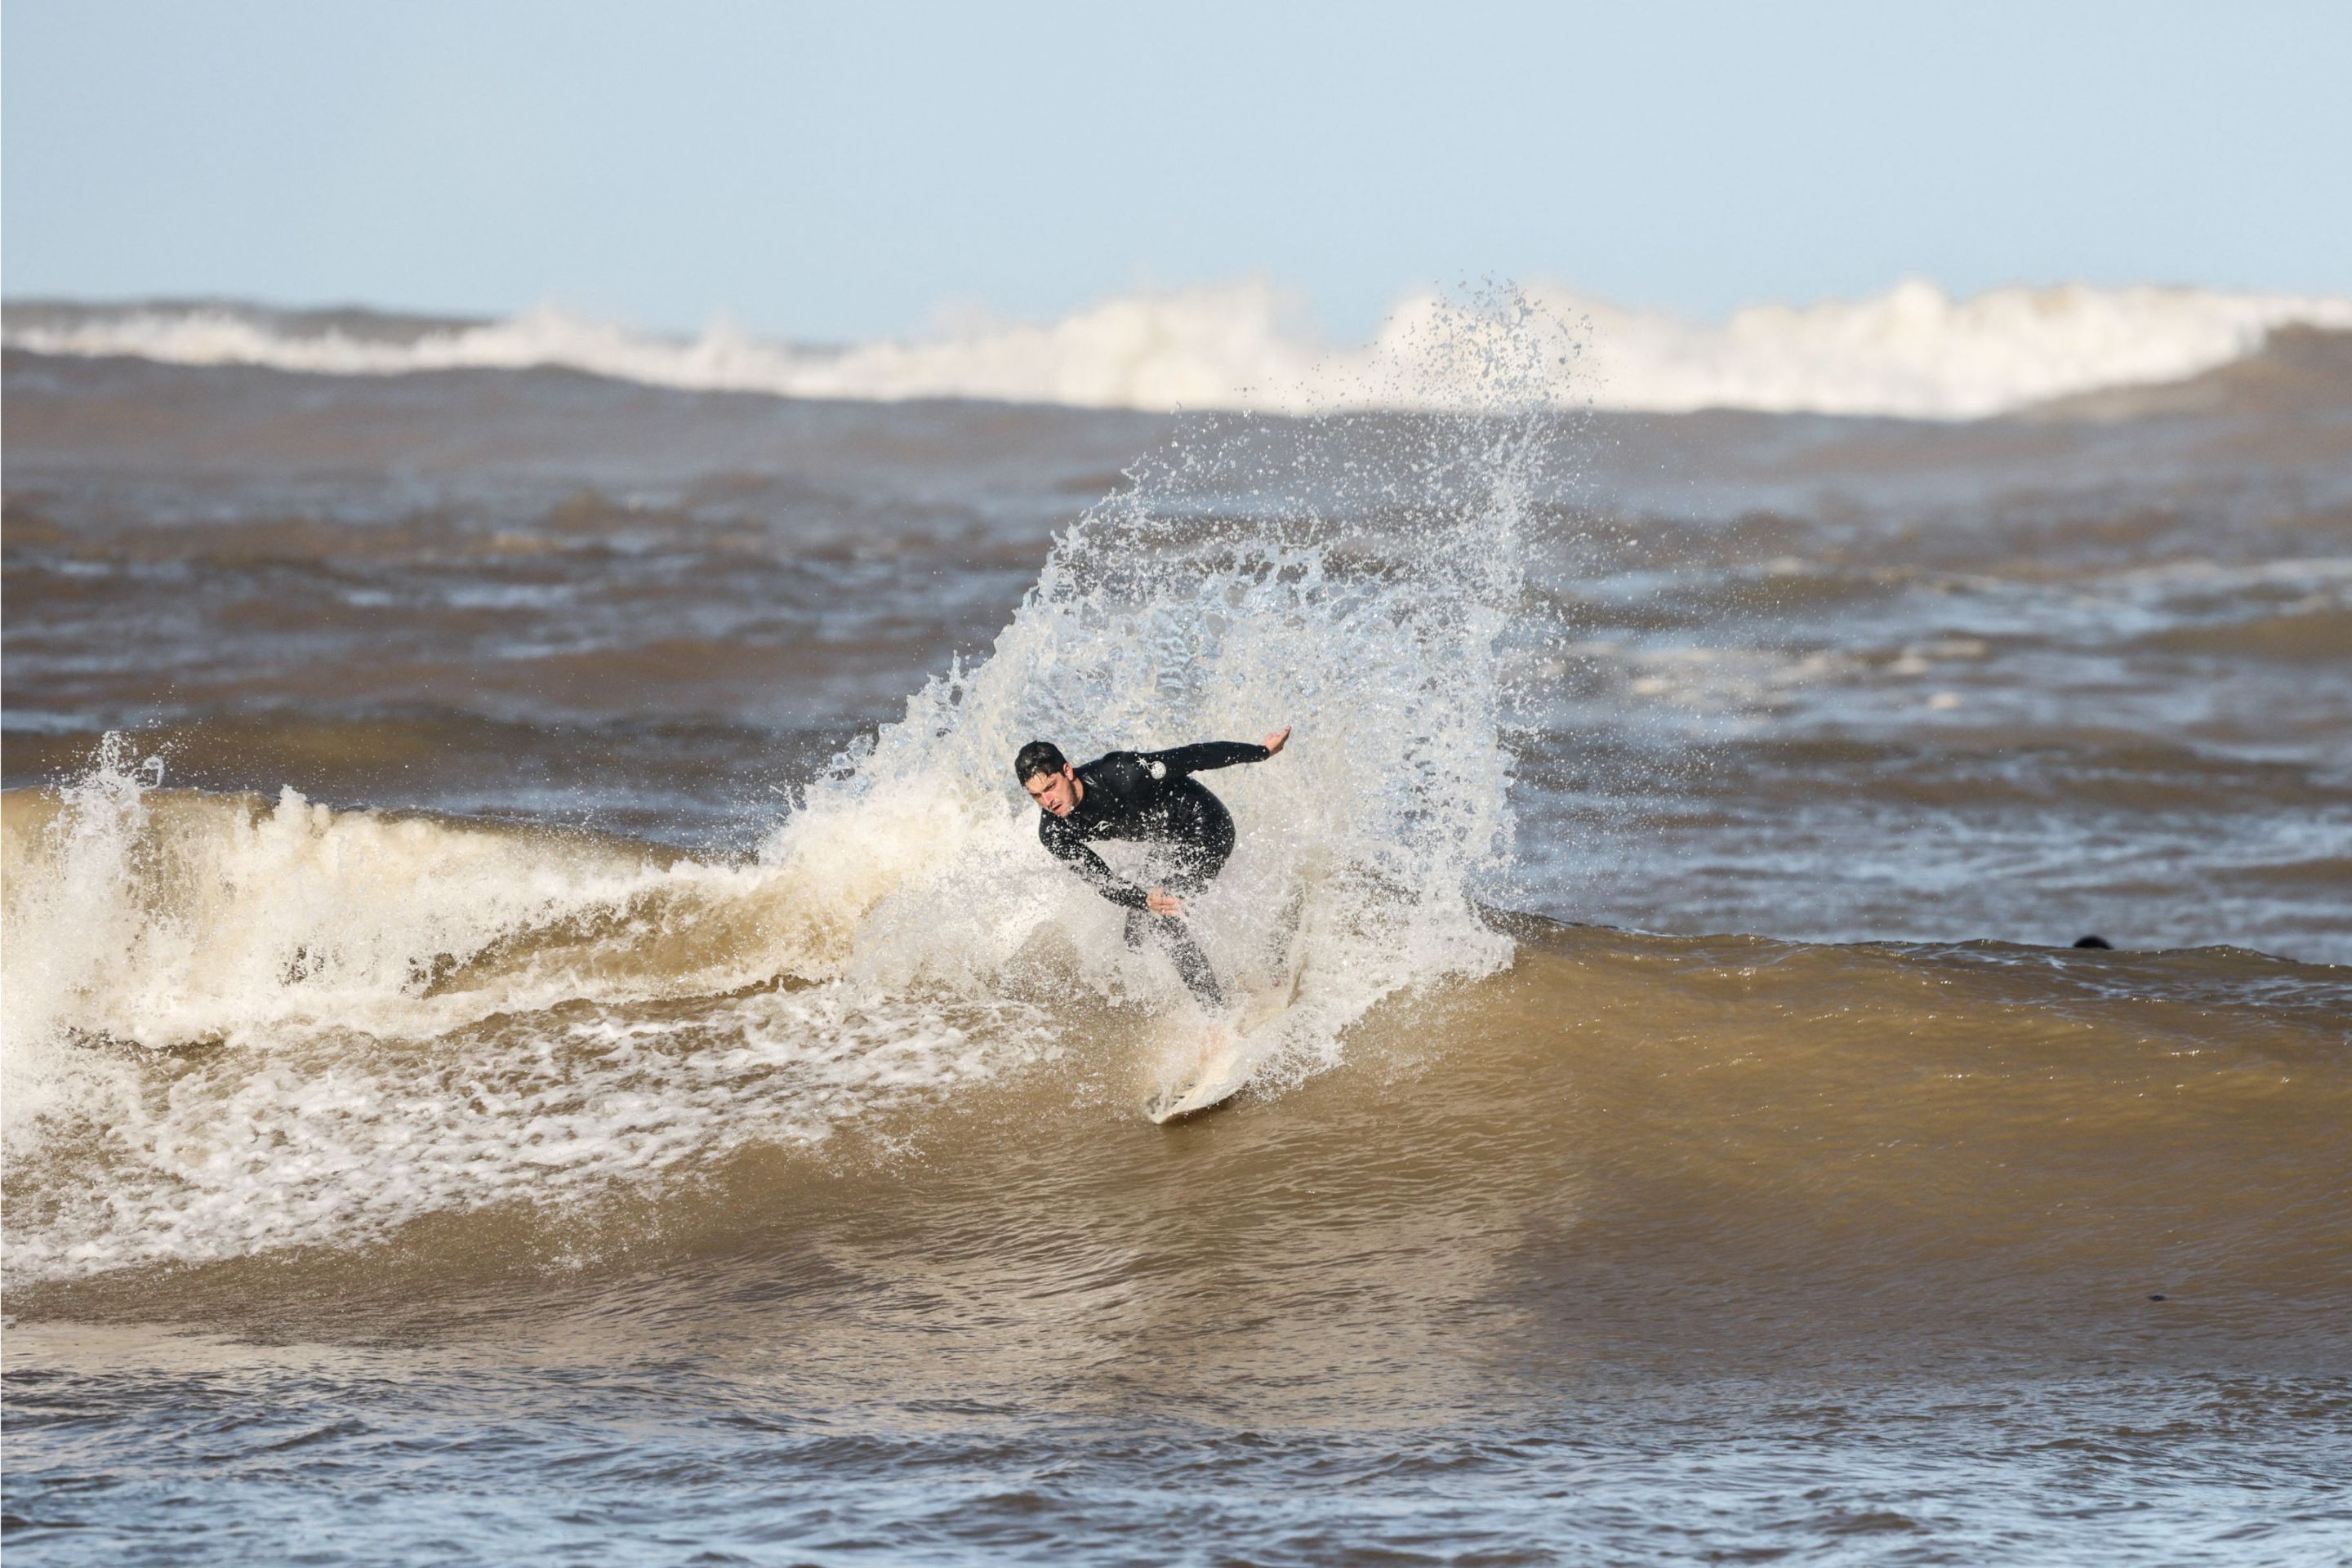
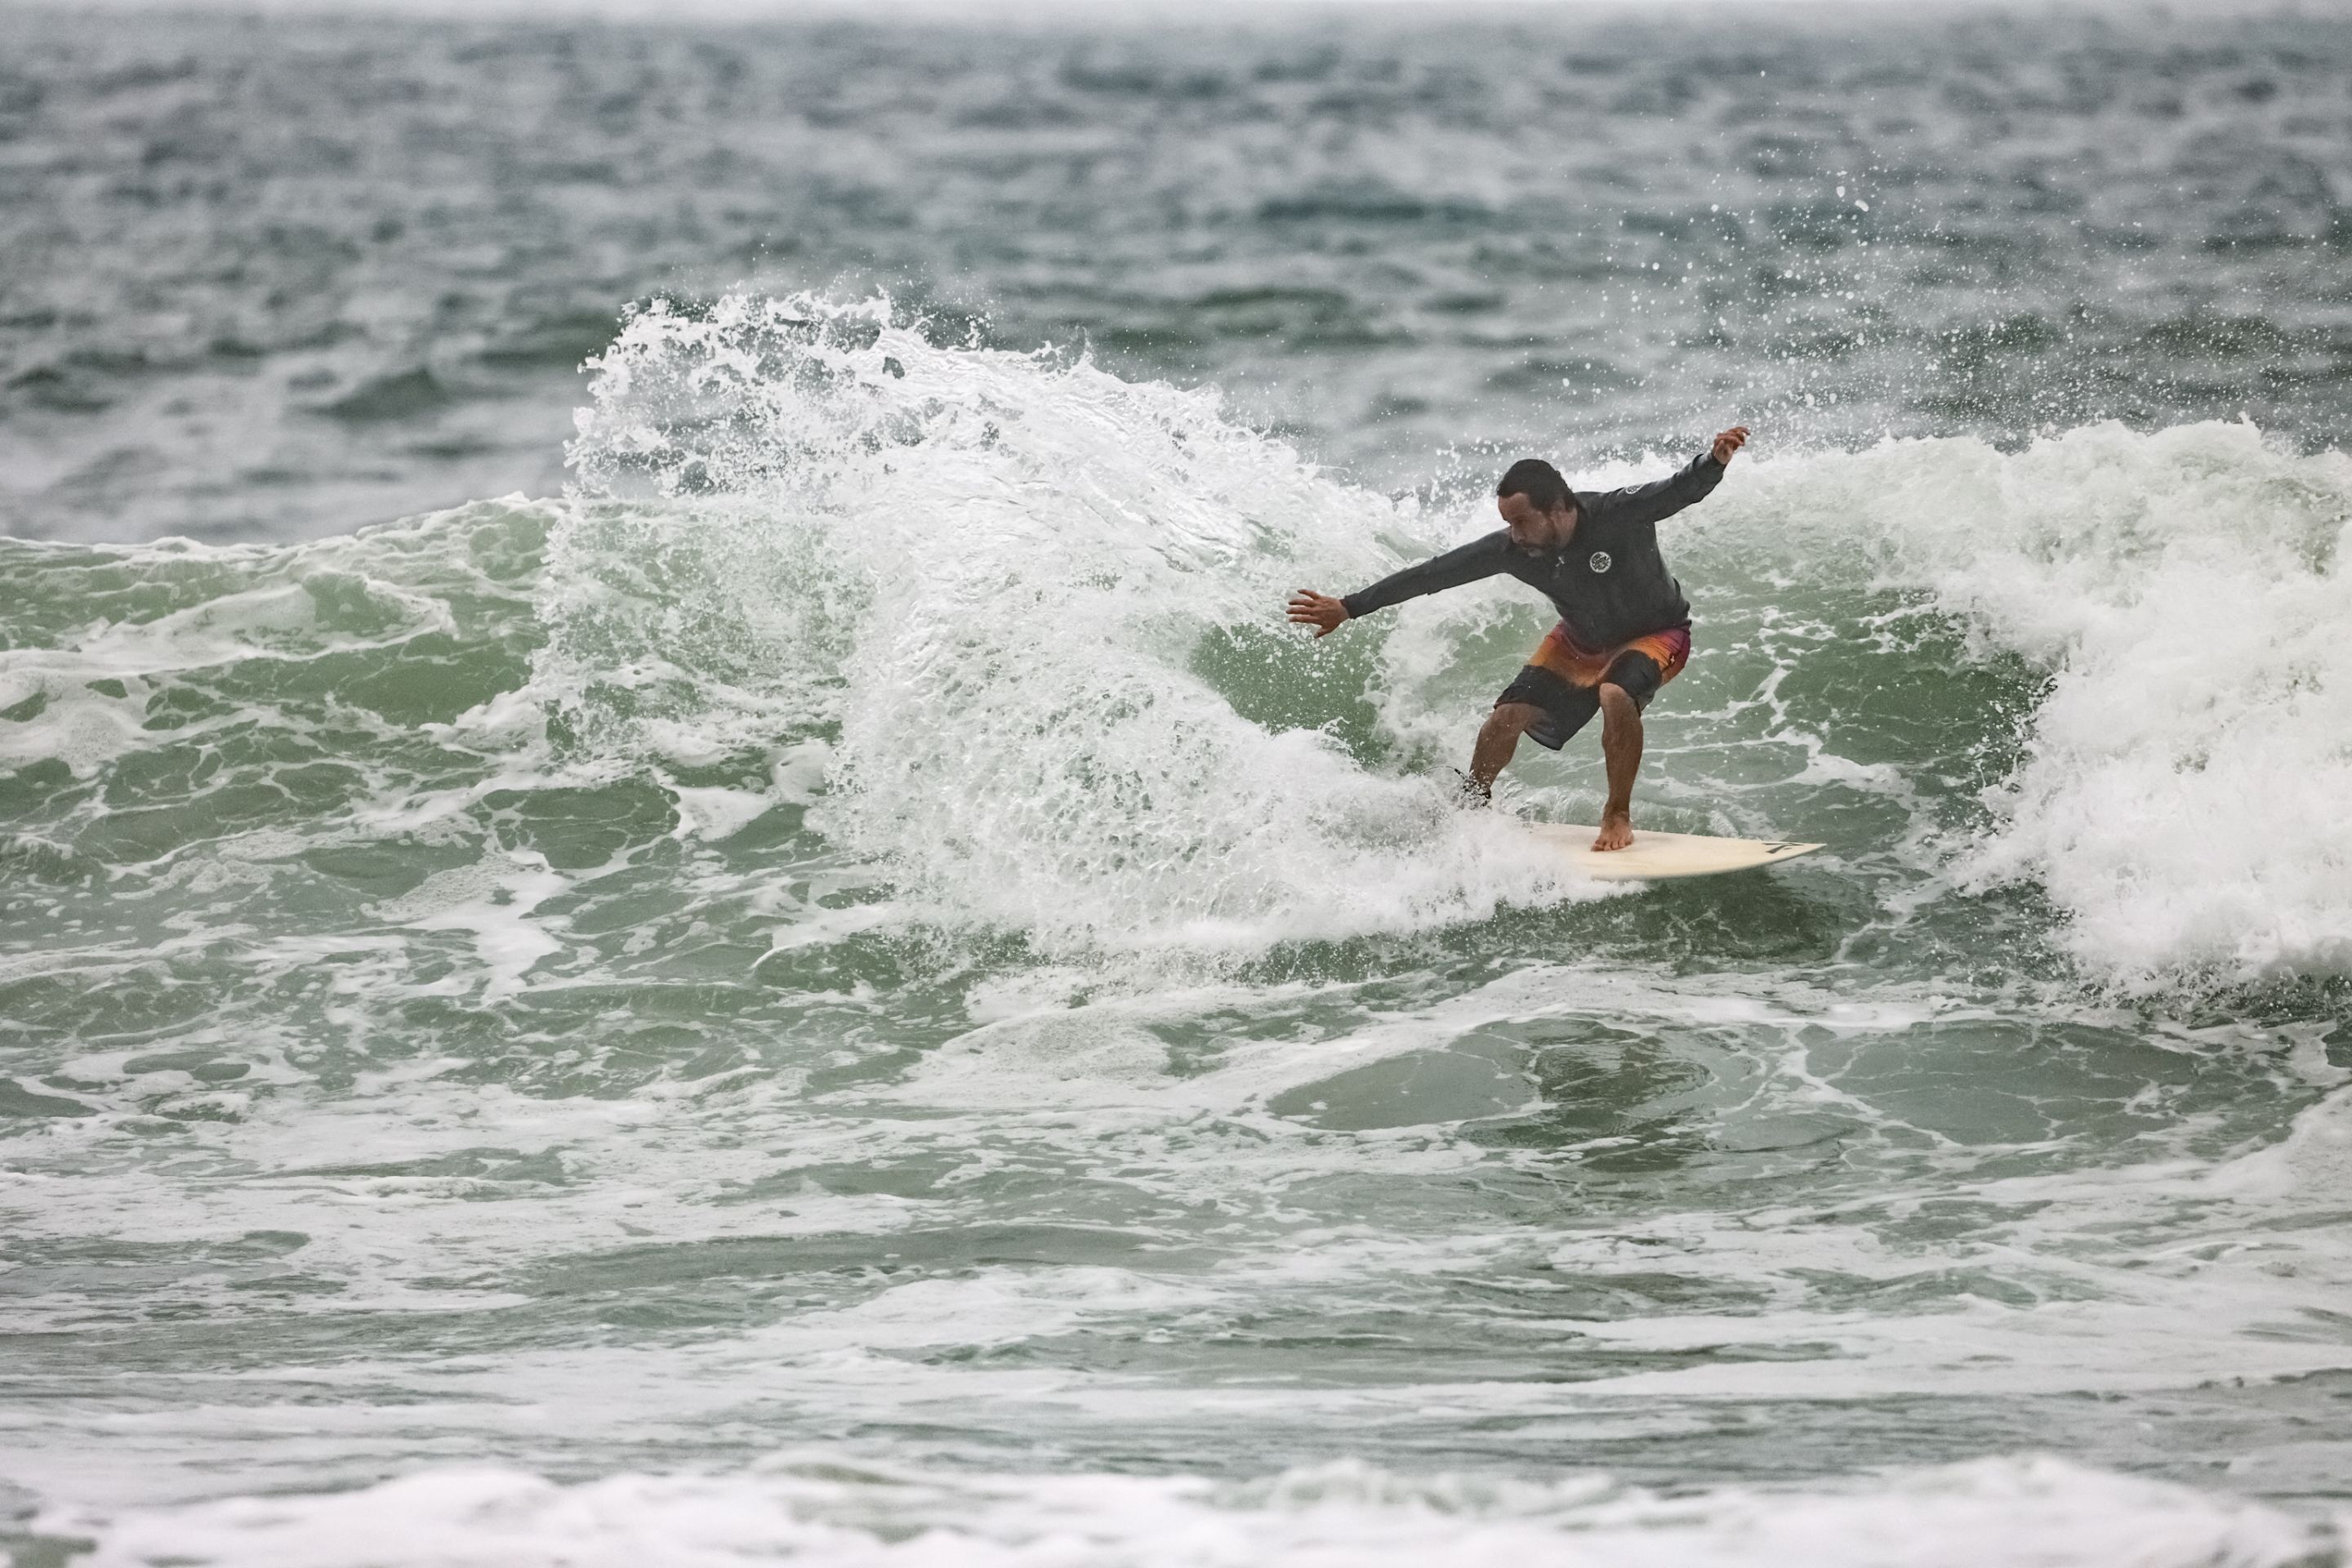
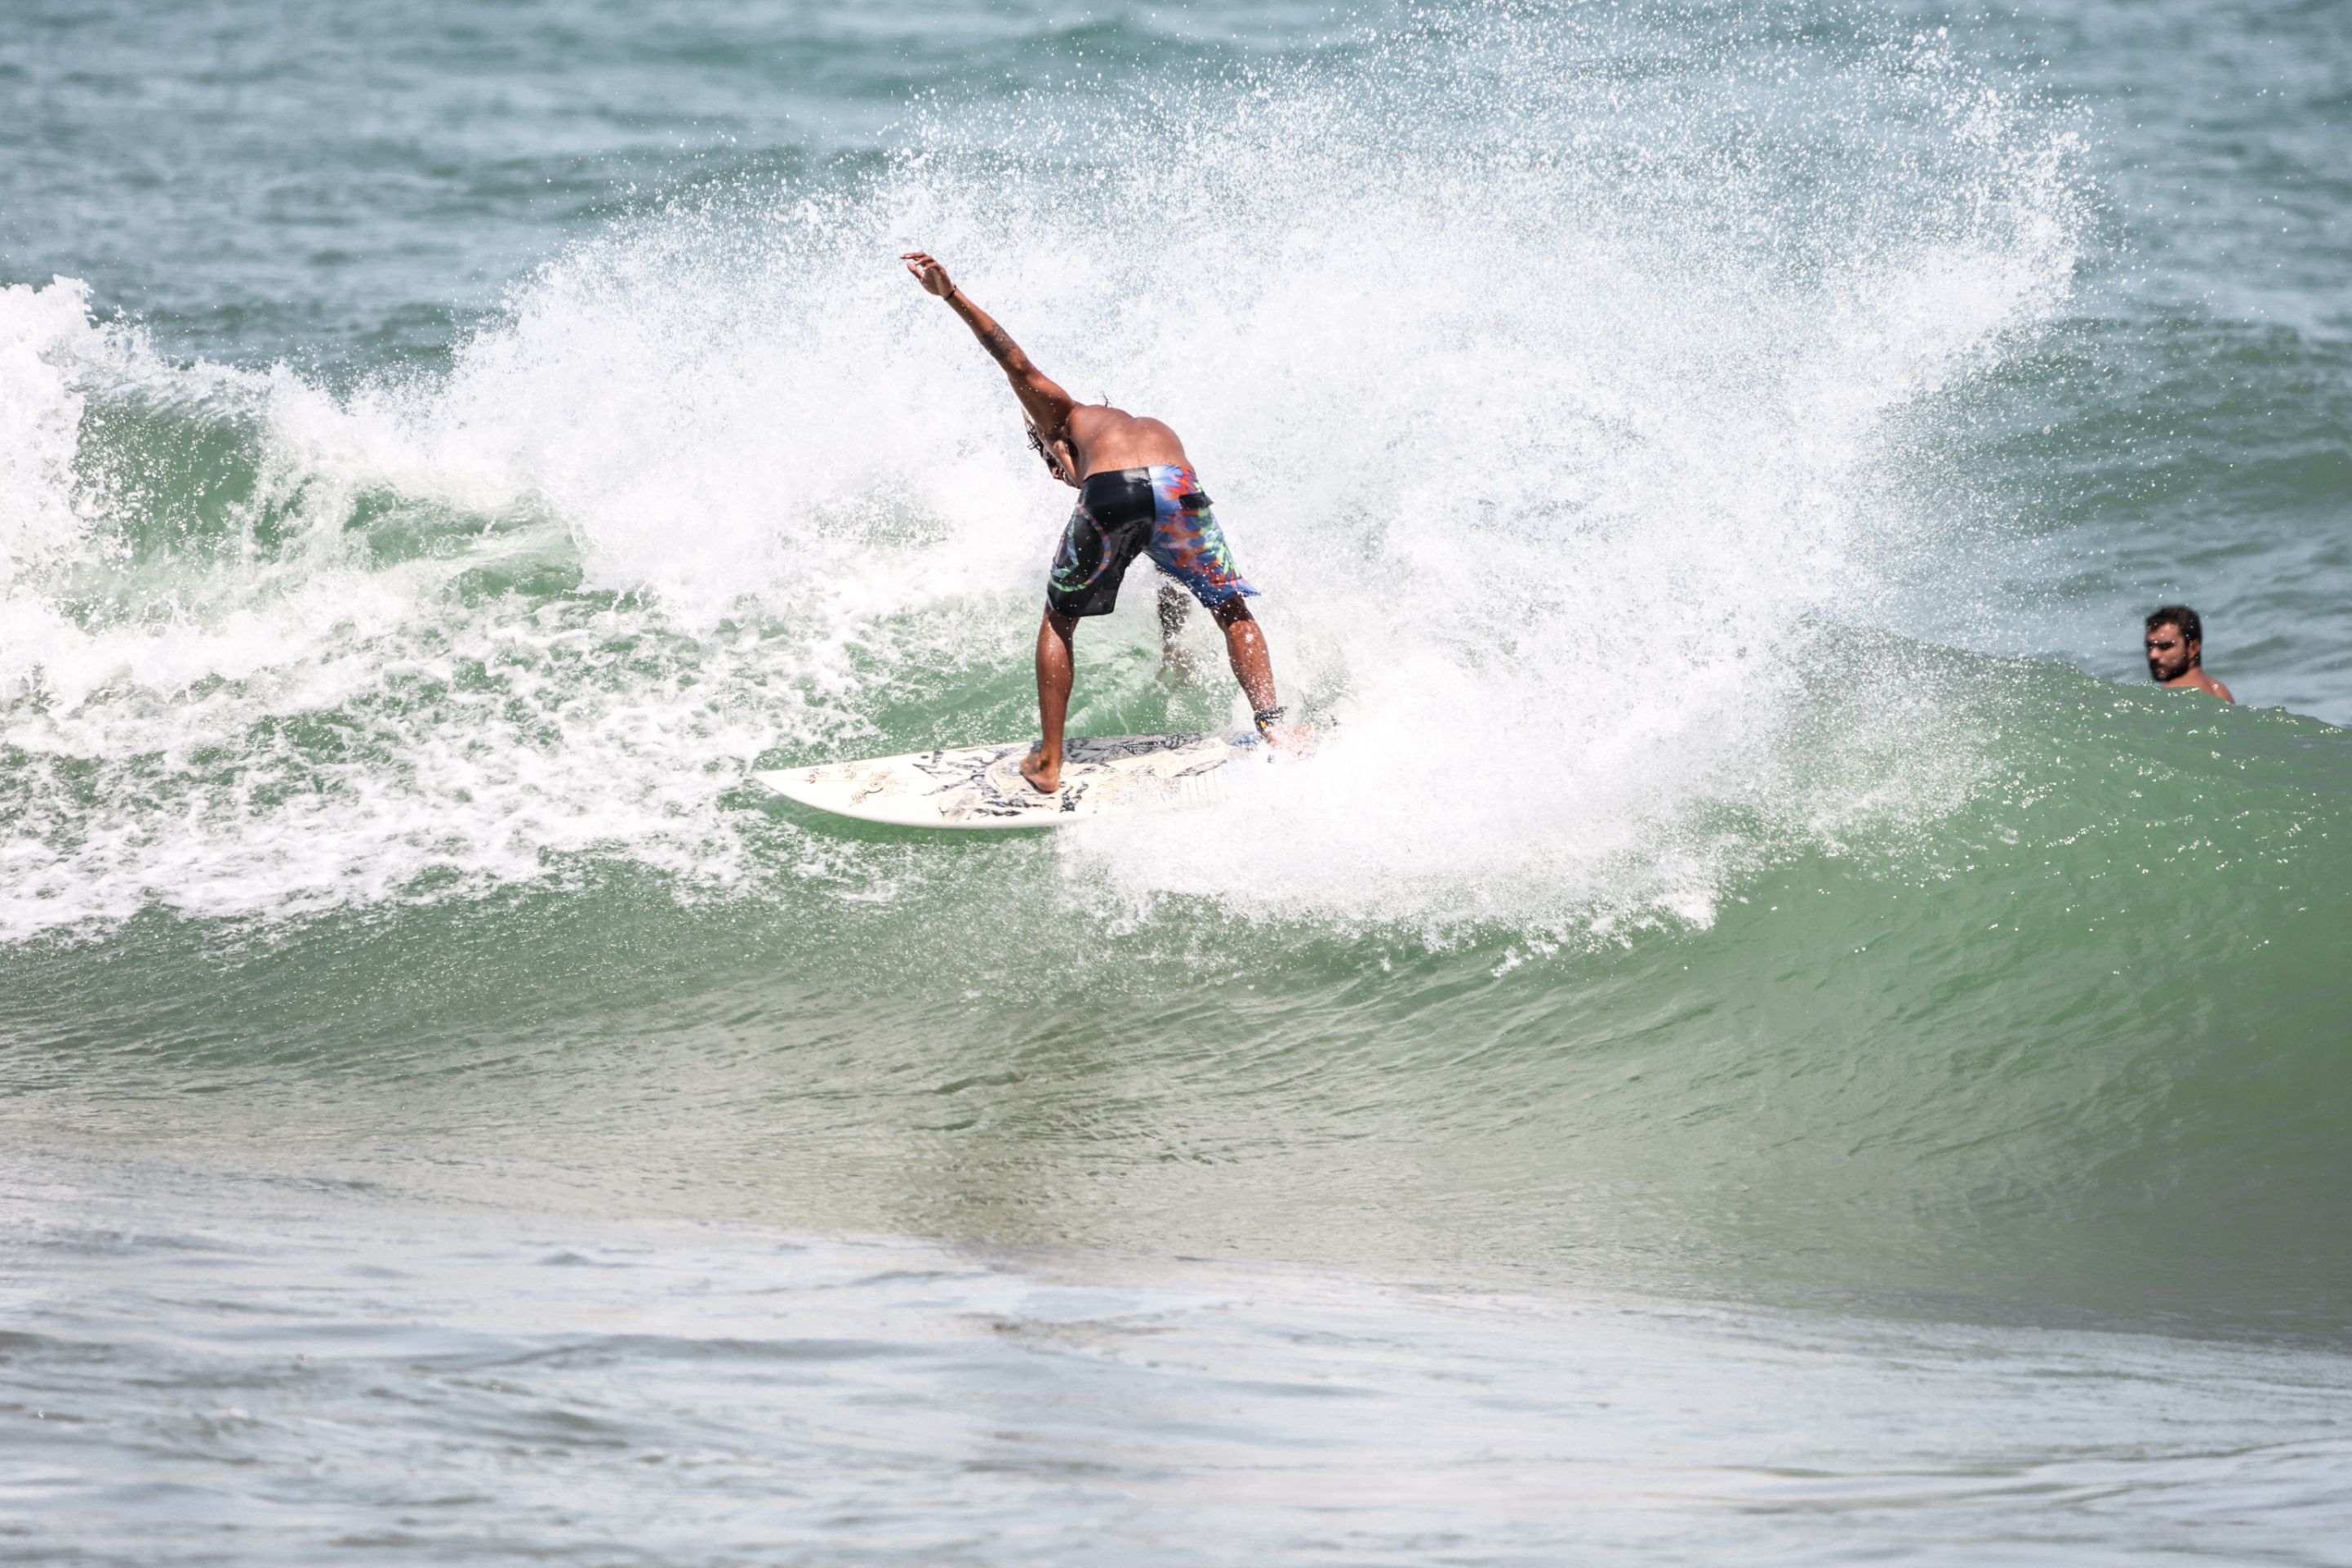
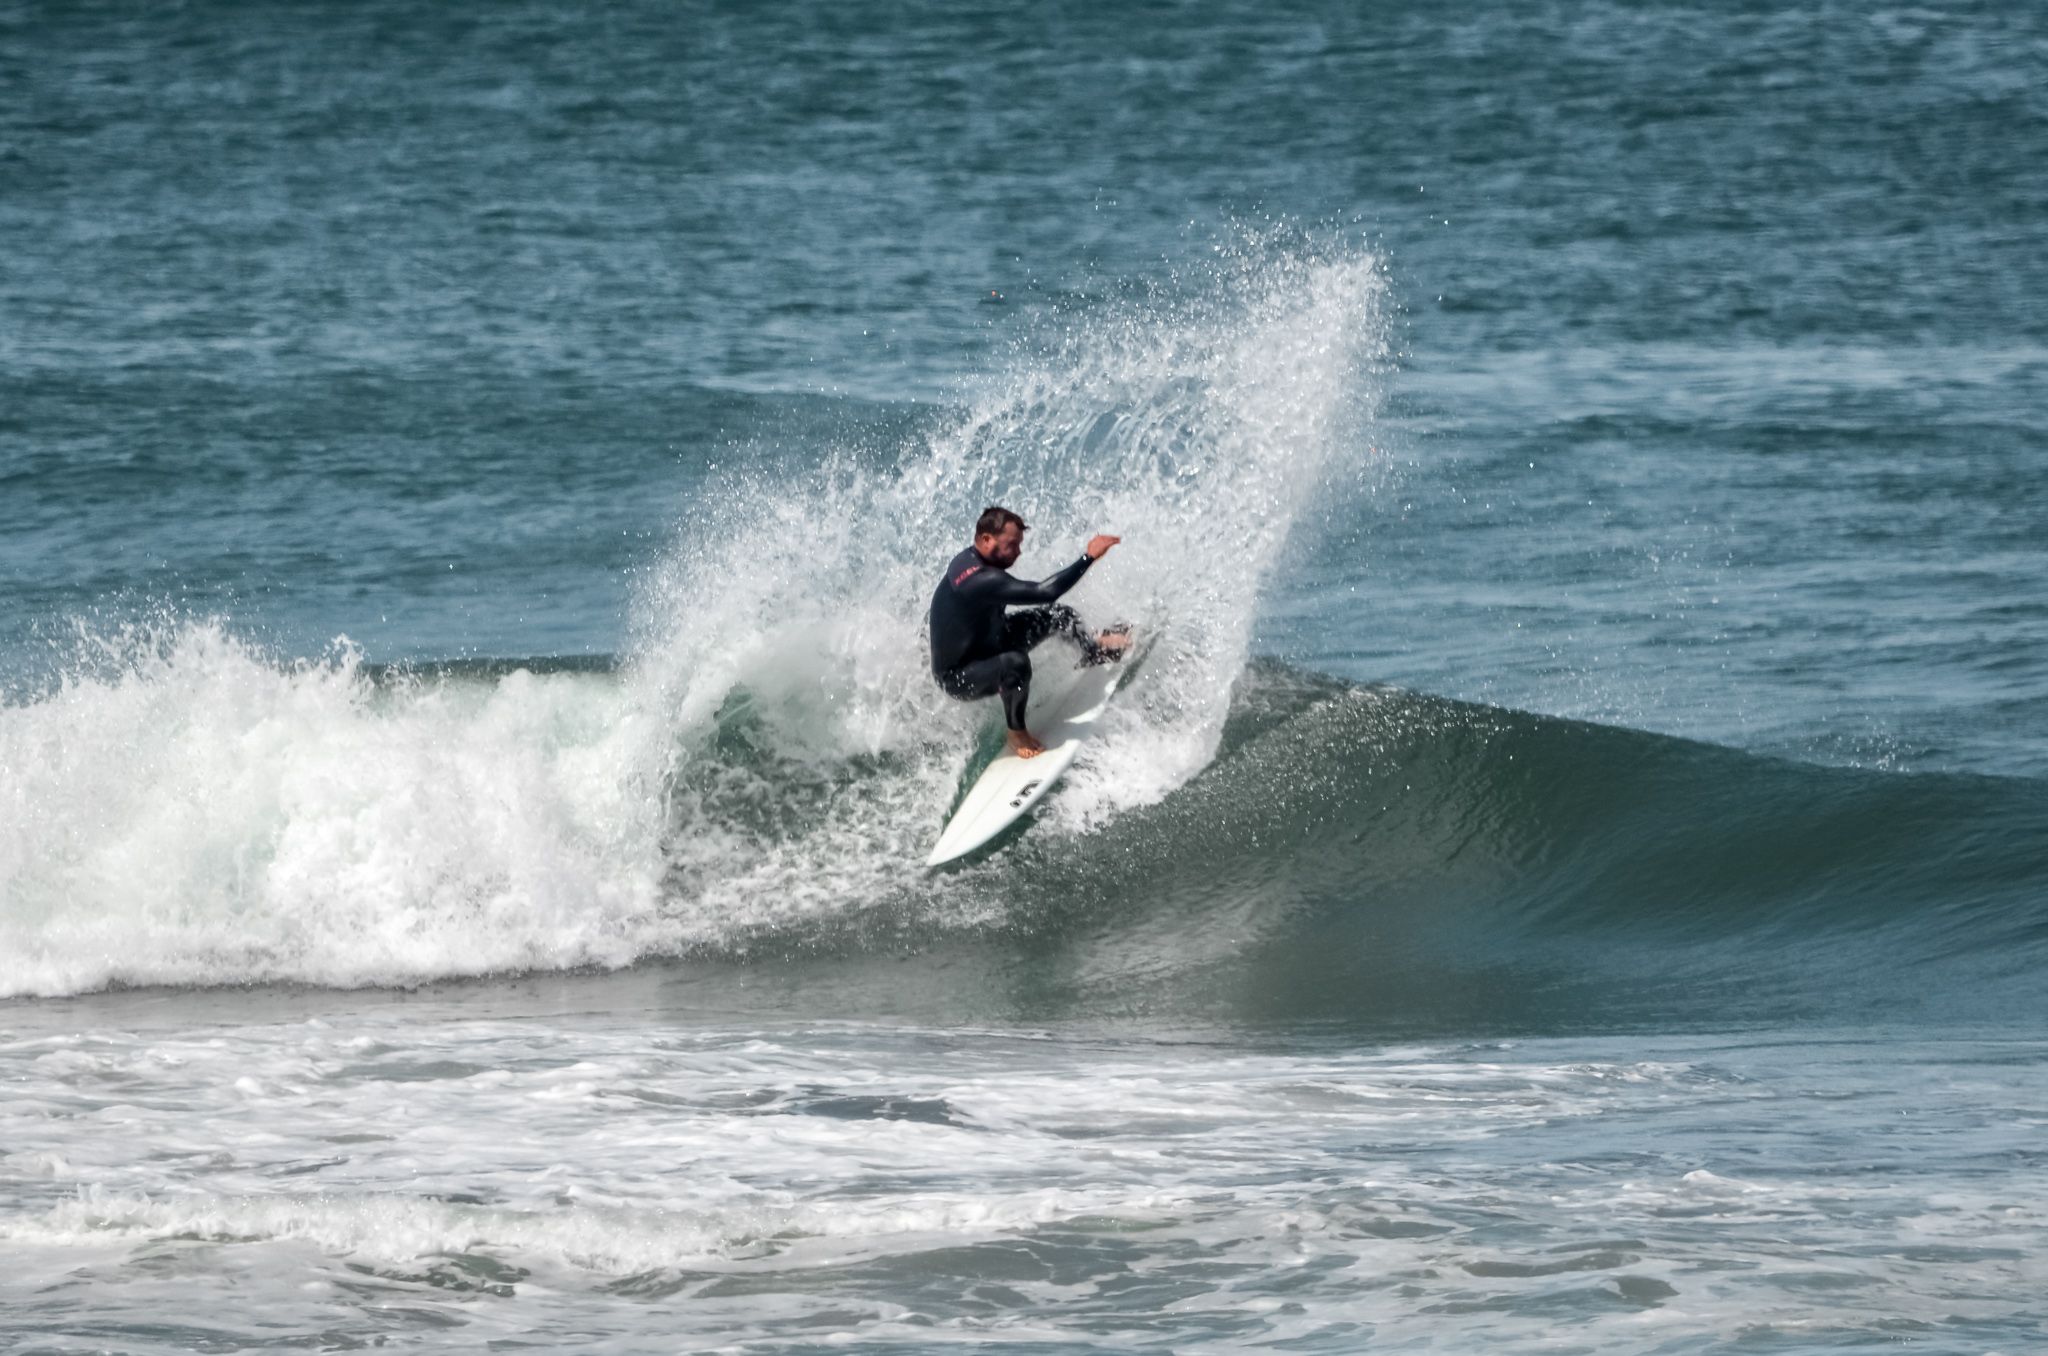
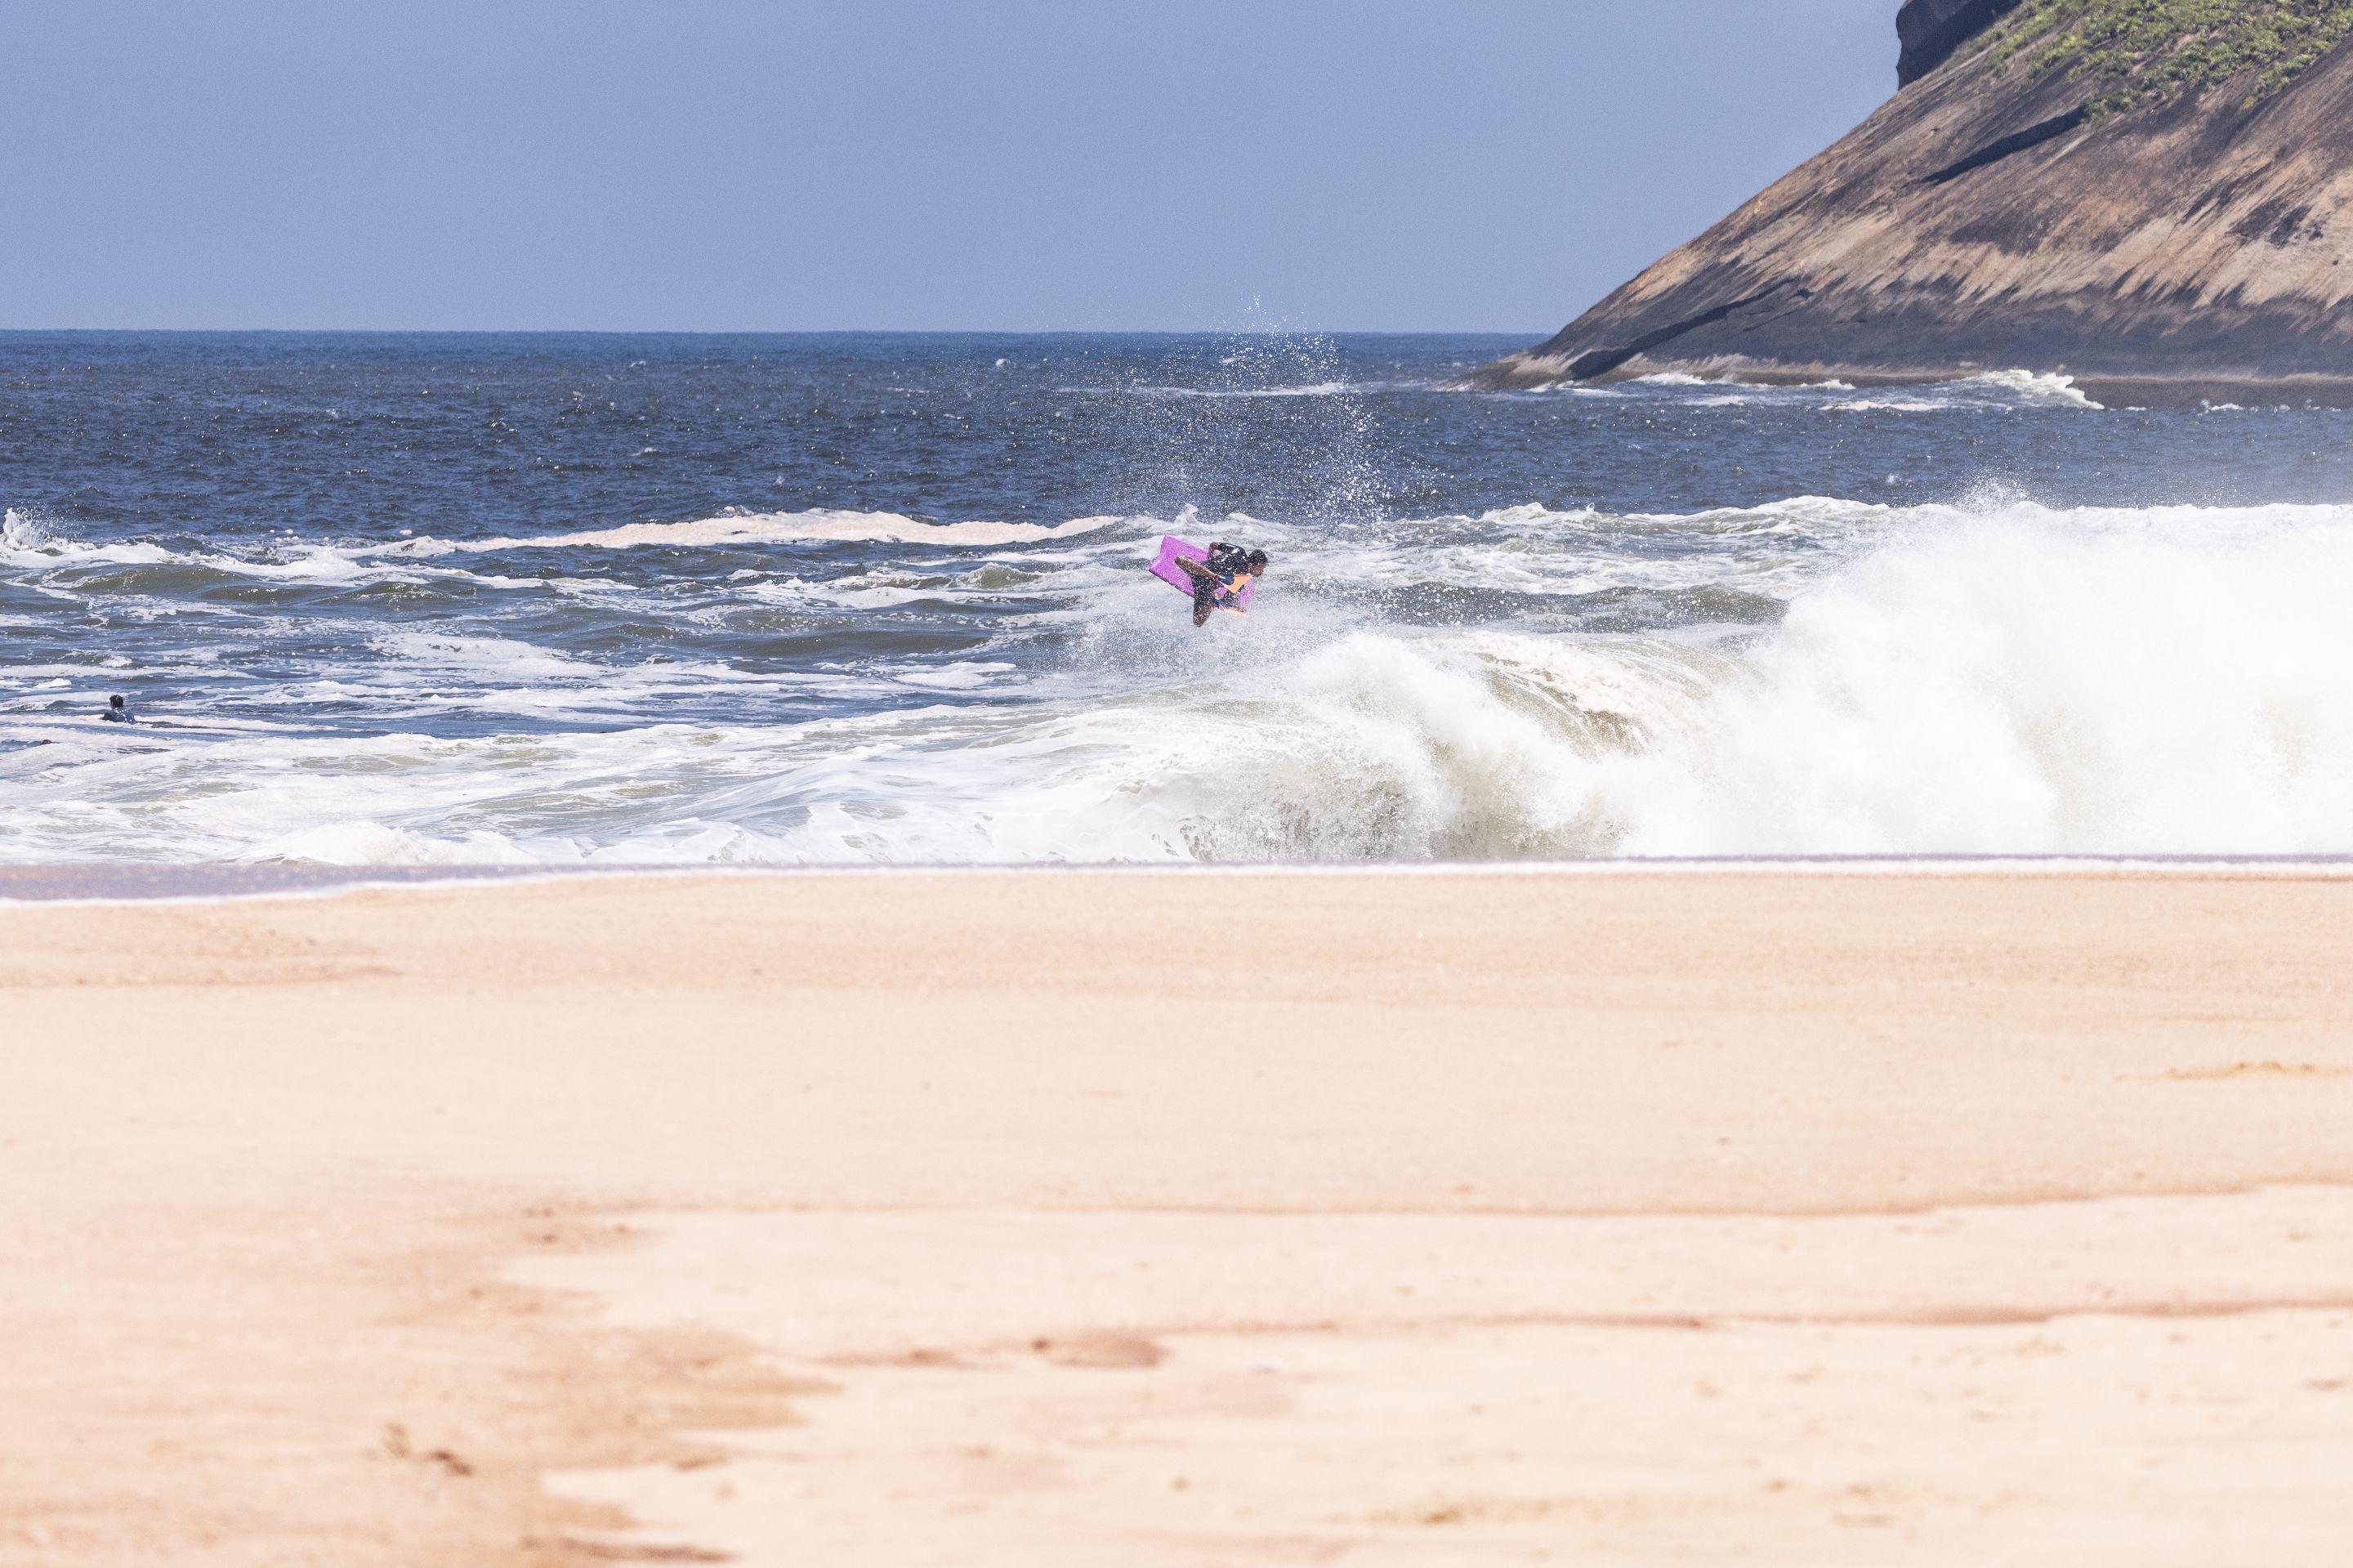
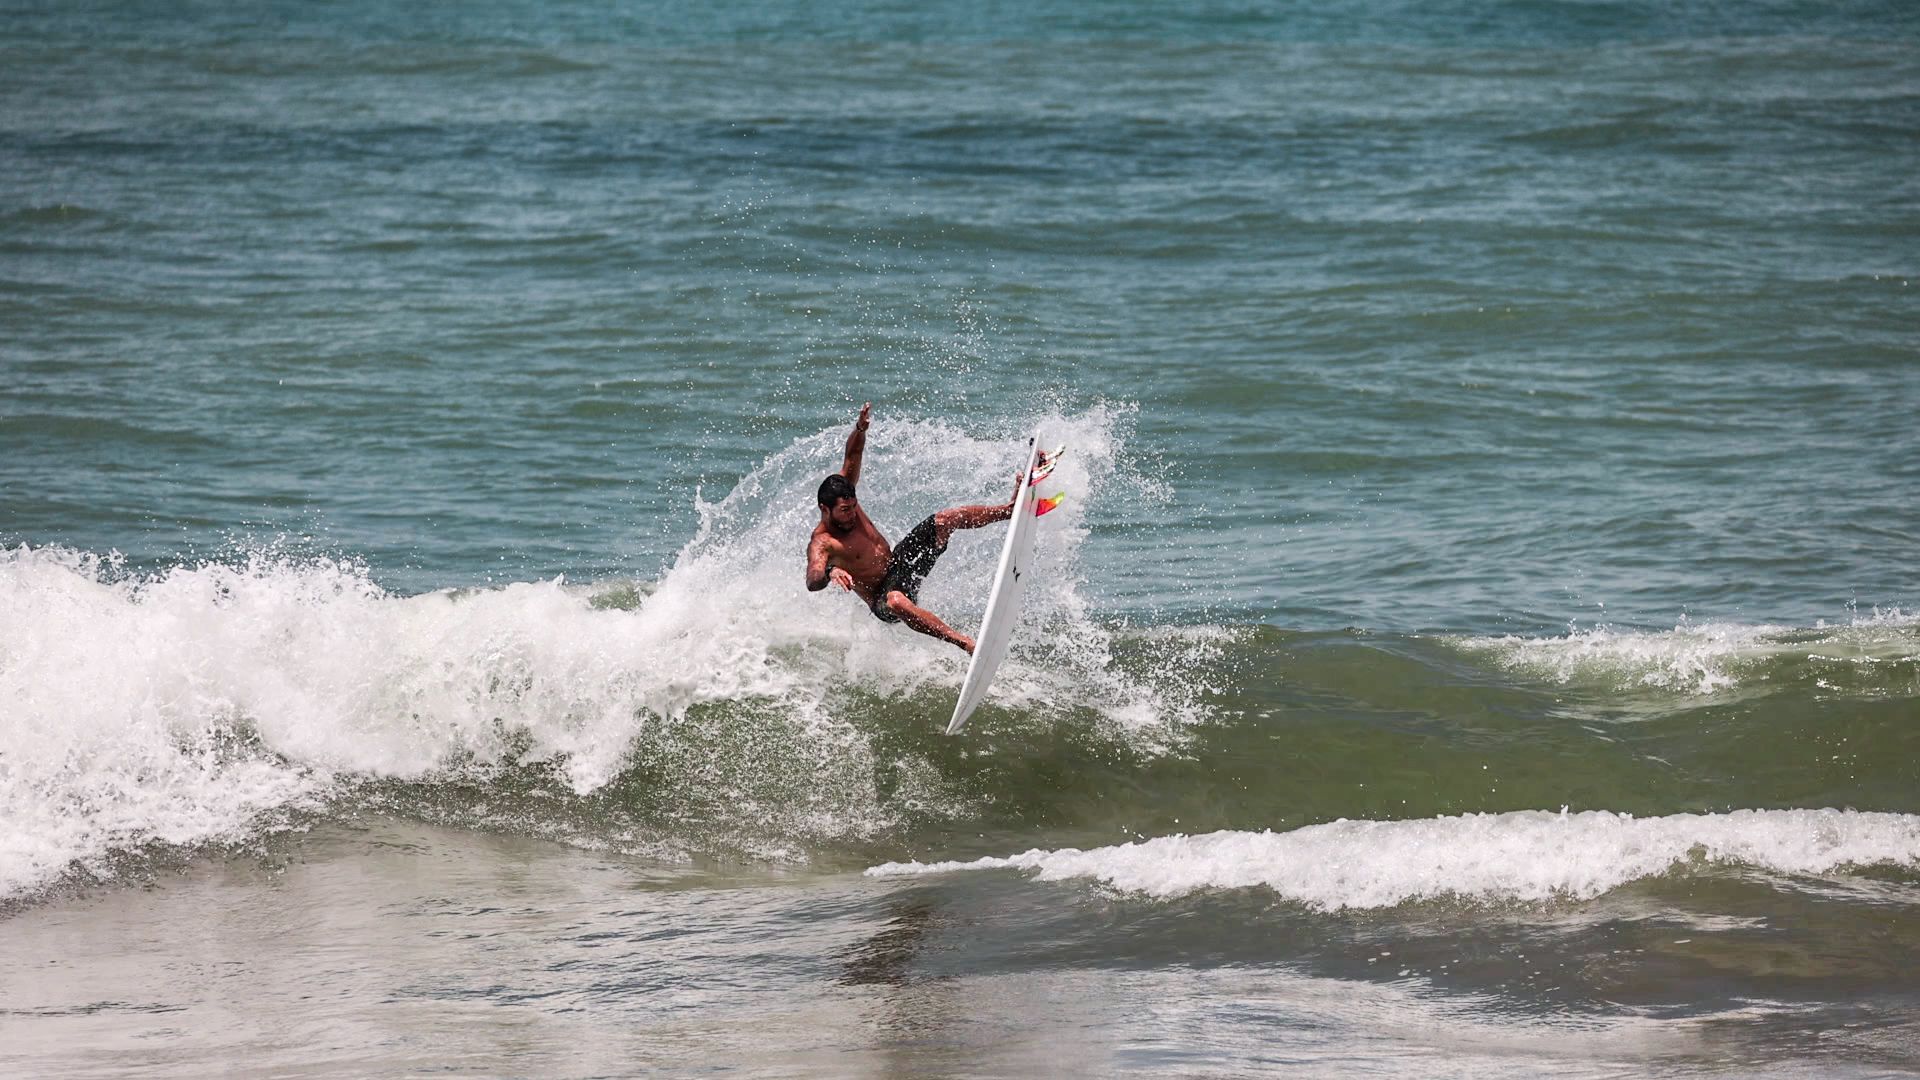
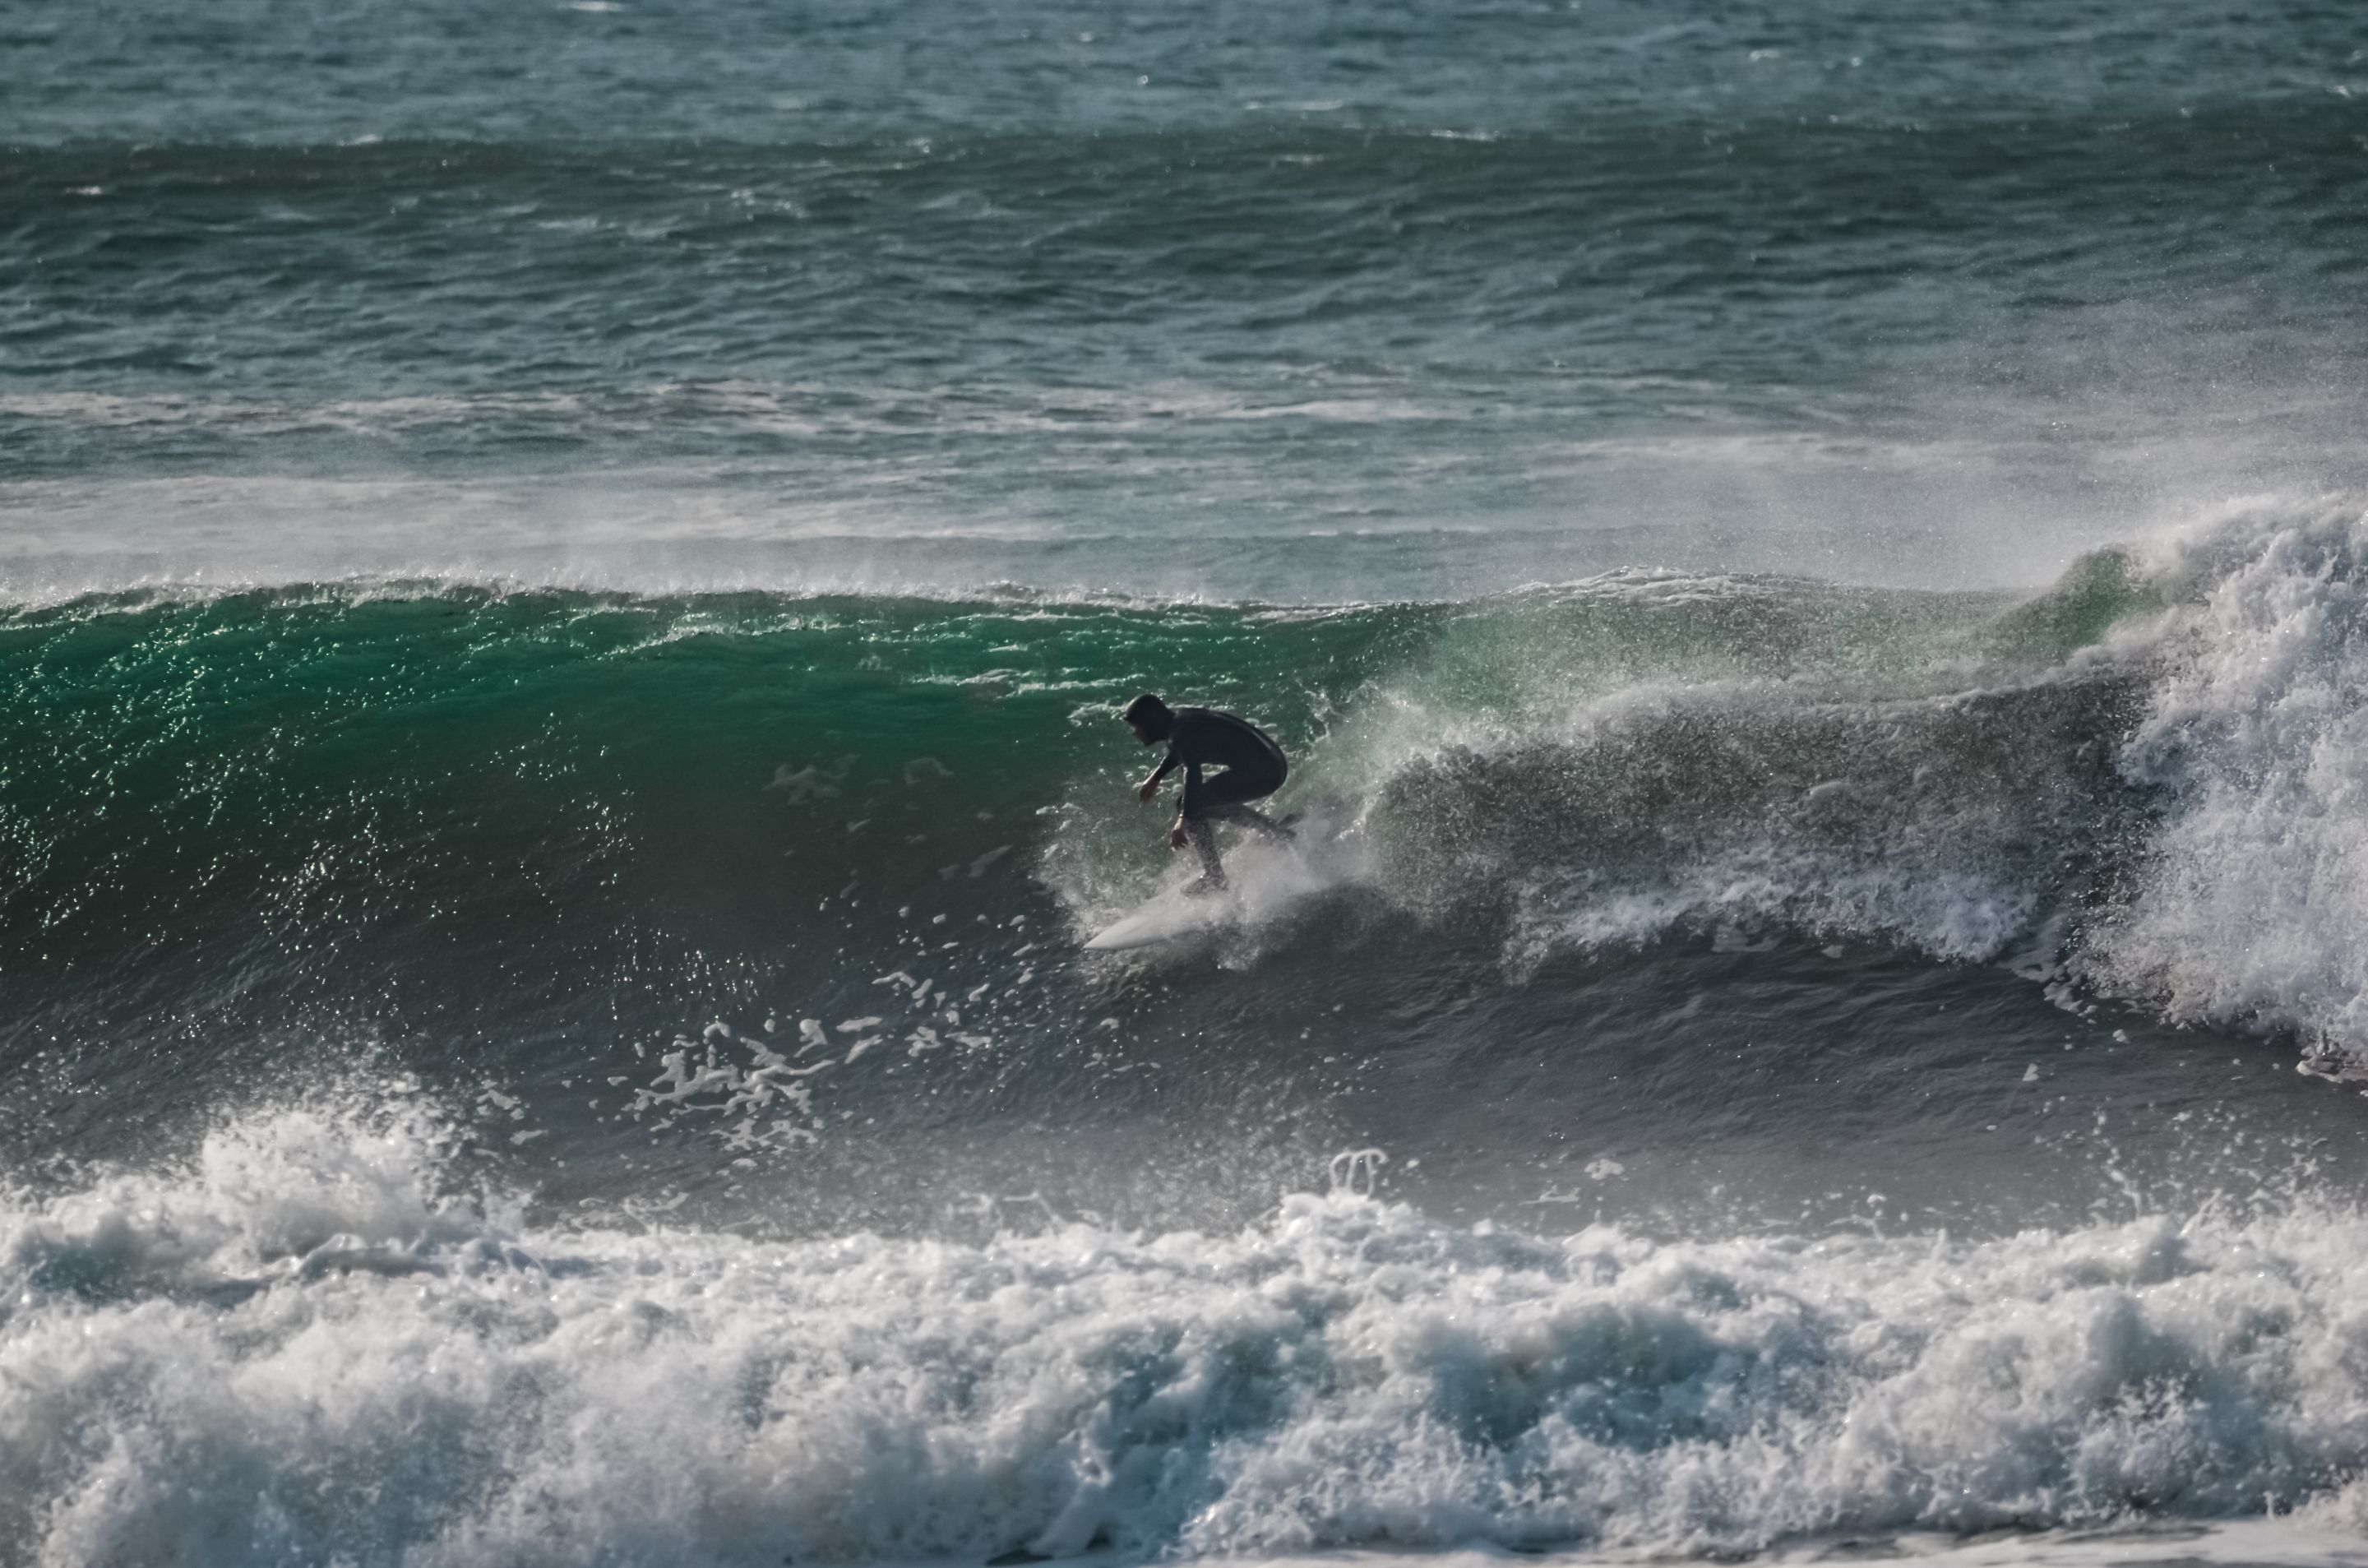
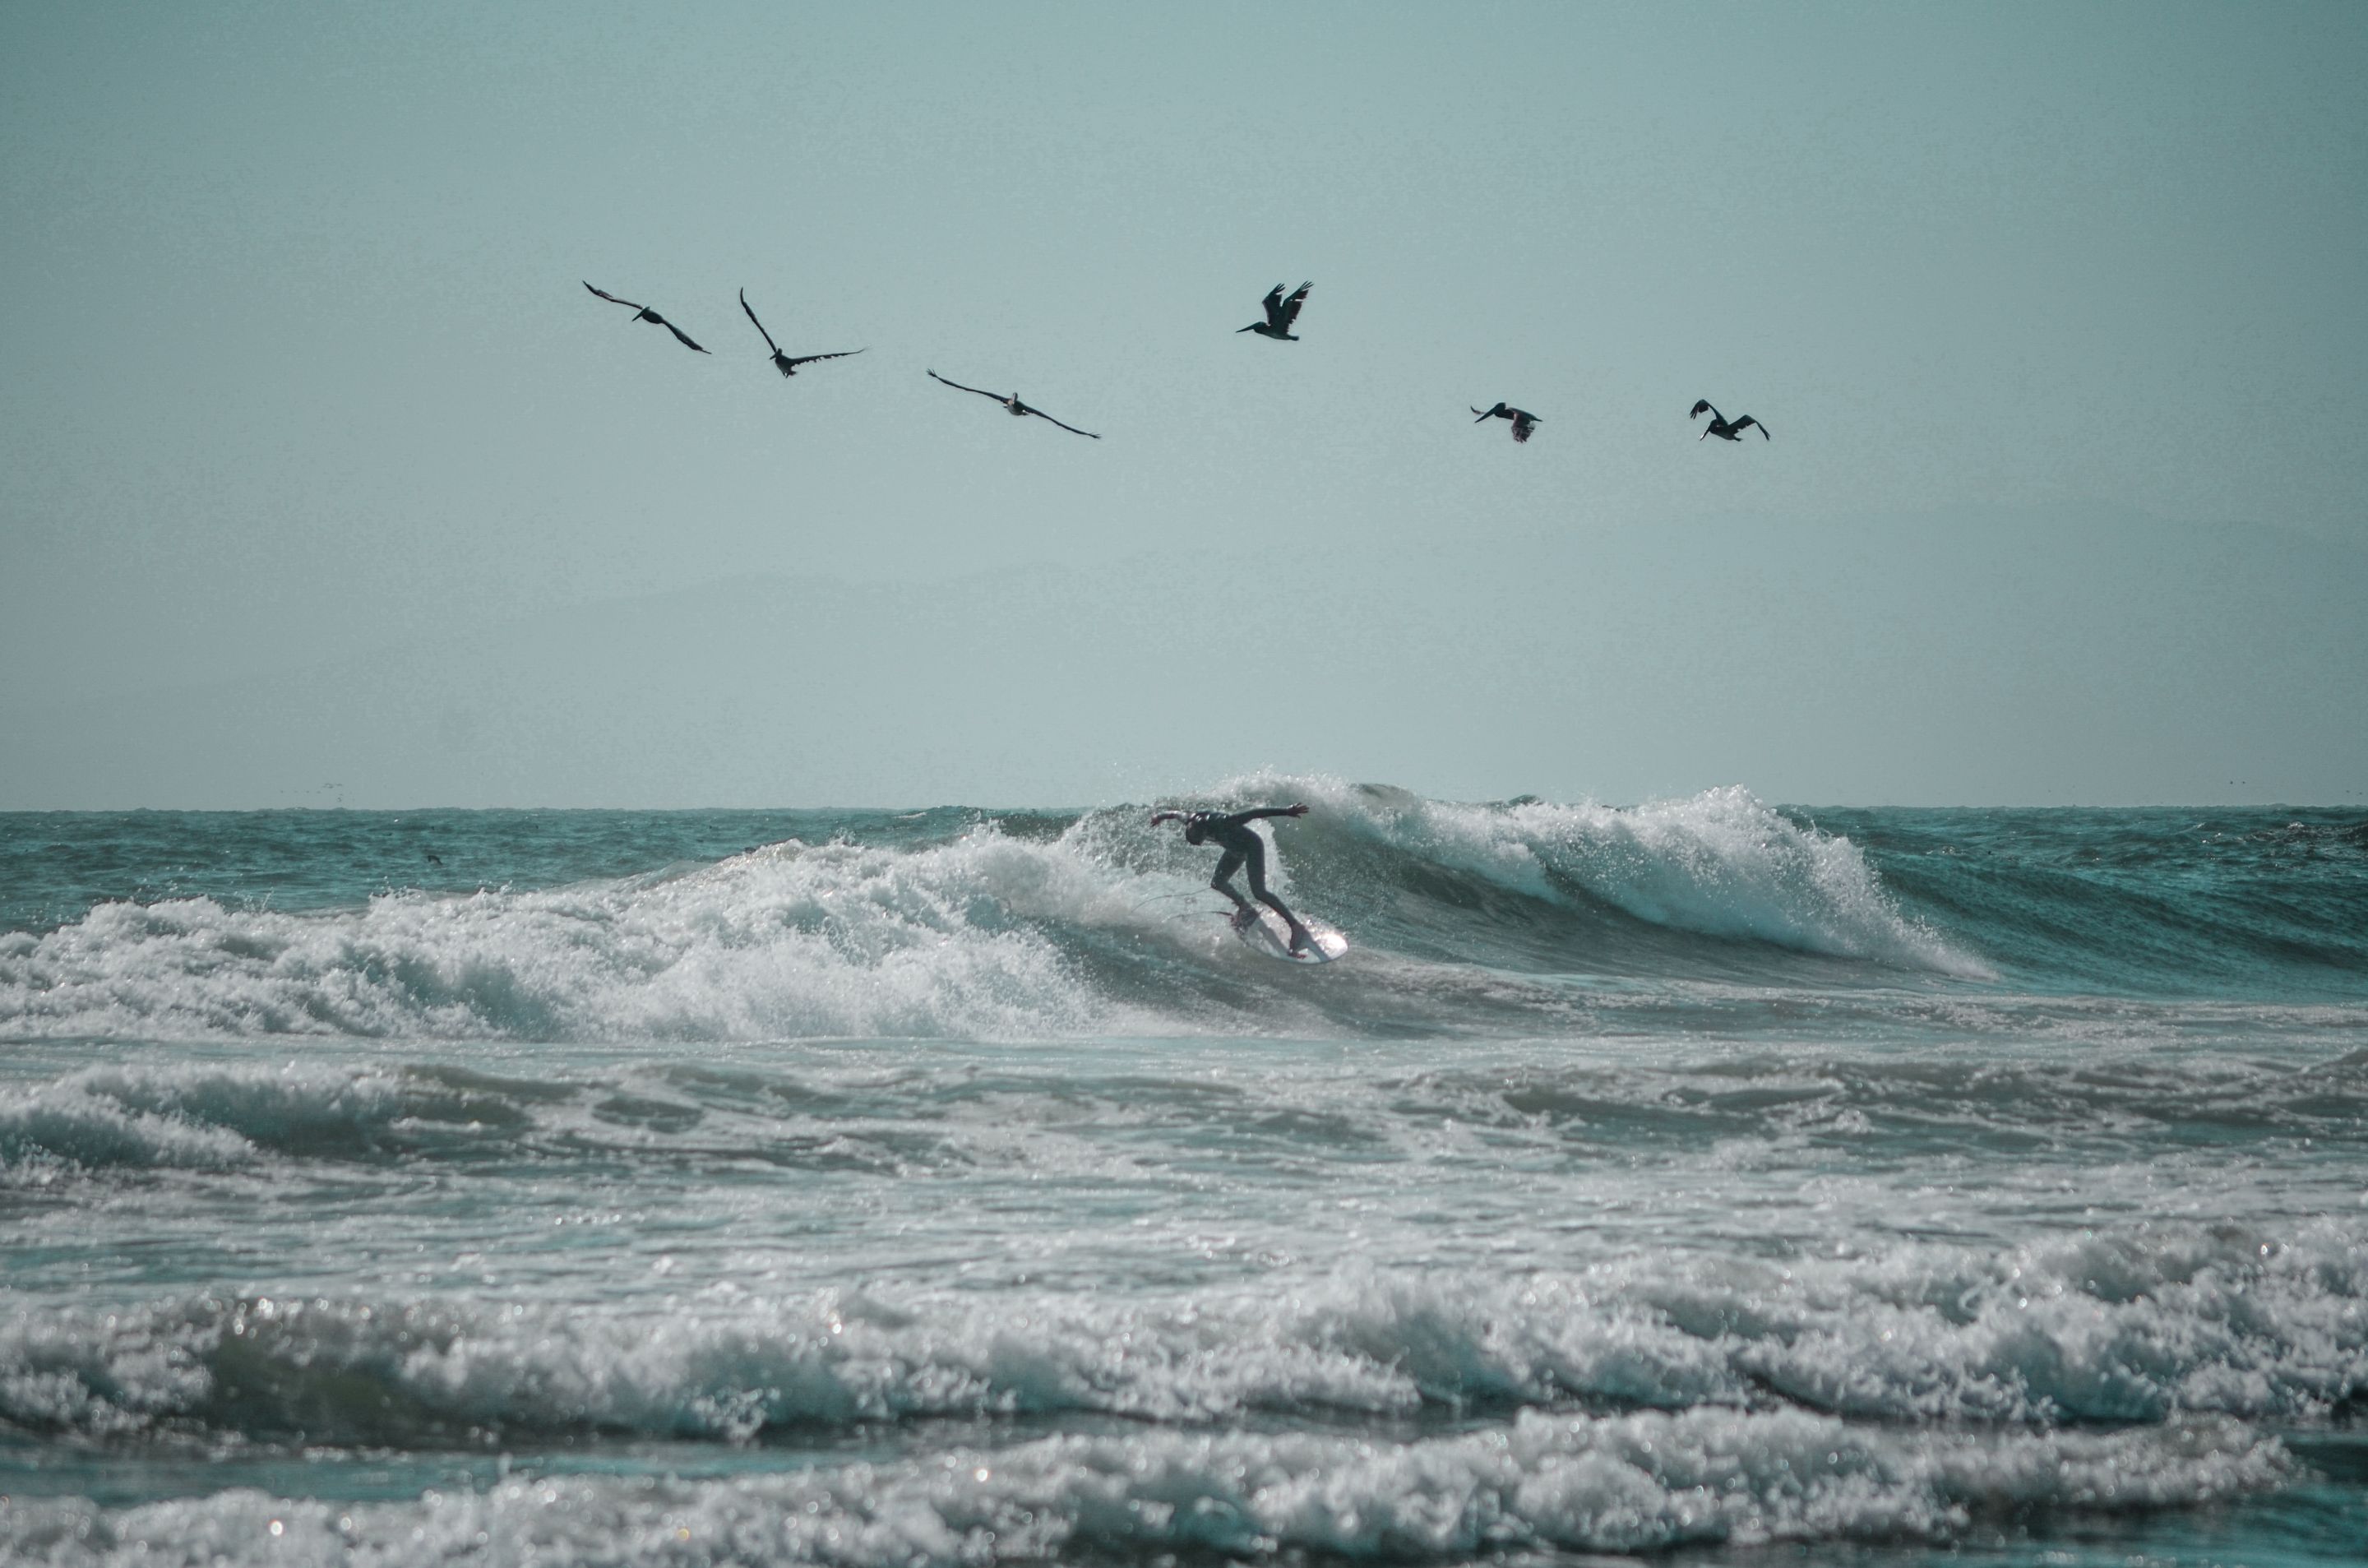
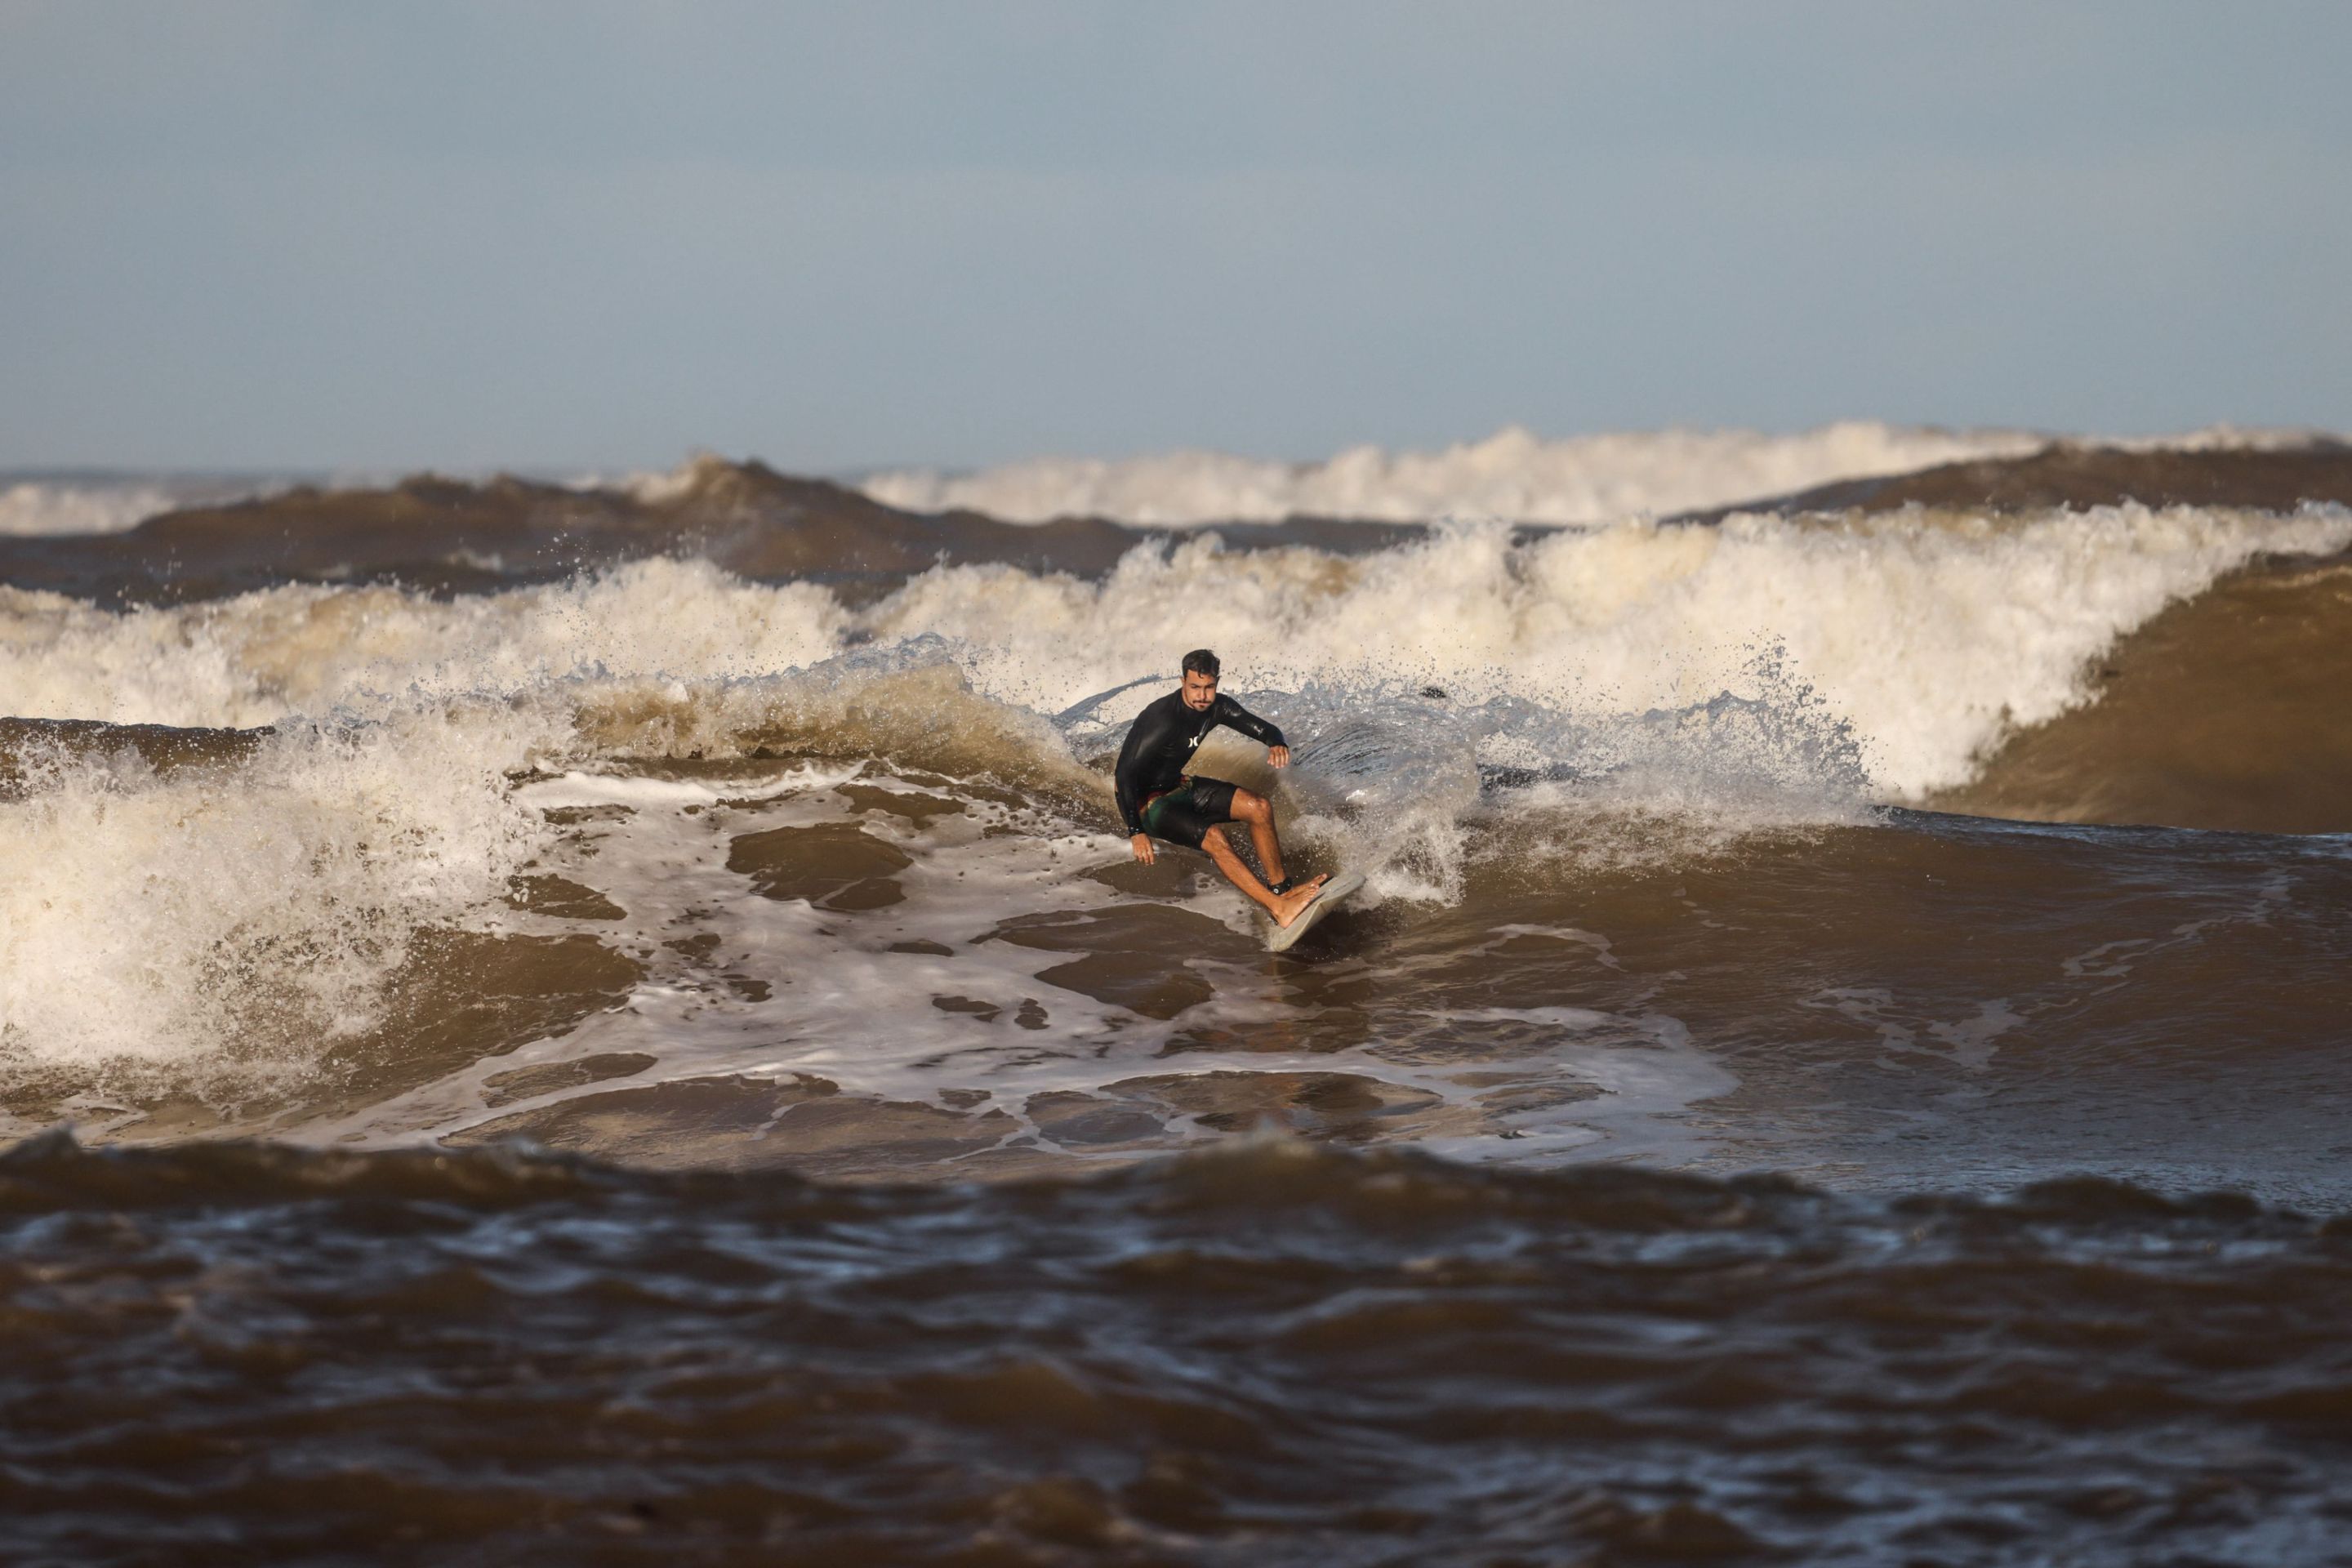
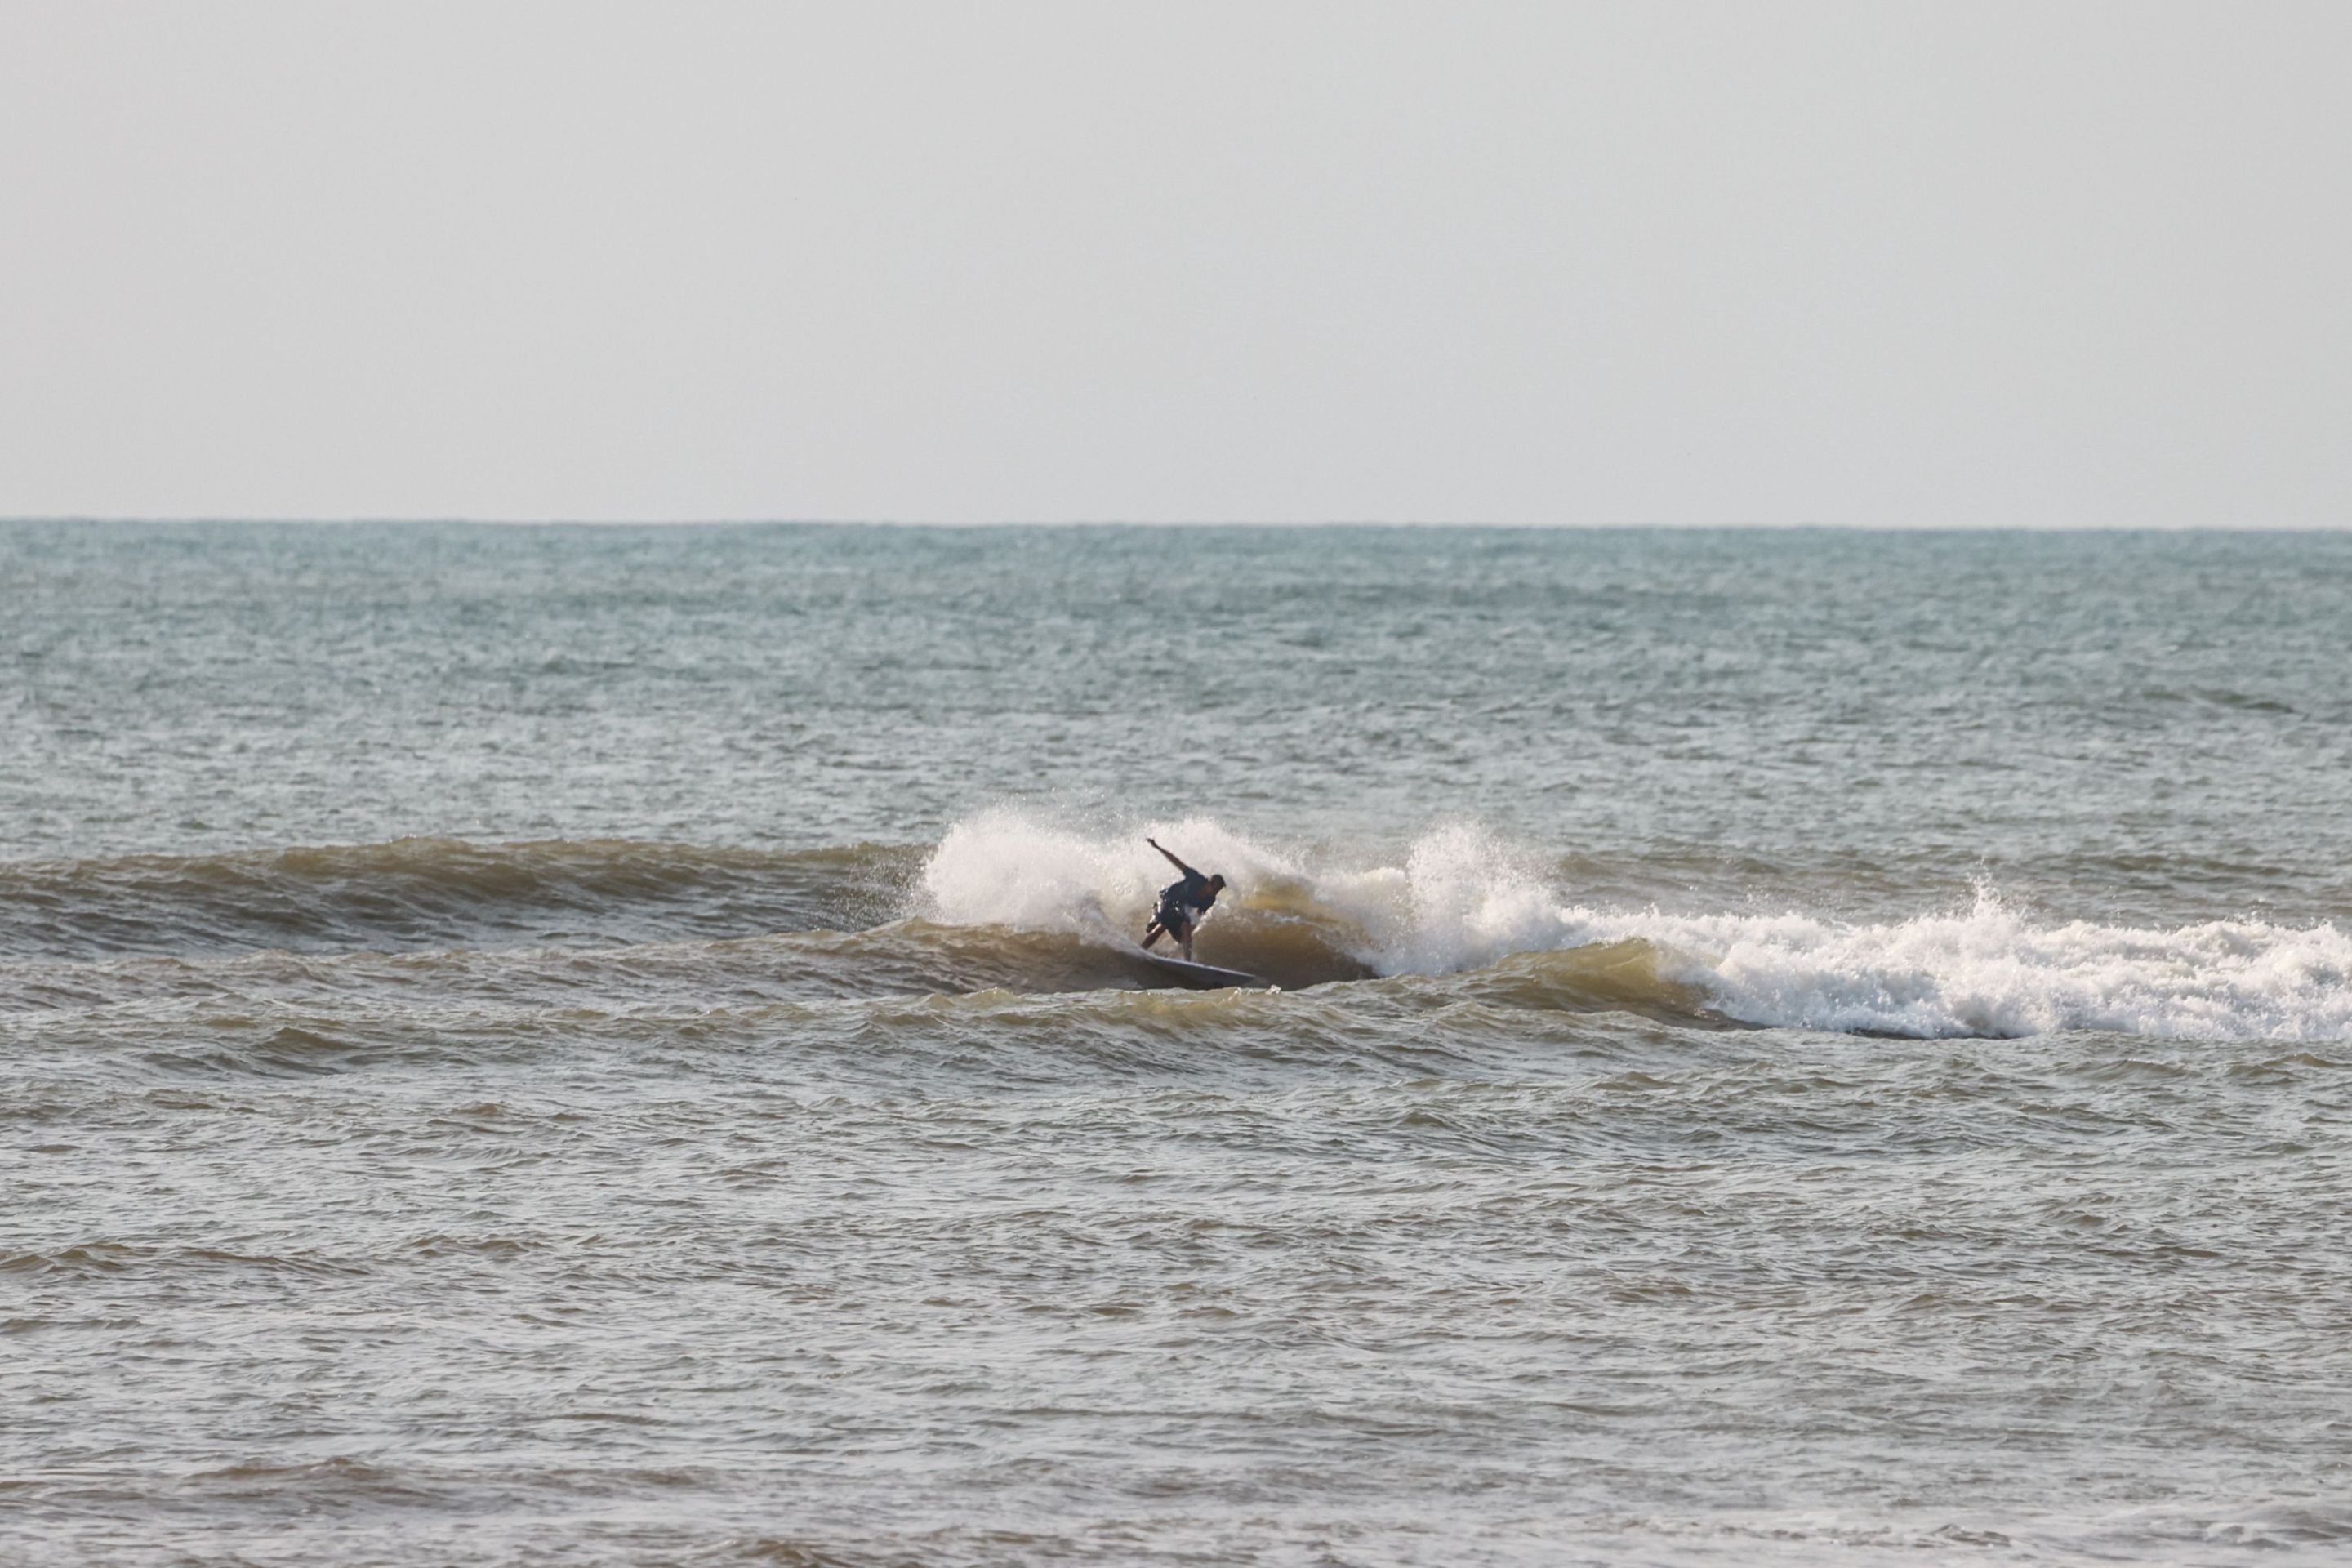
- Maneuvers, be cutbacks, laybacks, snaps, it doesn't matter; you can "measure" the aggressiveness of the maneuvers by the amount of water they throw out of the wave. Also, he more vertical or more the board comes out of the water (for example, fins sticking out of the lip of the wave), the more valued the photo will be. In general, the bigger the "splash", the better:

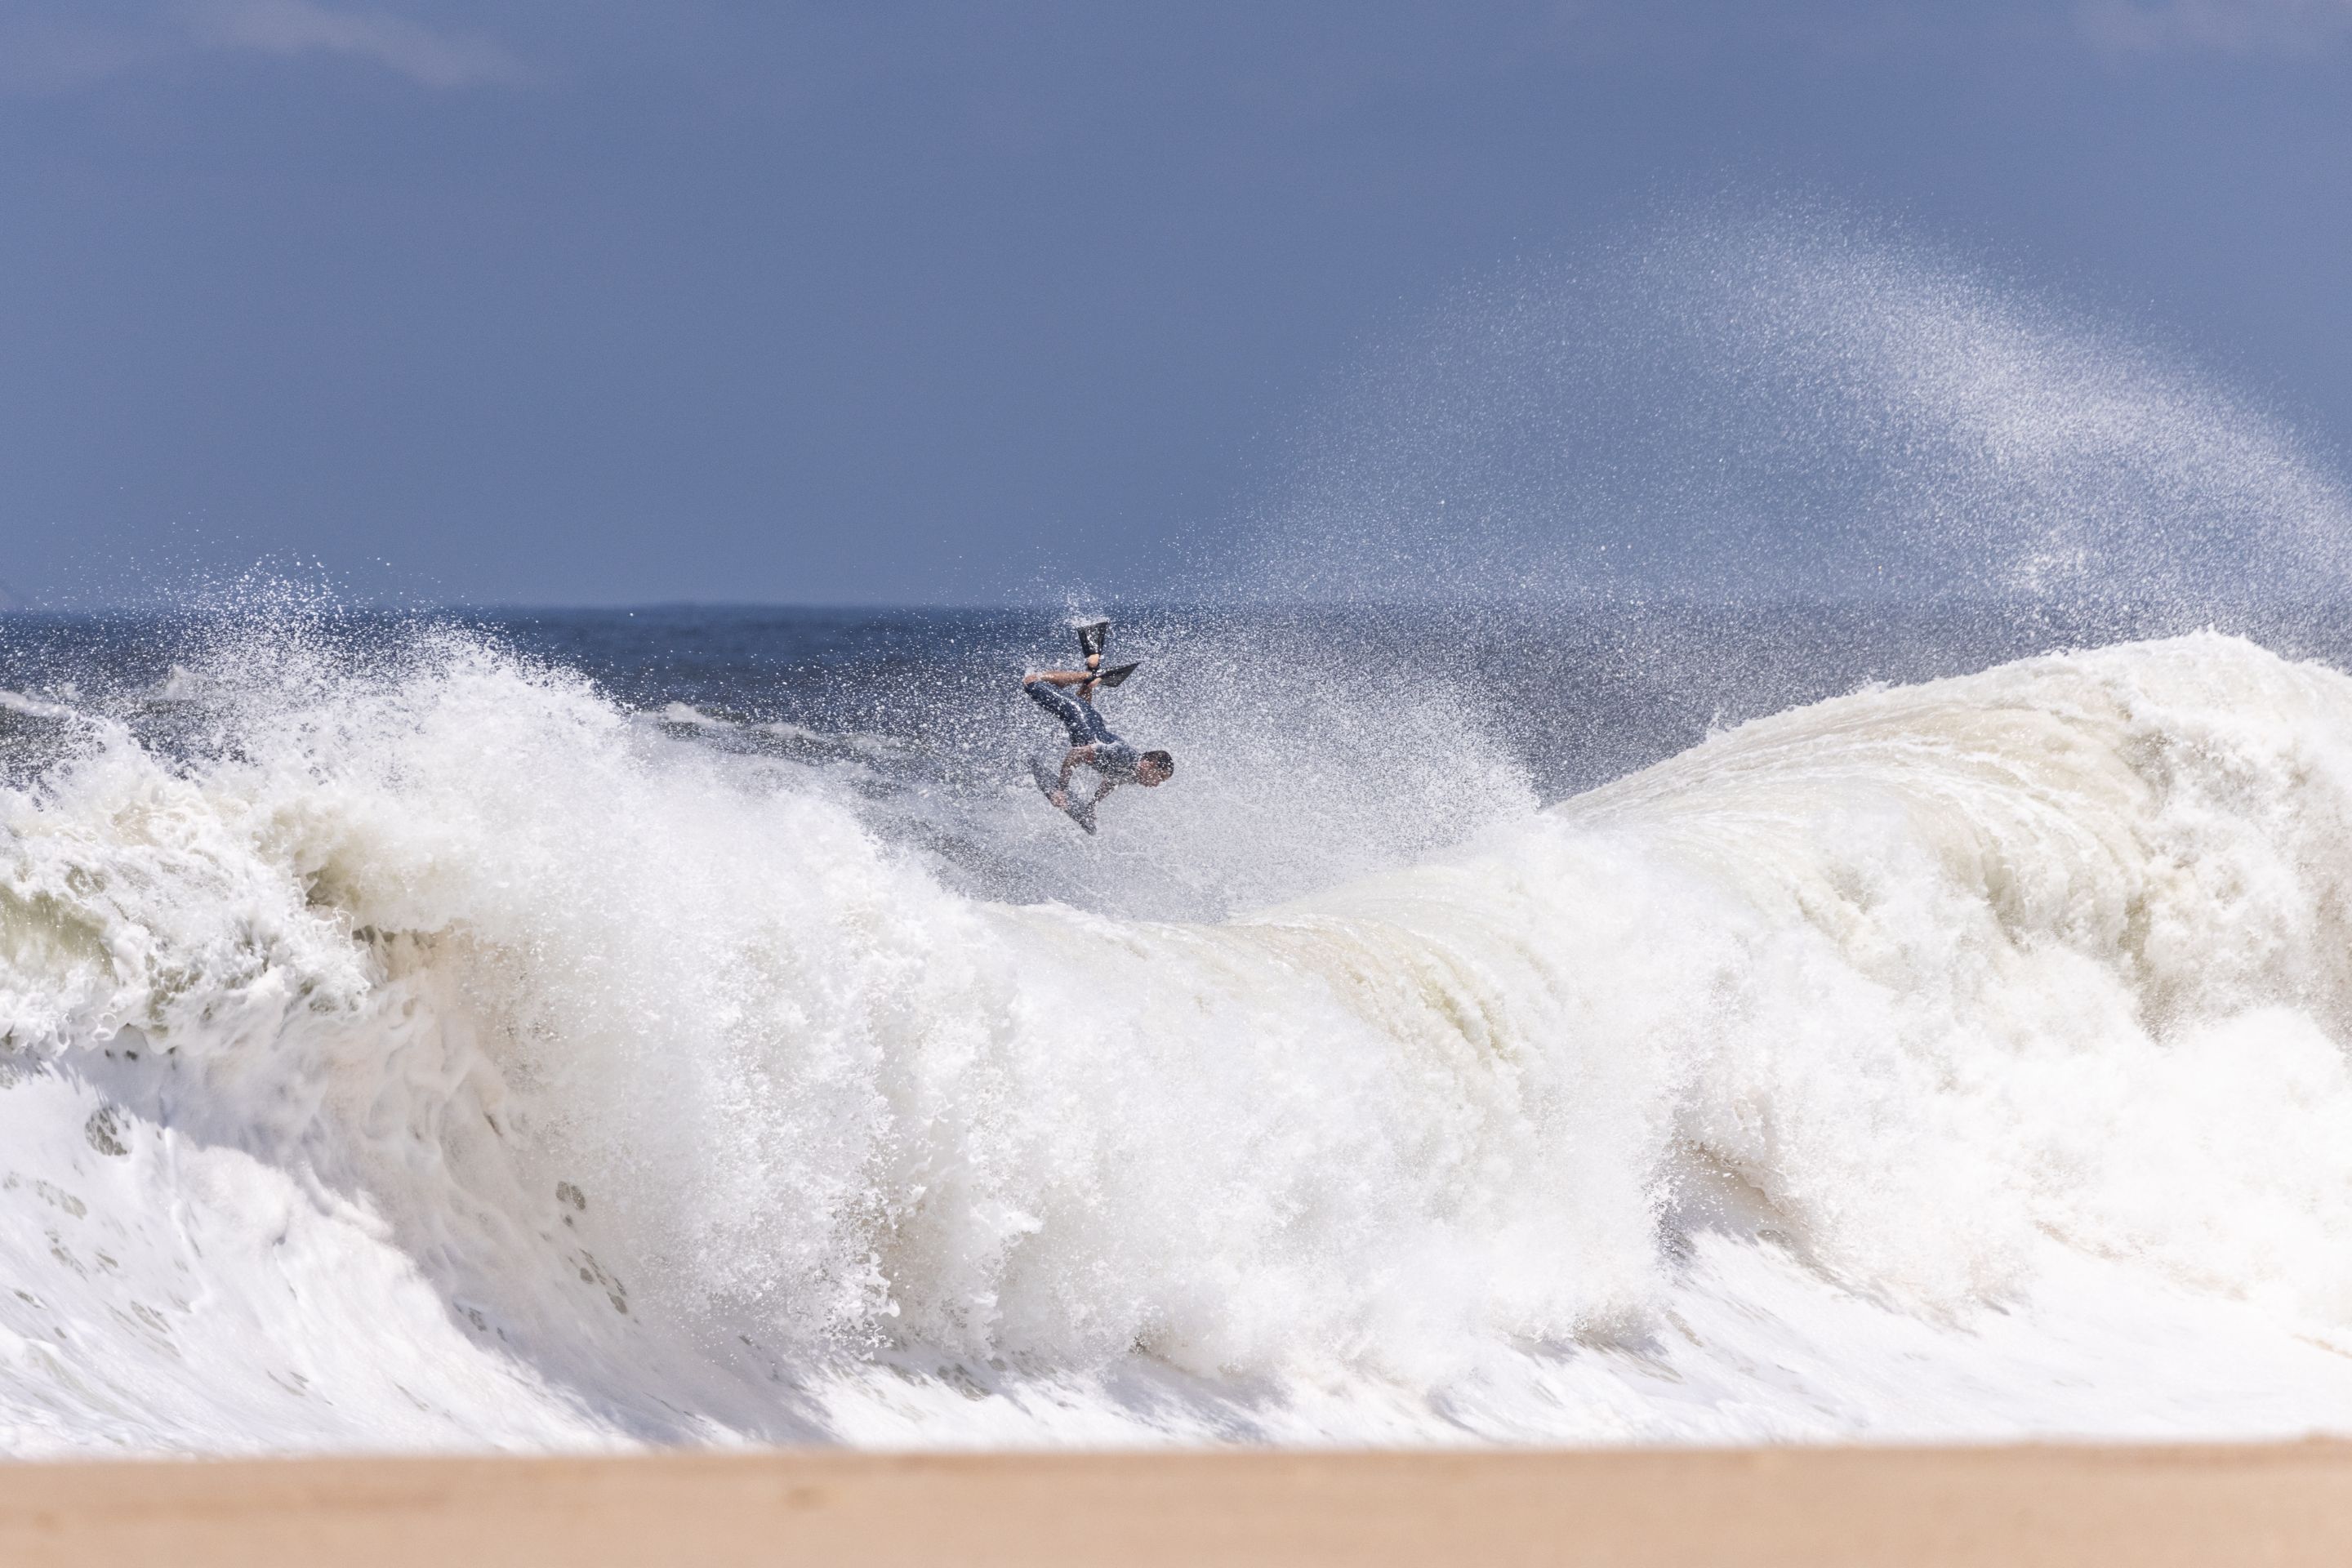
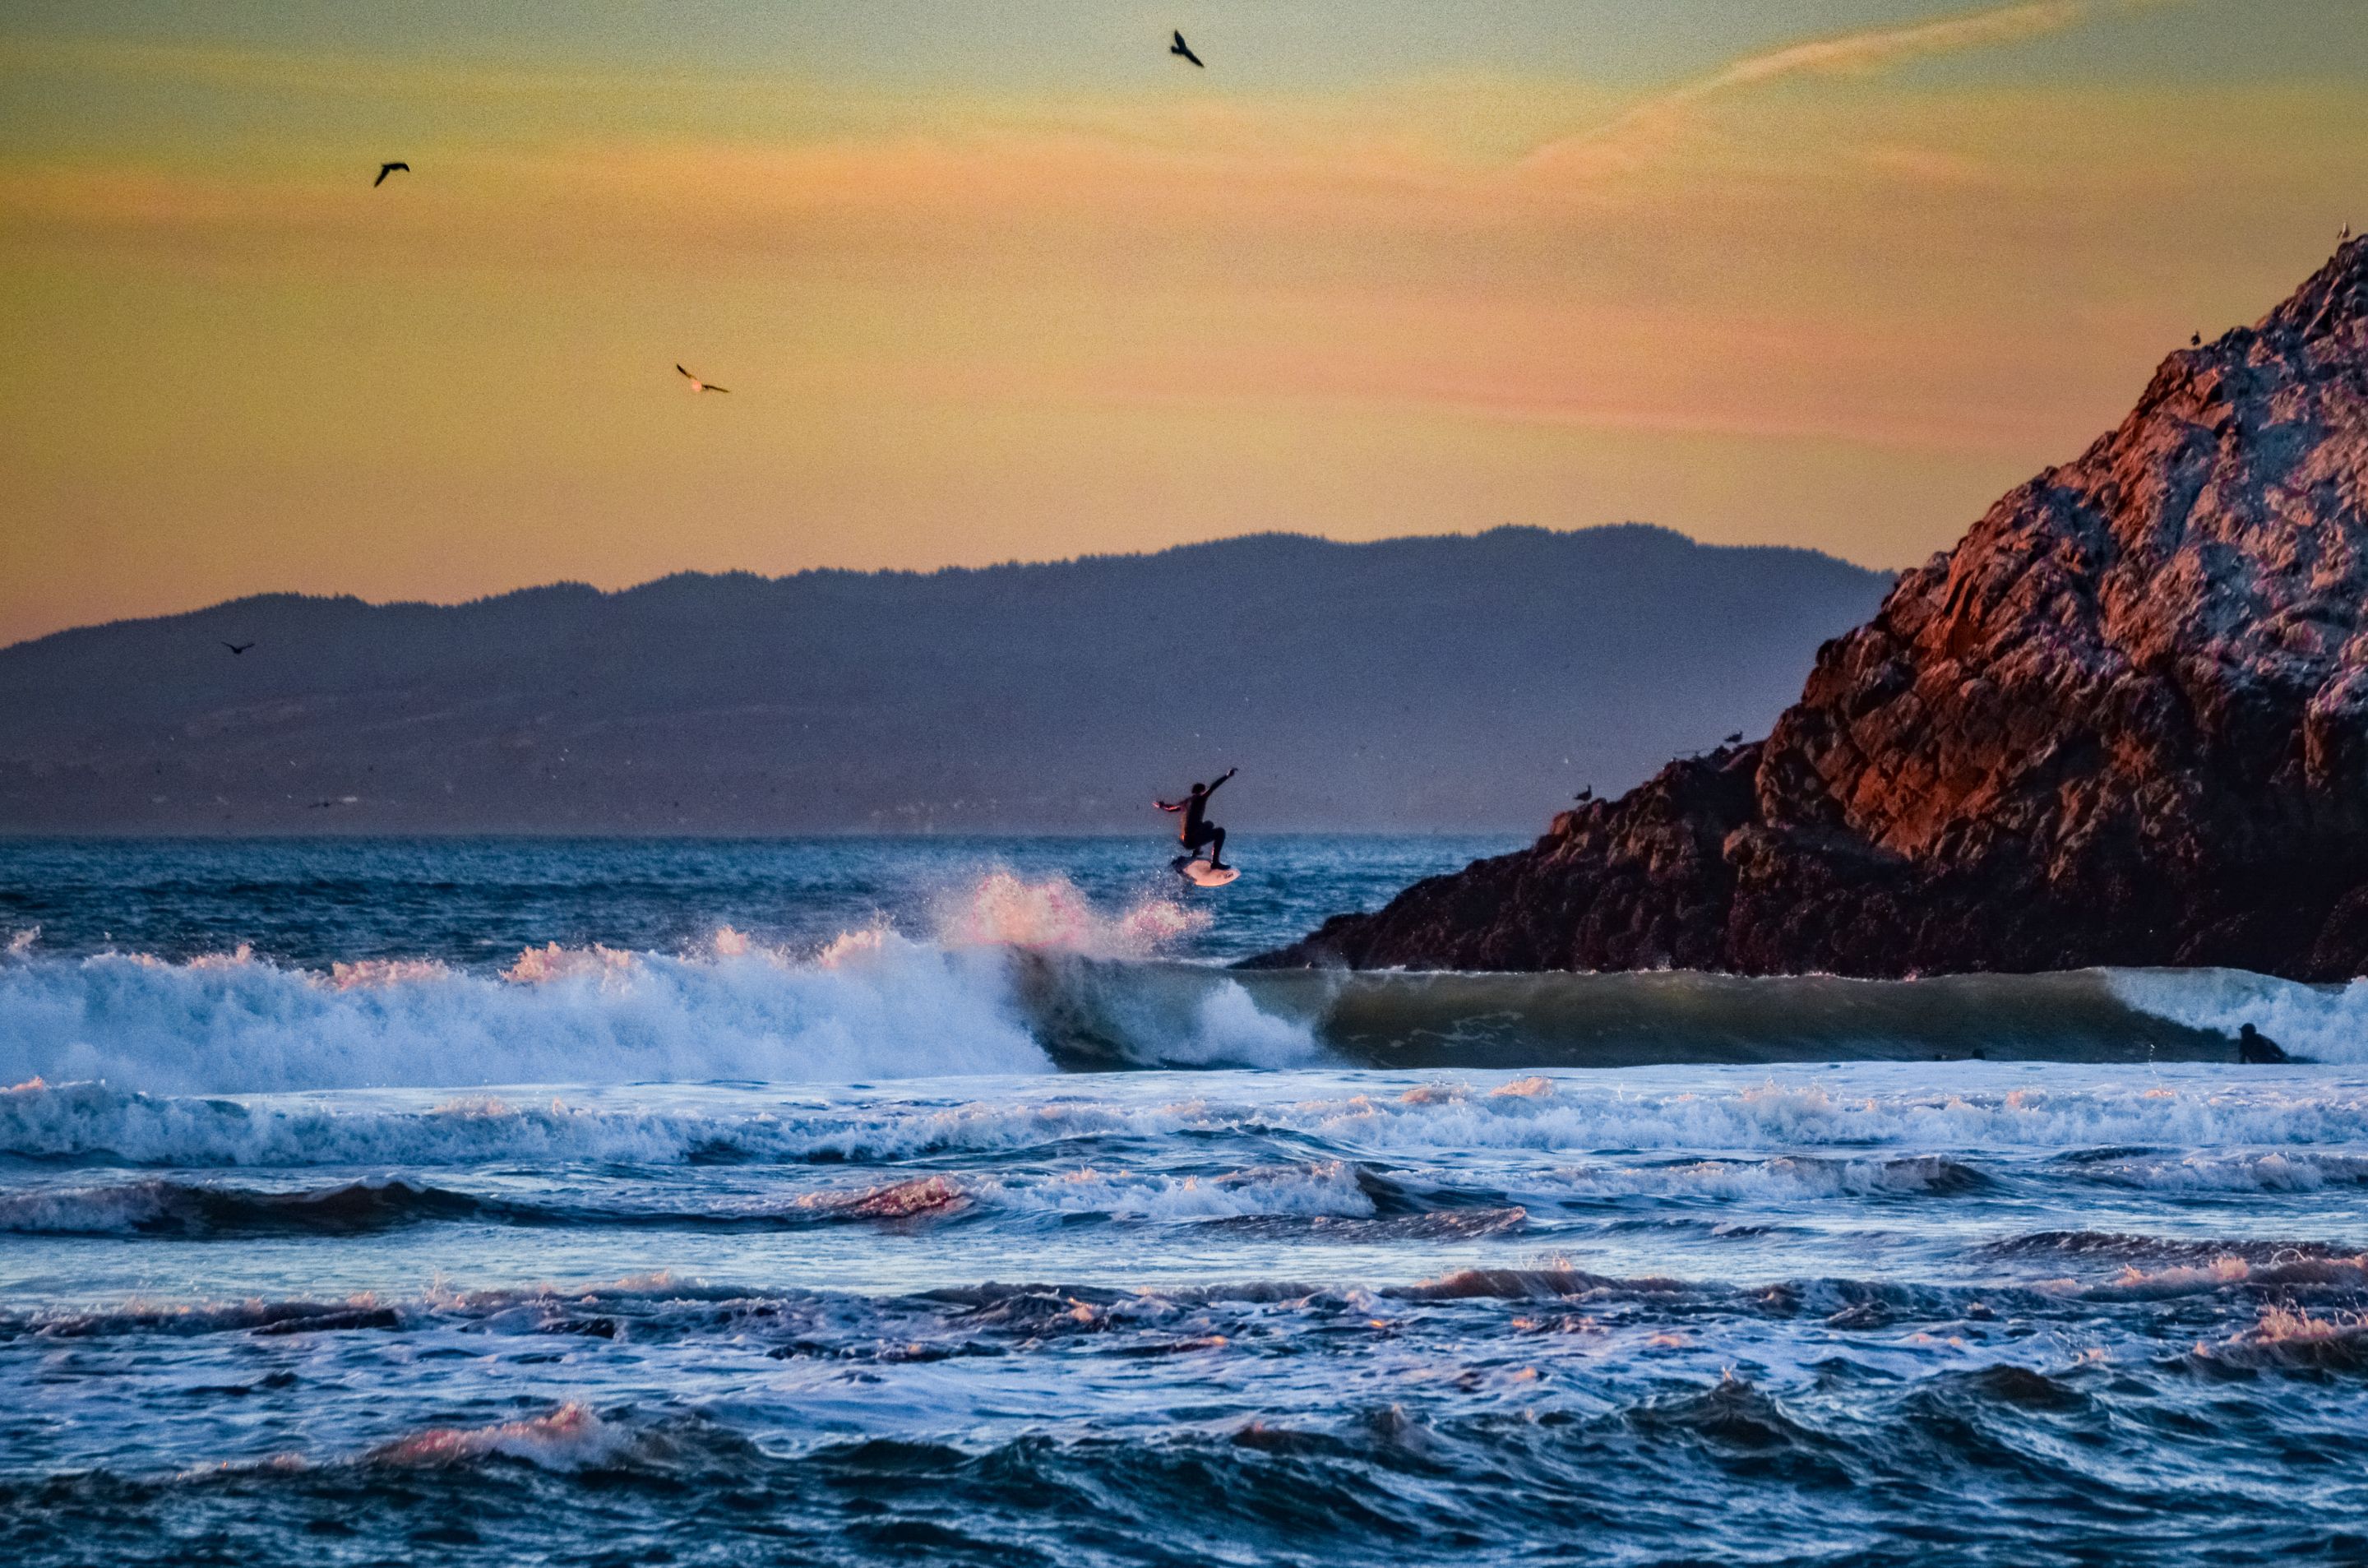
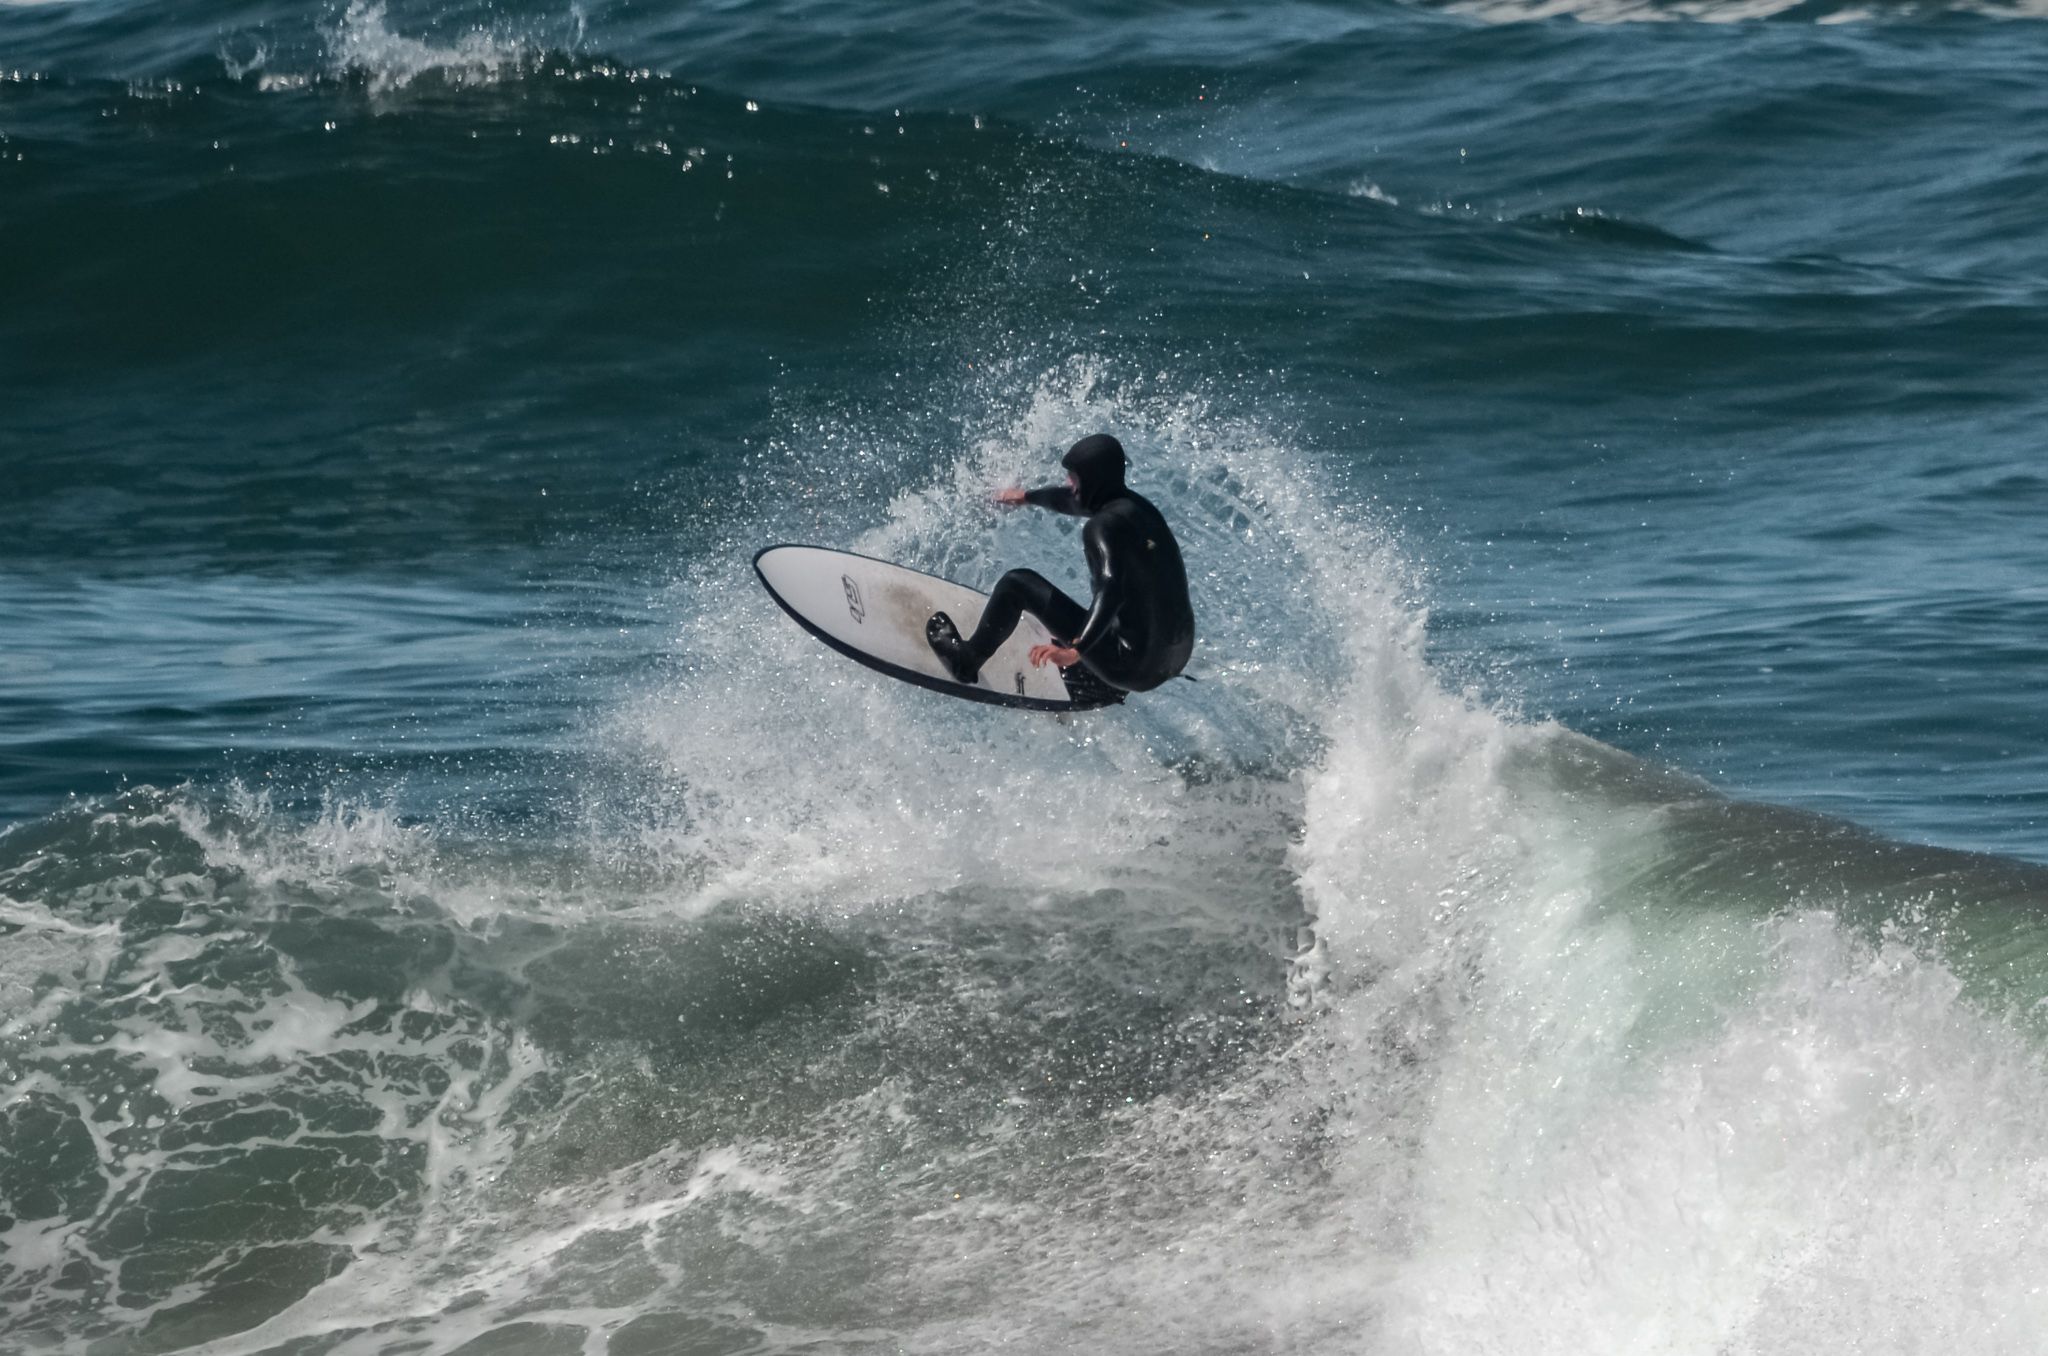
- Among the maneuvers, there are also aerial ones, and of course, the higher the surfer "flies", the more impressive the click becomes:
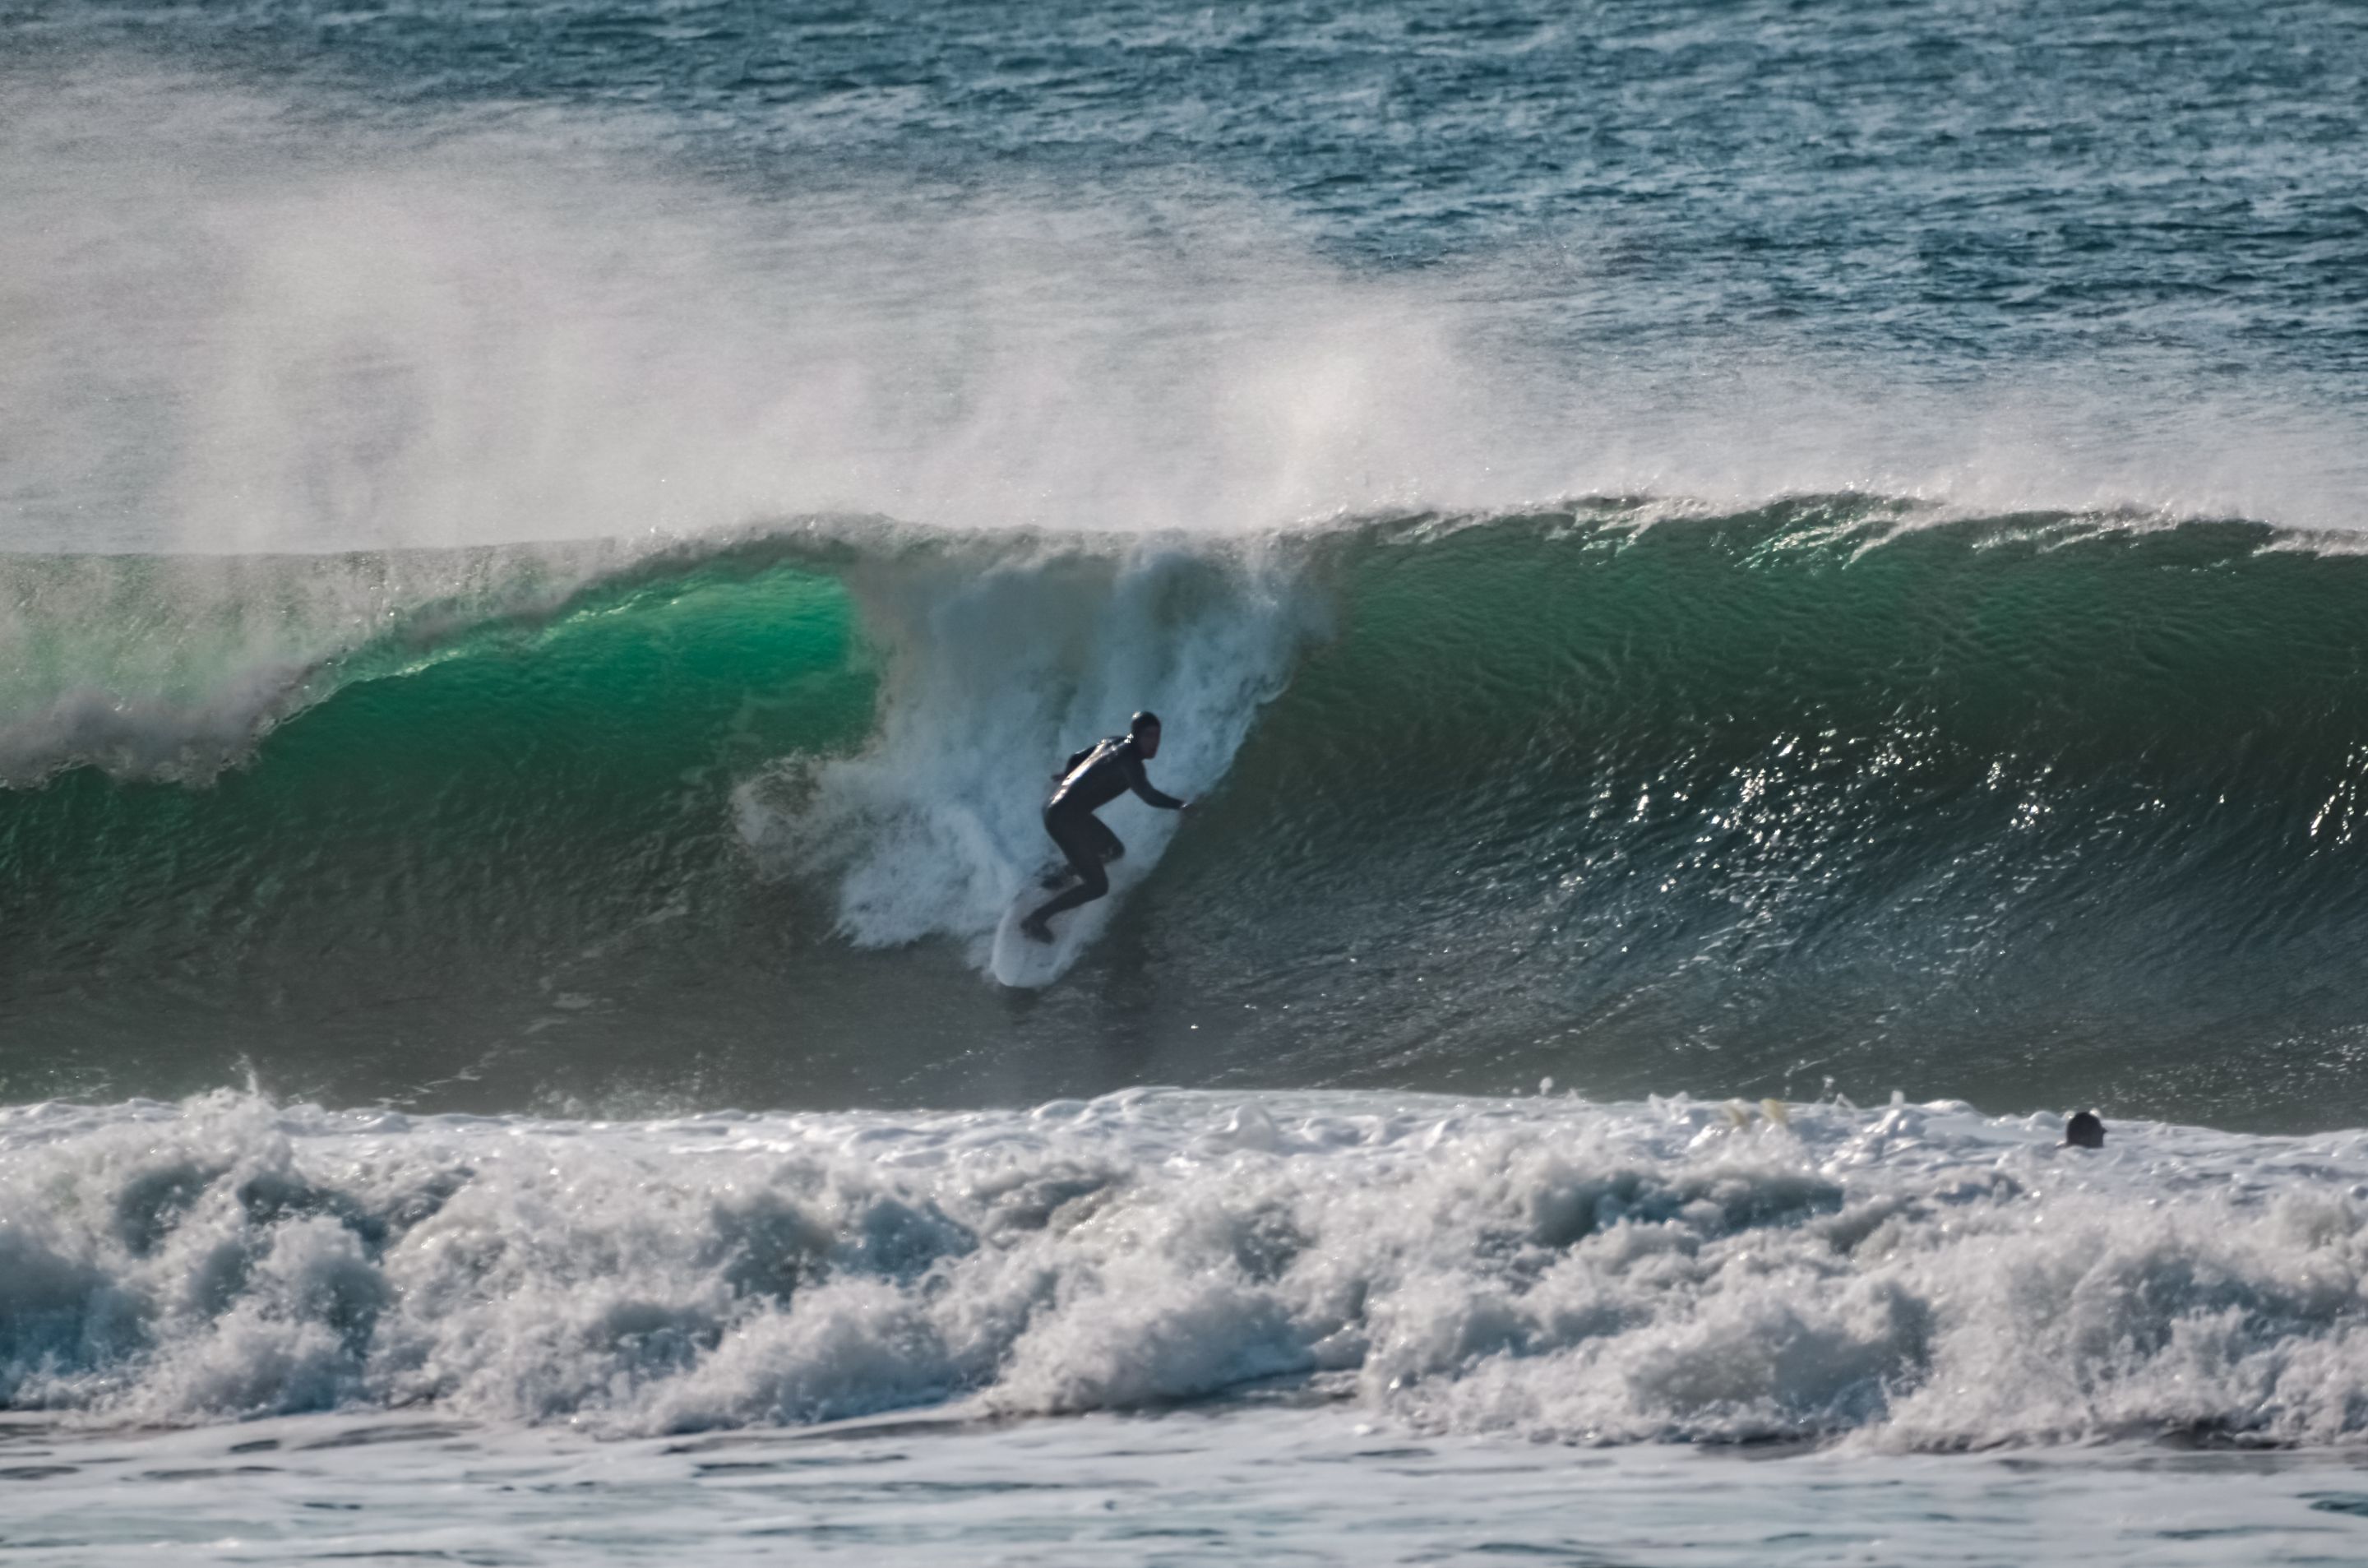
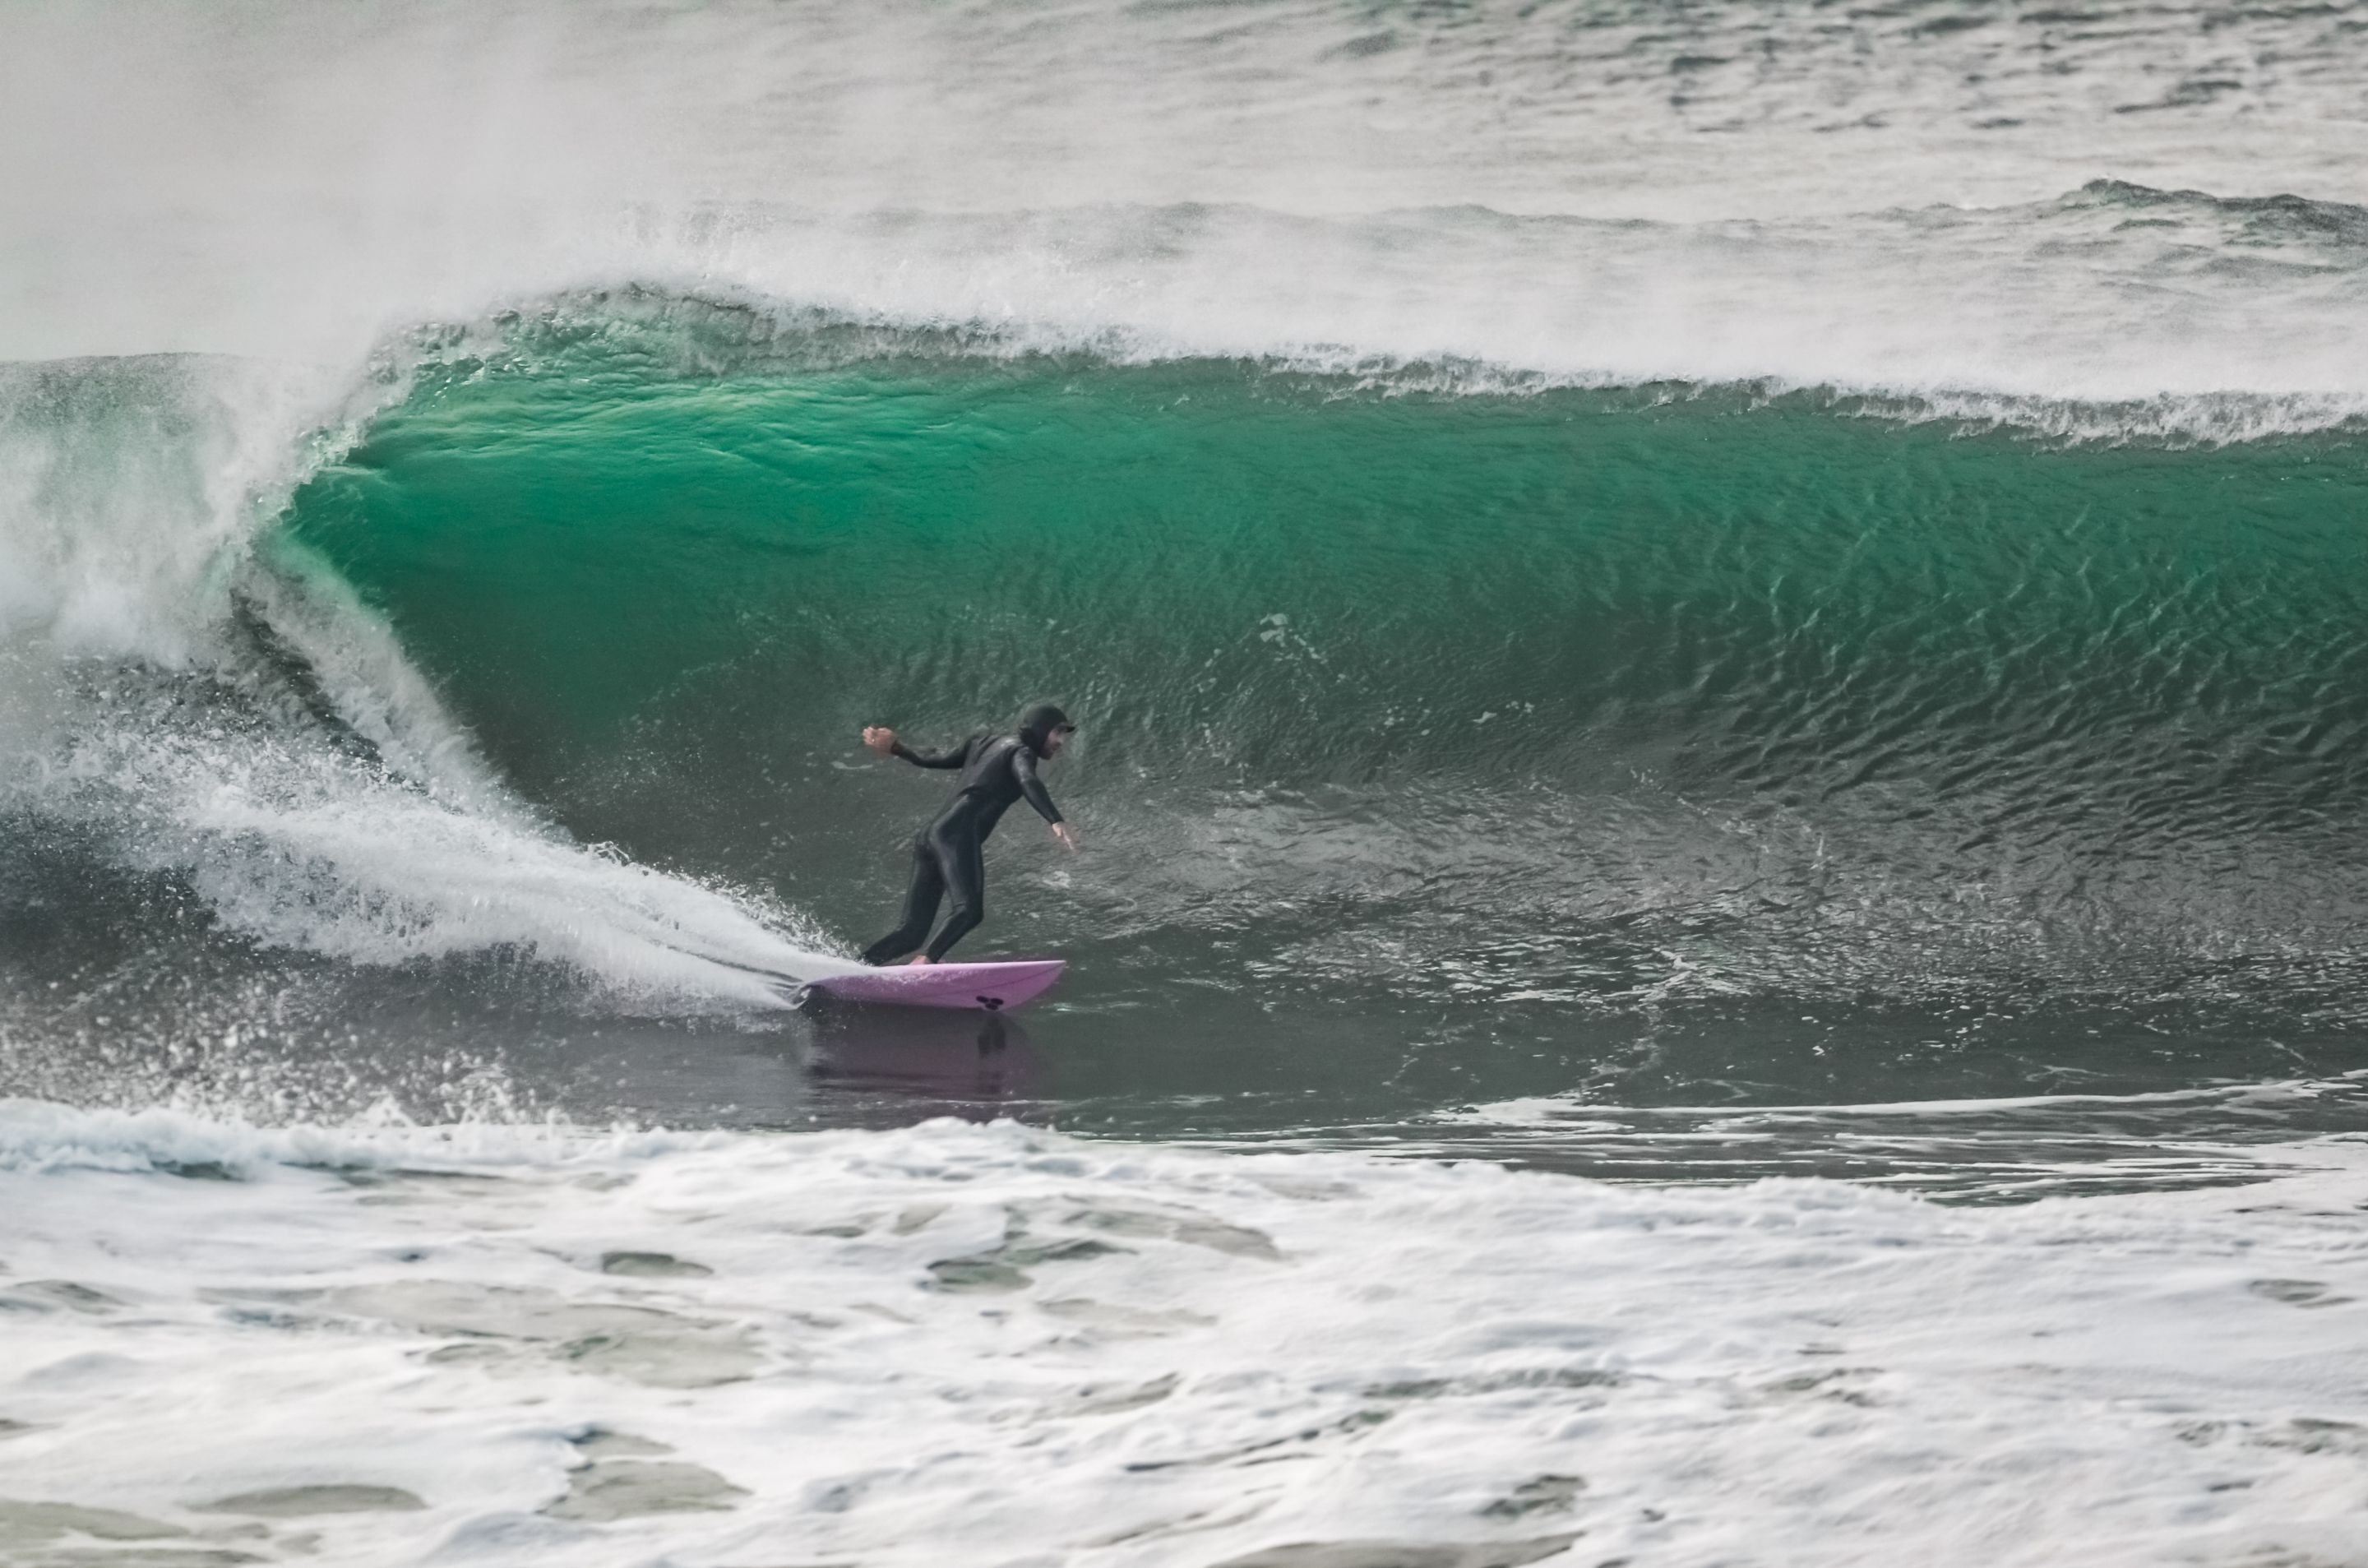
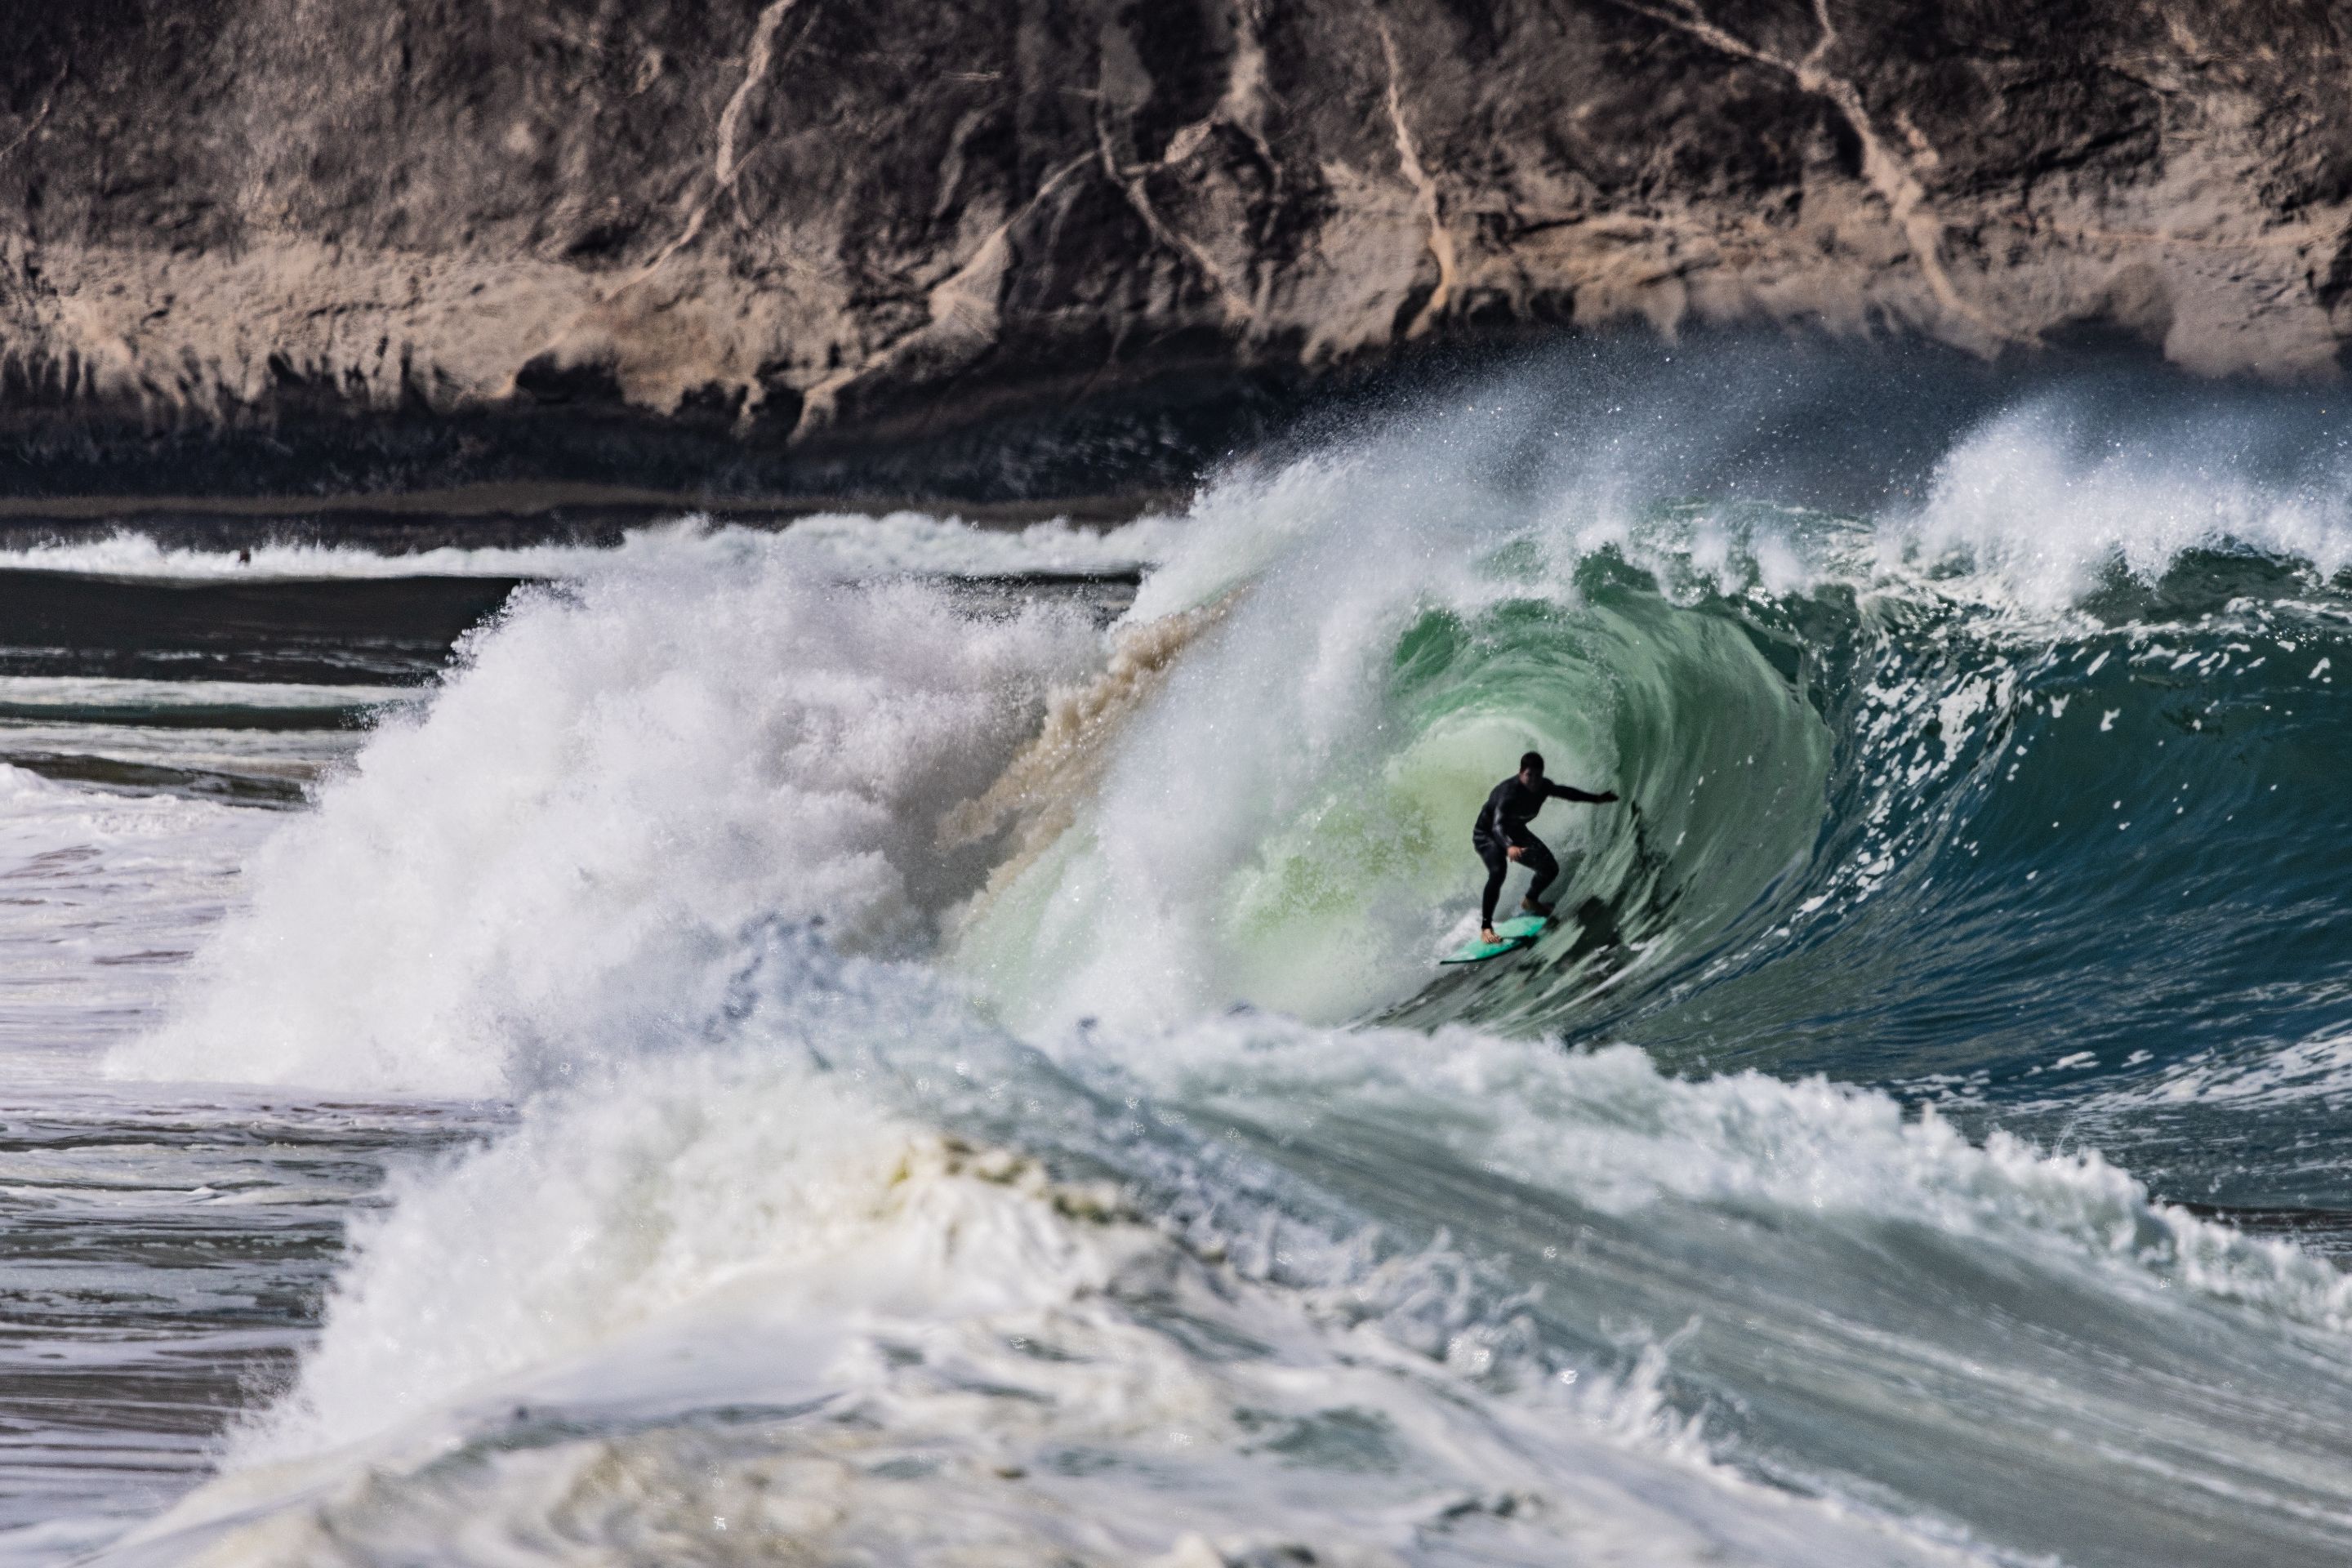
- And in the case of barrels, I already discussed it in this post. There are two ways, and it will depend a lot on the taste of each surfer. If you are facing the surf spot, a sequence in which you can see the surfer entering, getting barreled, and then coming out could be the dream sequence of his life:

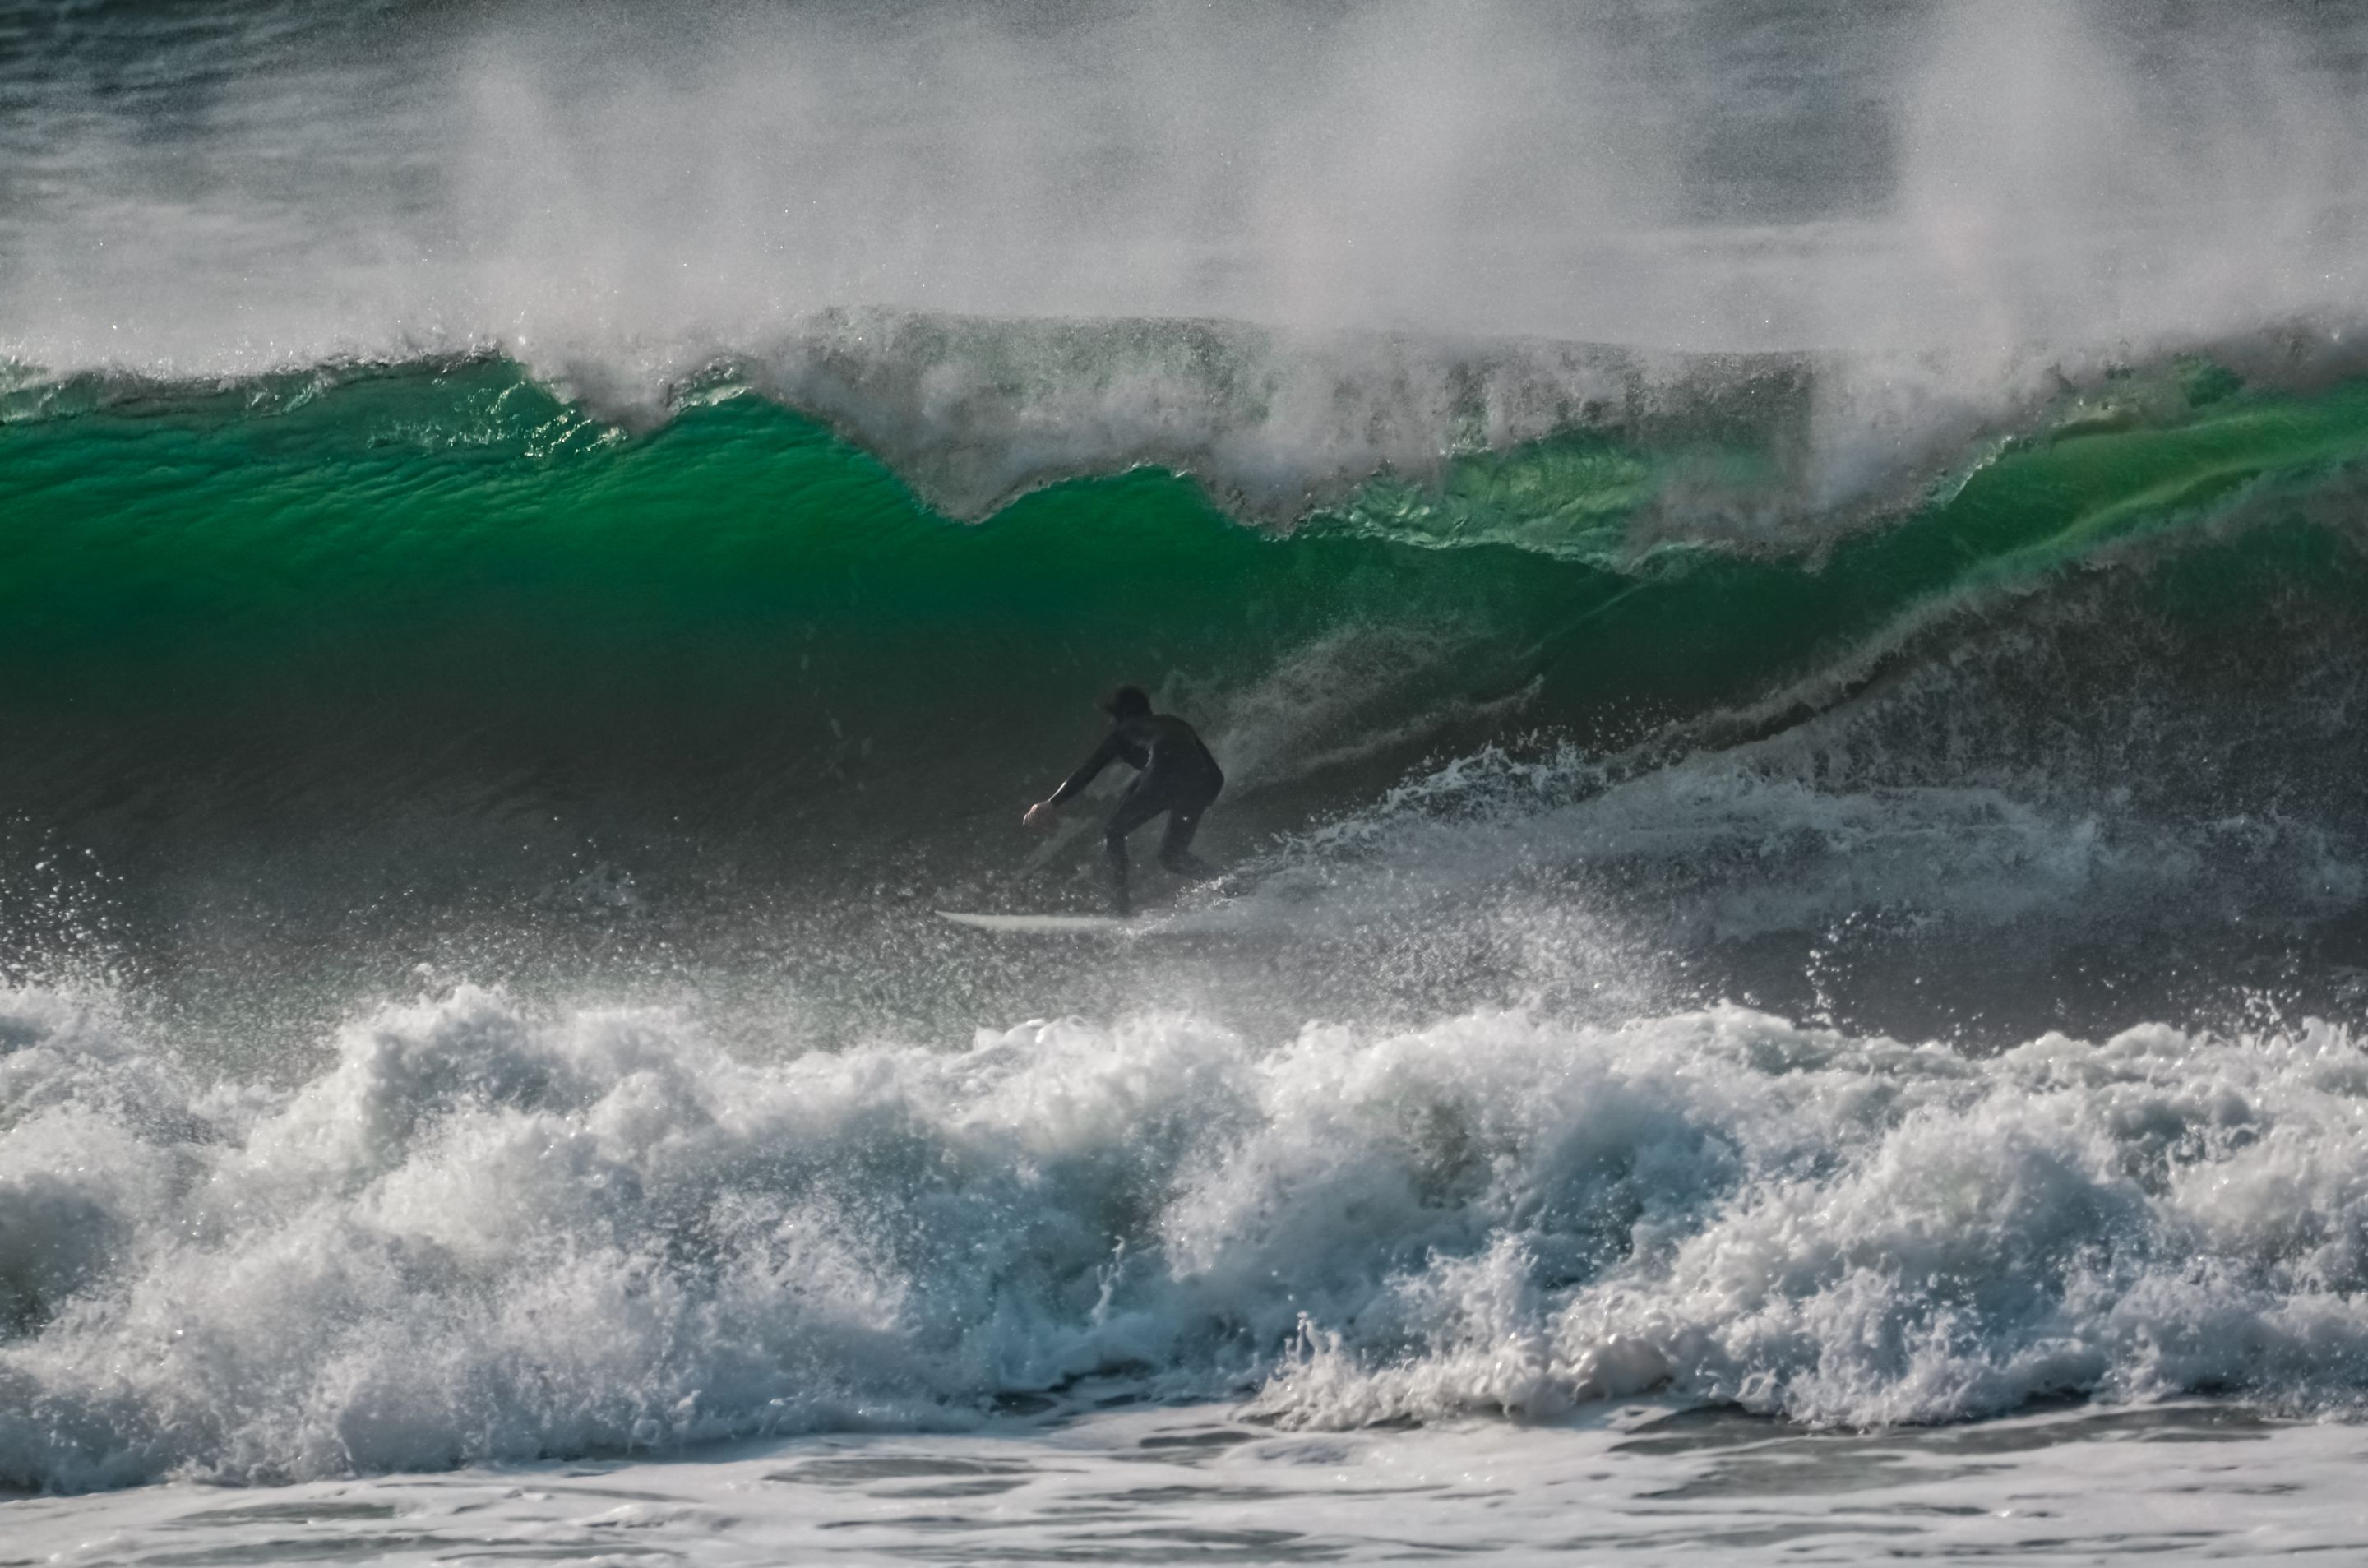
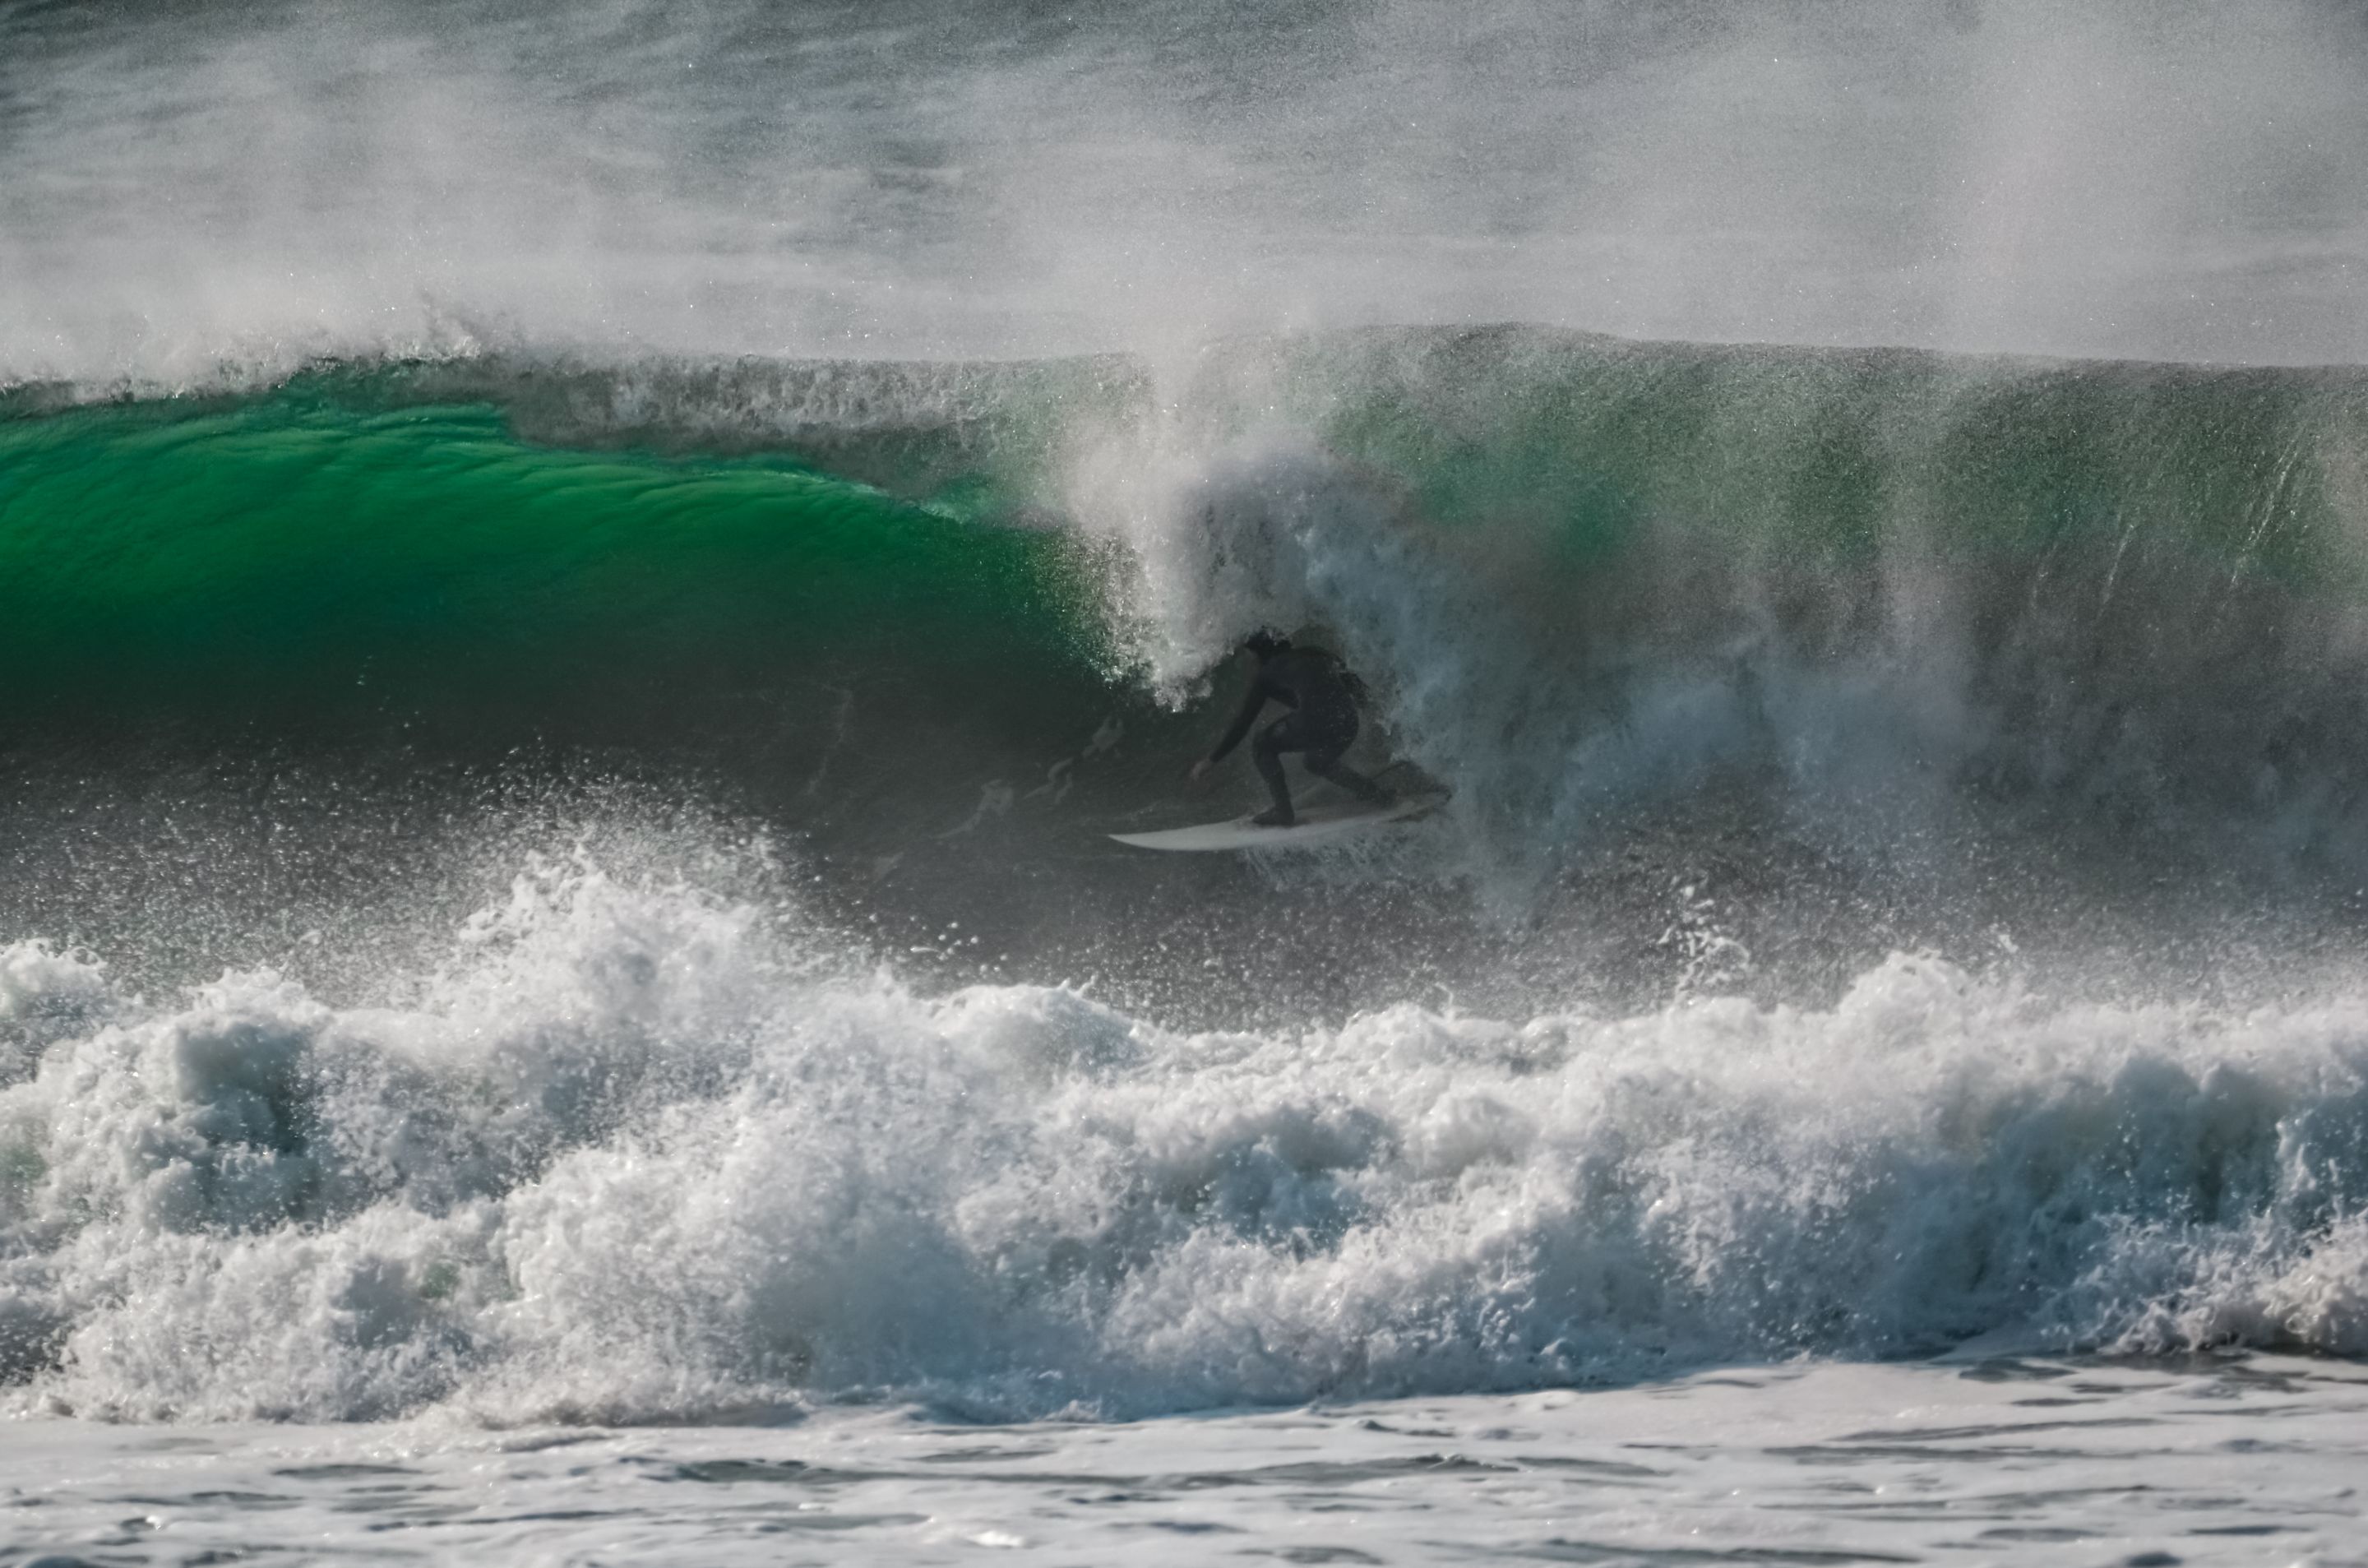

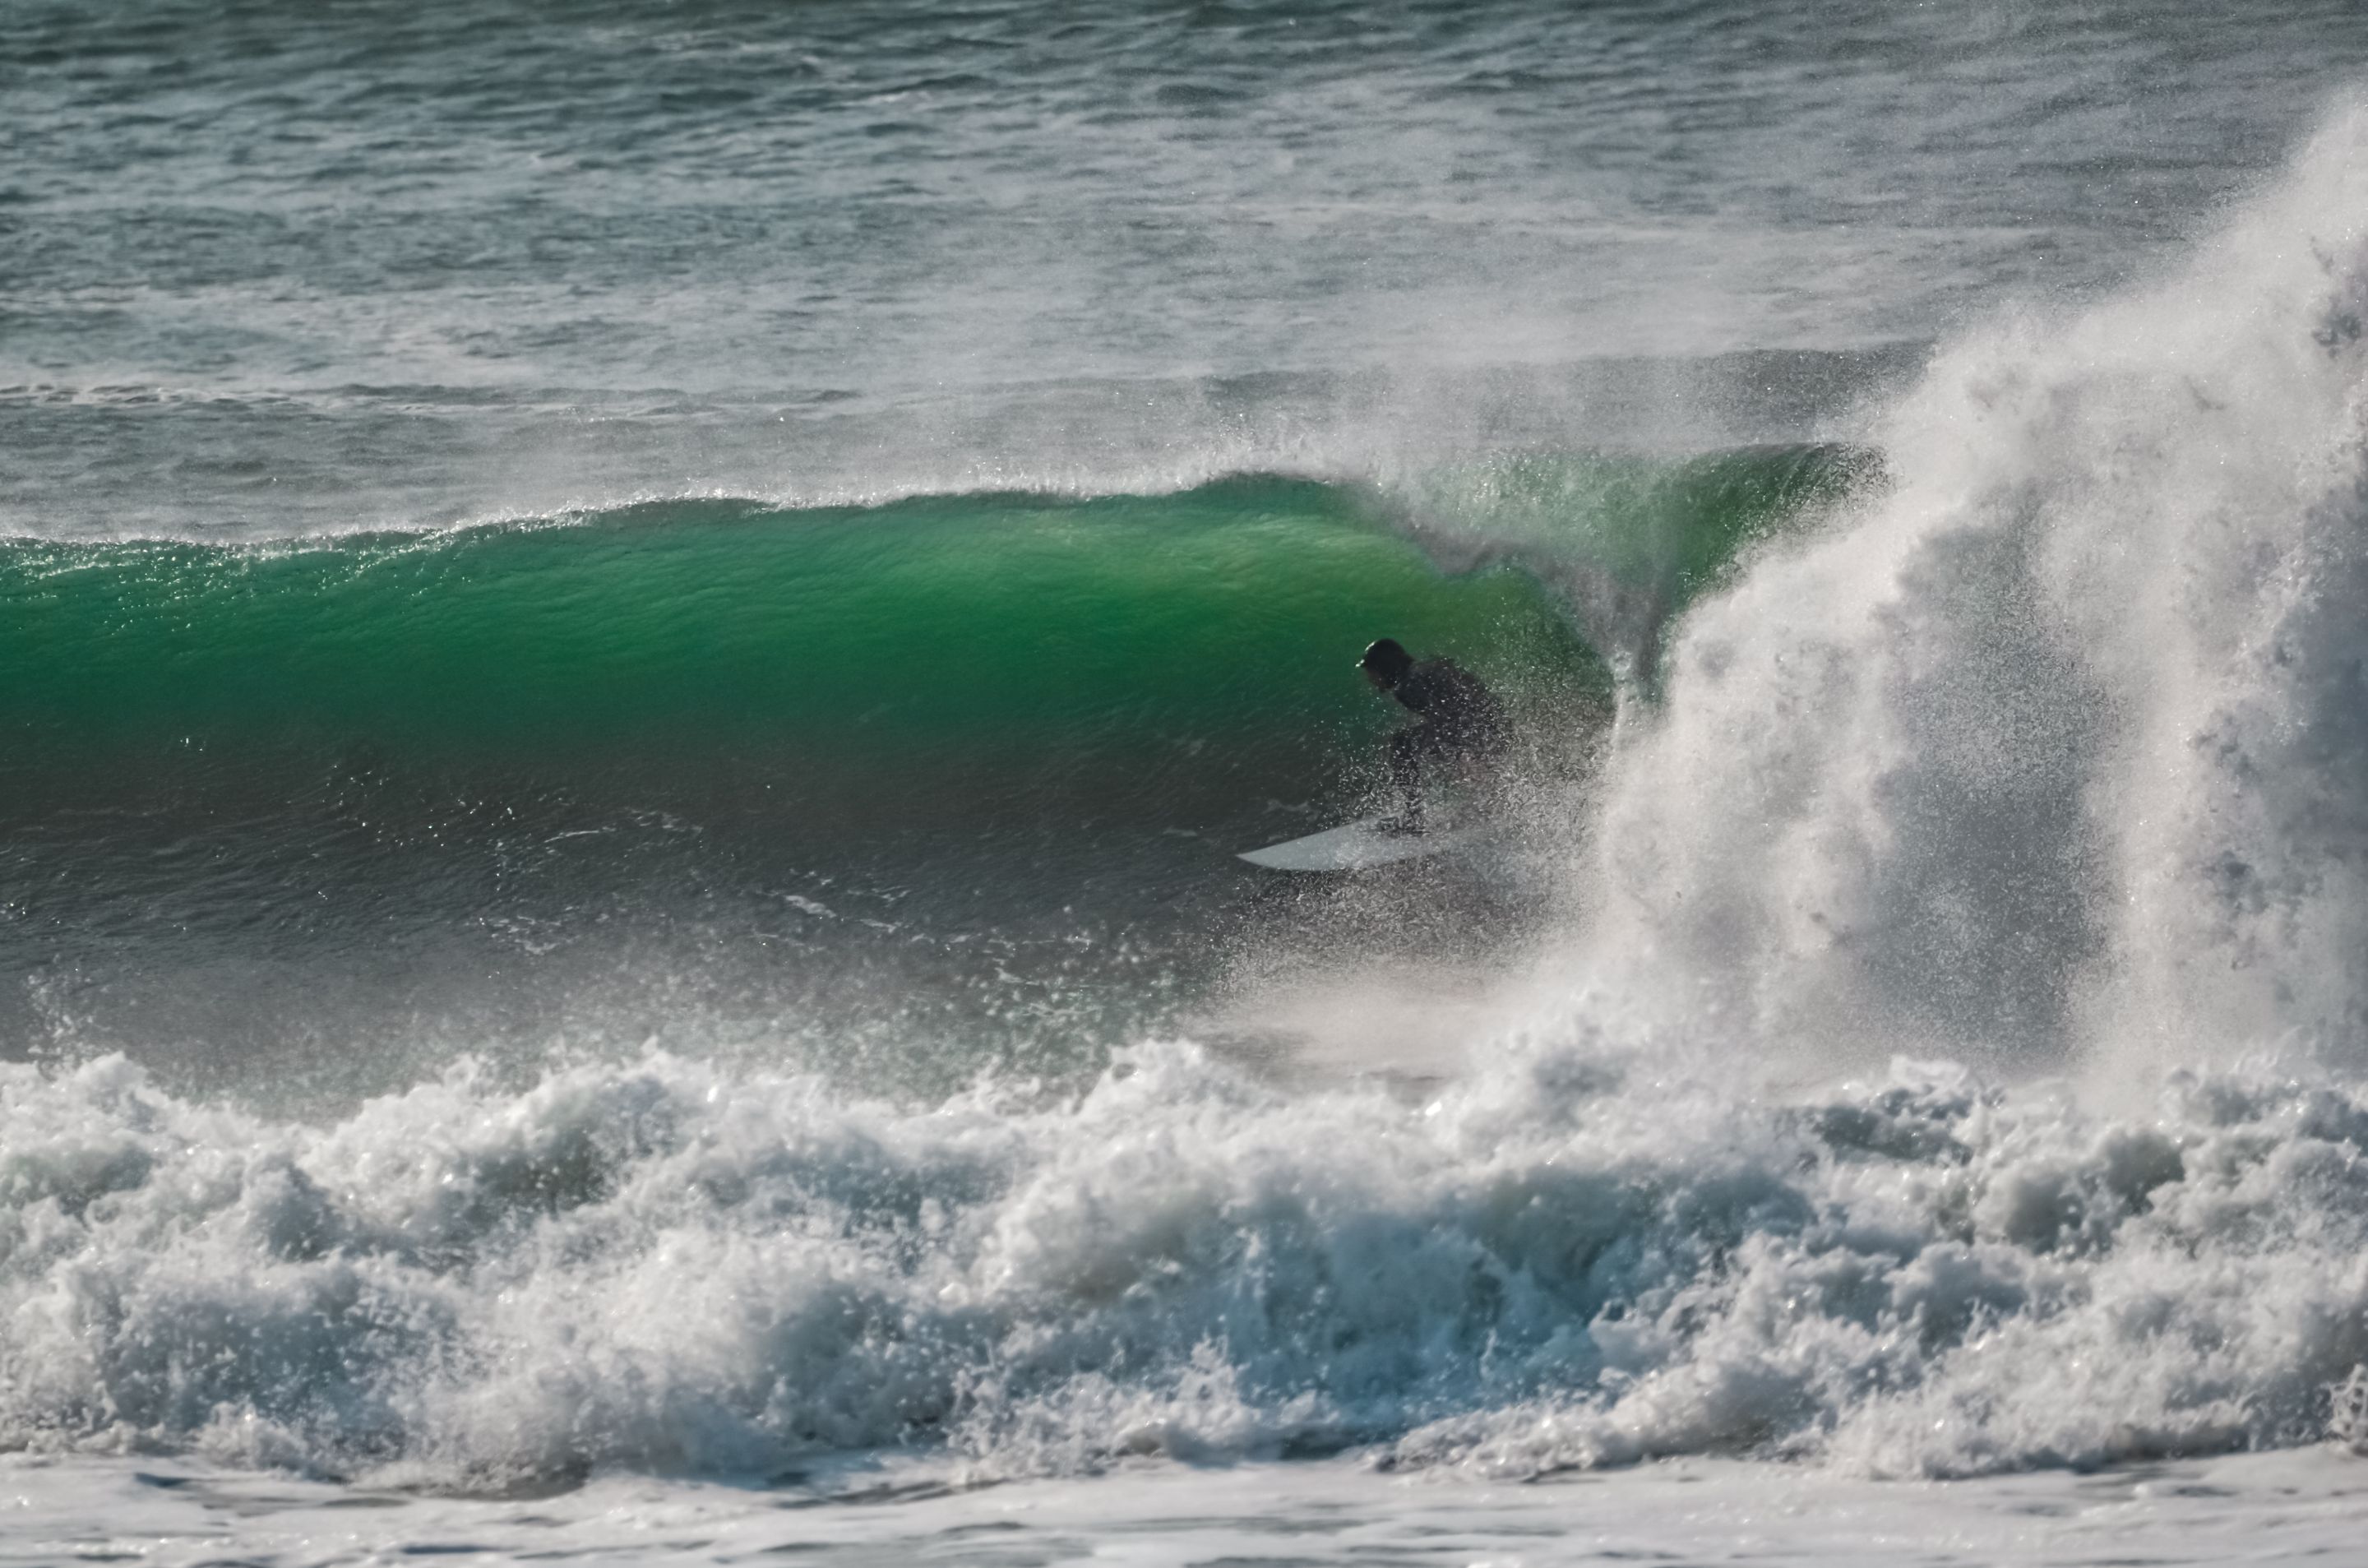
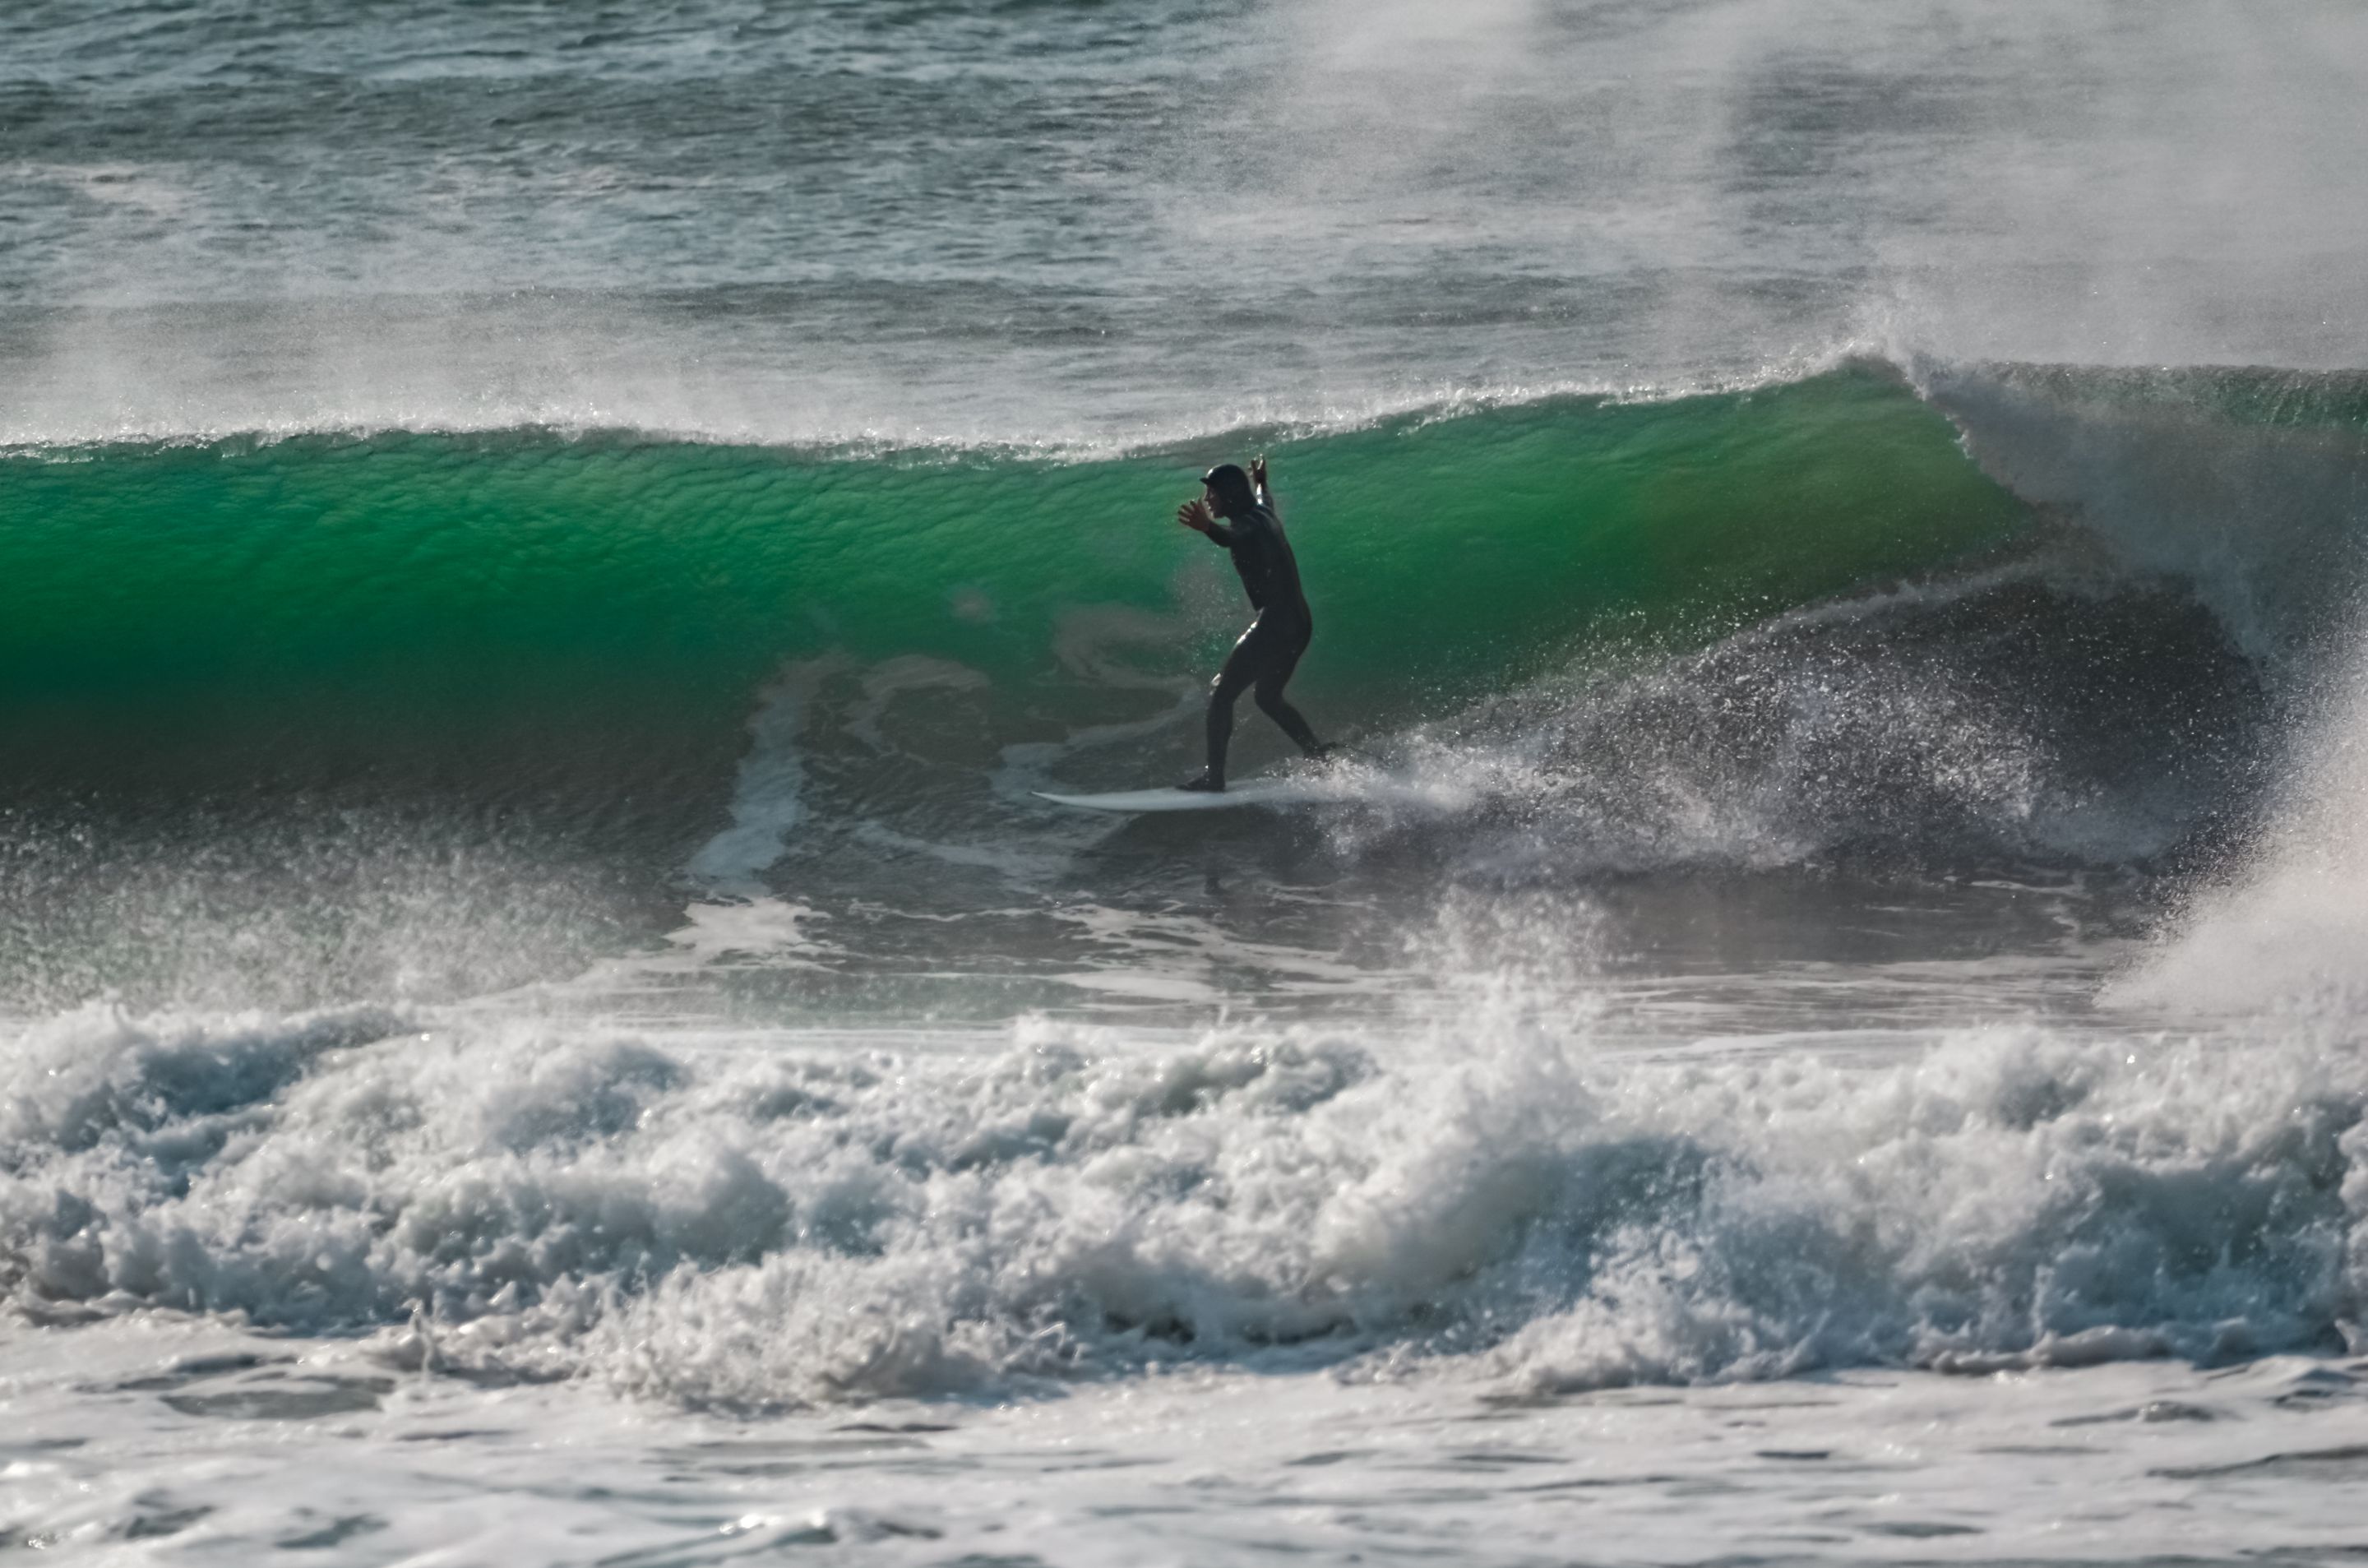
- Another option in the case of barrels is to position yourself in a place where you can see the surfer inside the tube, like this:
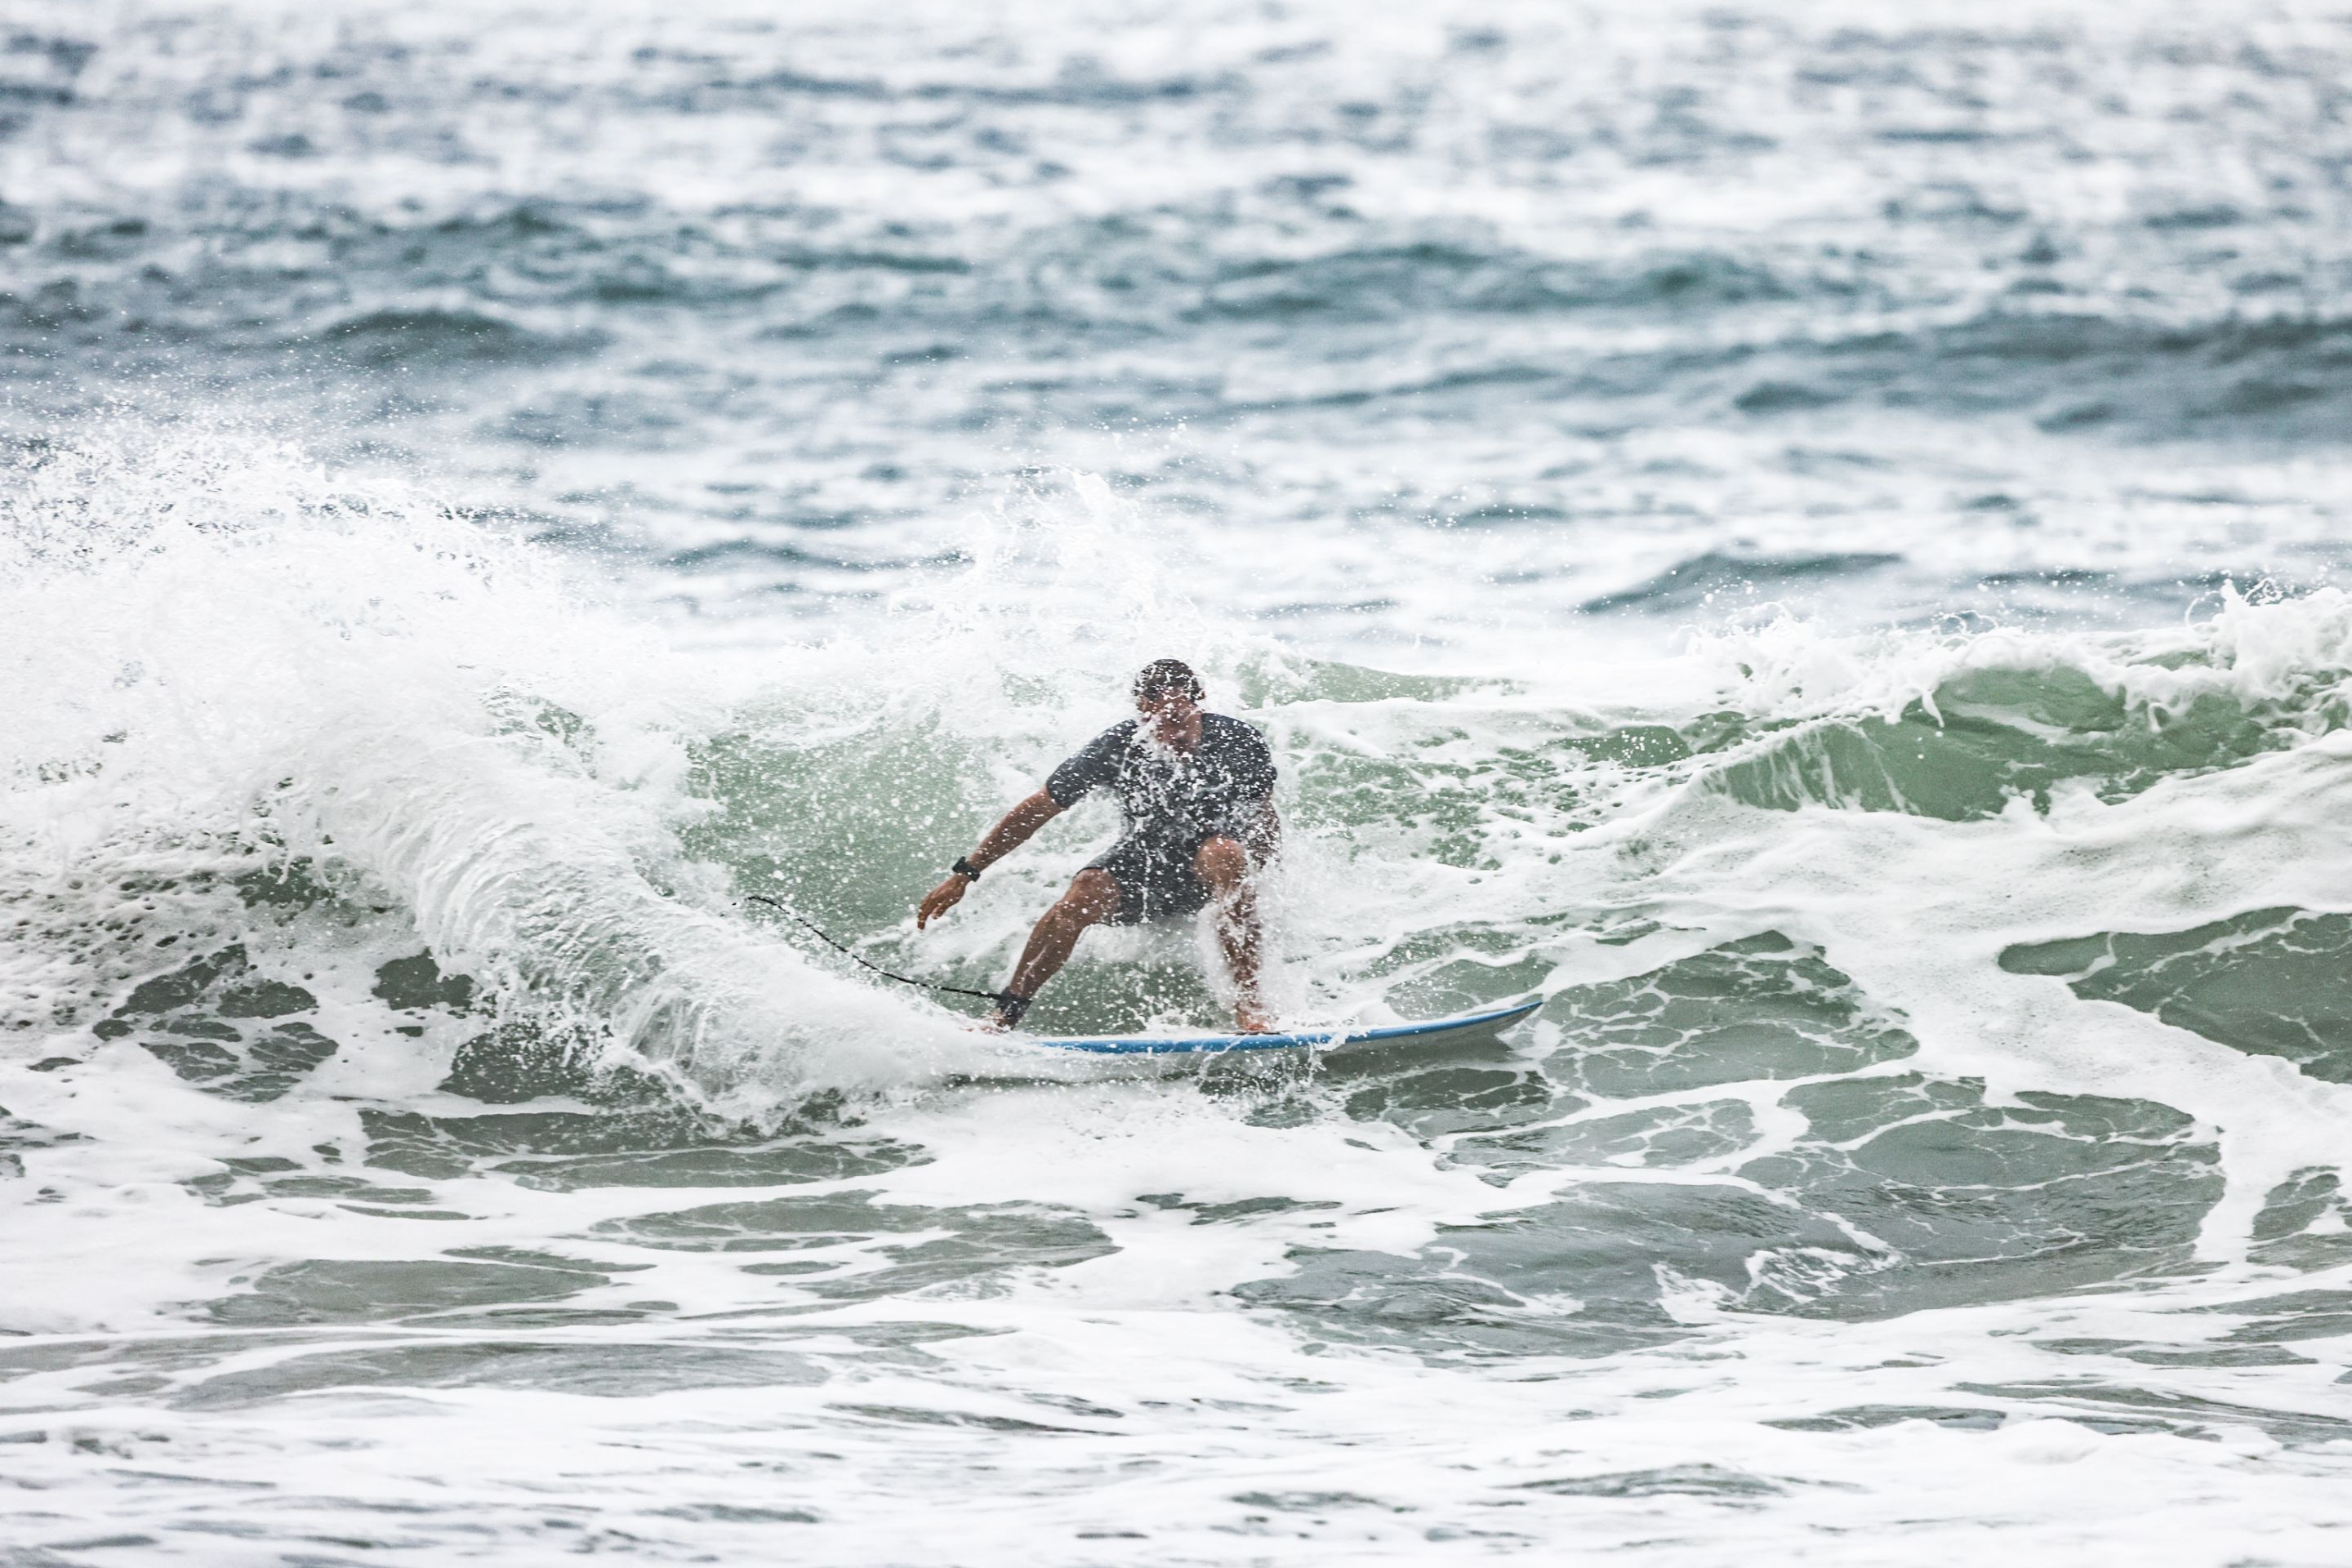
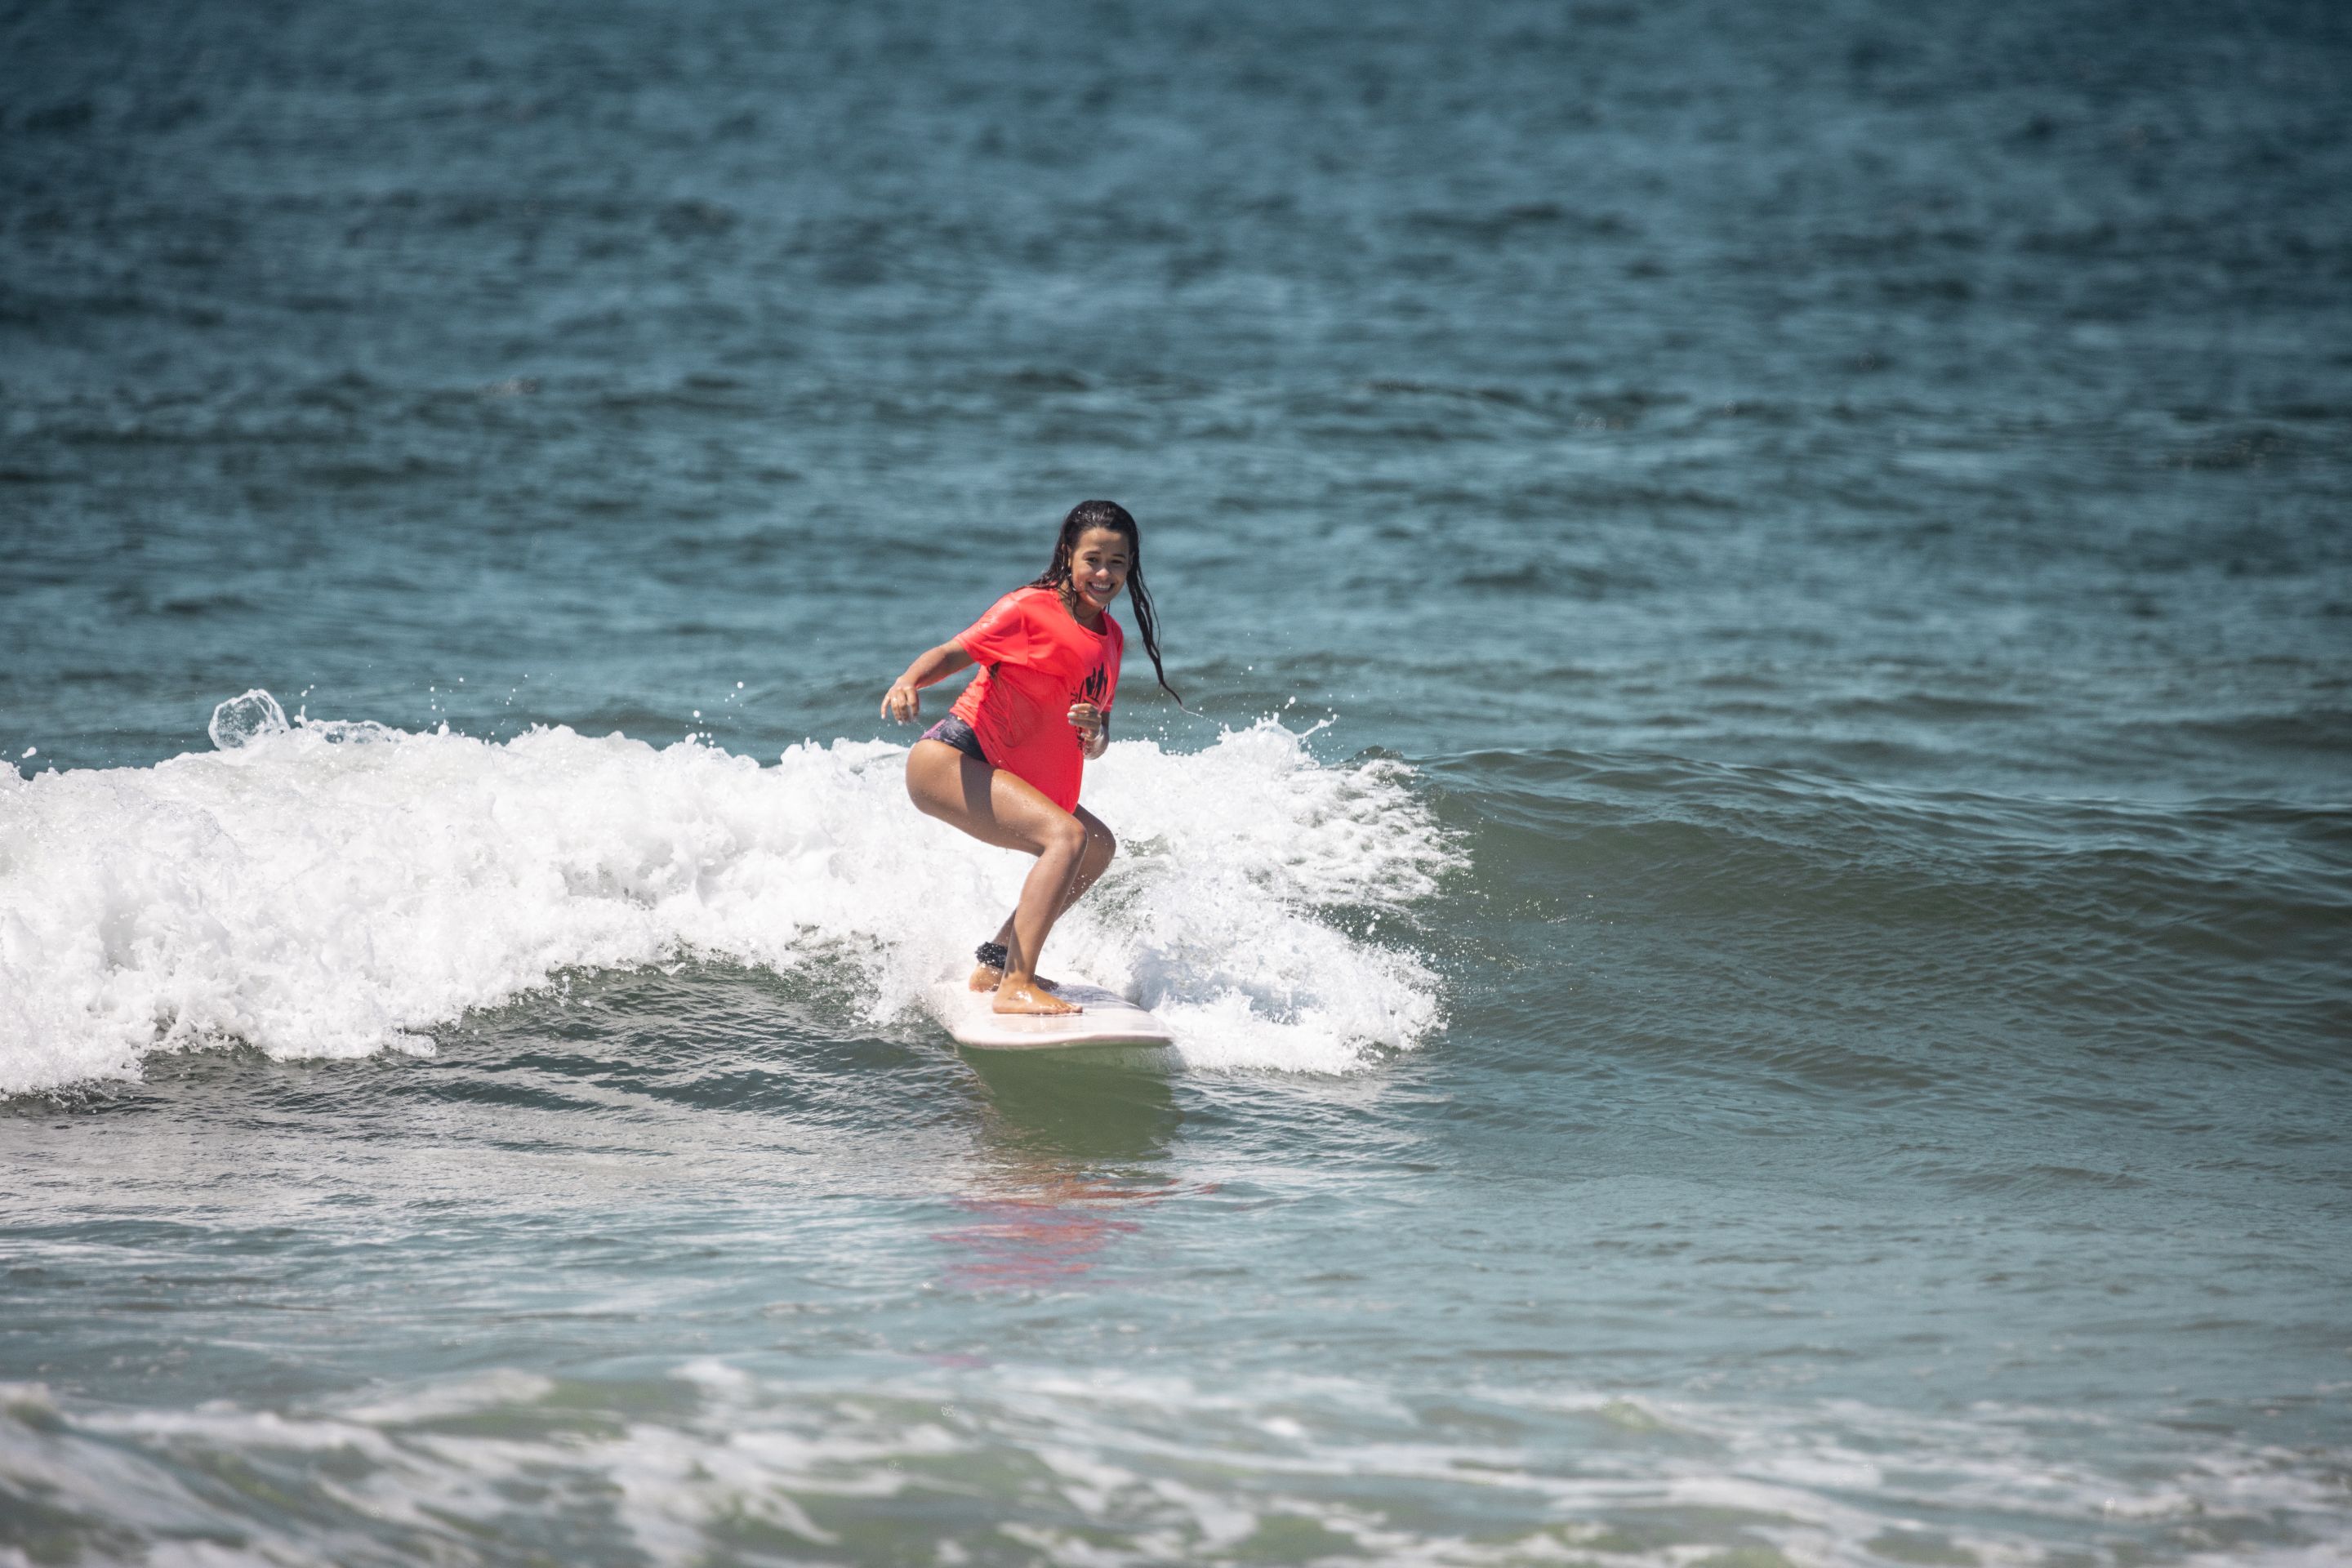
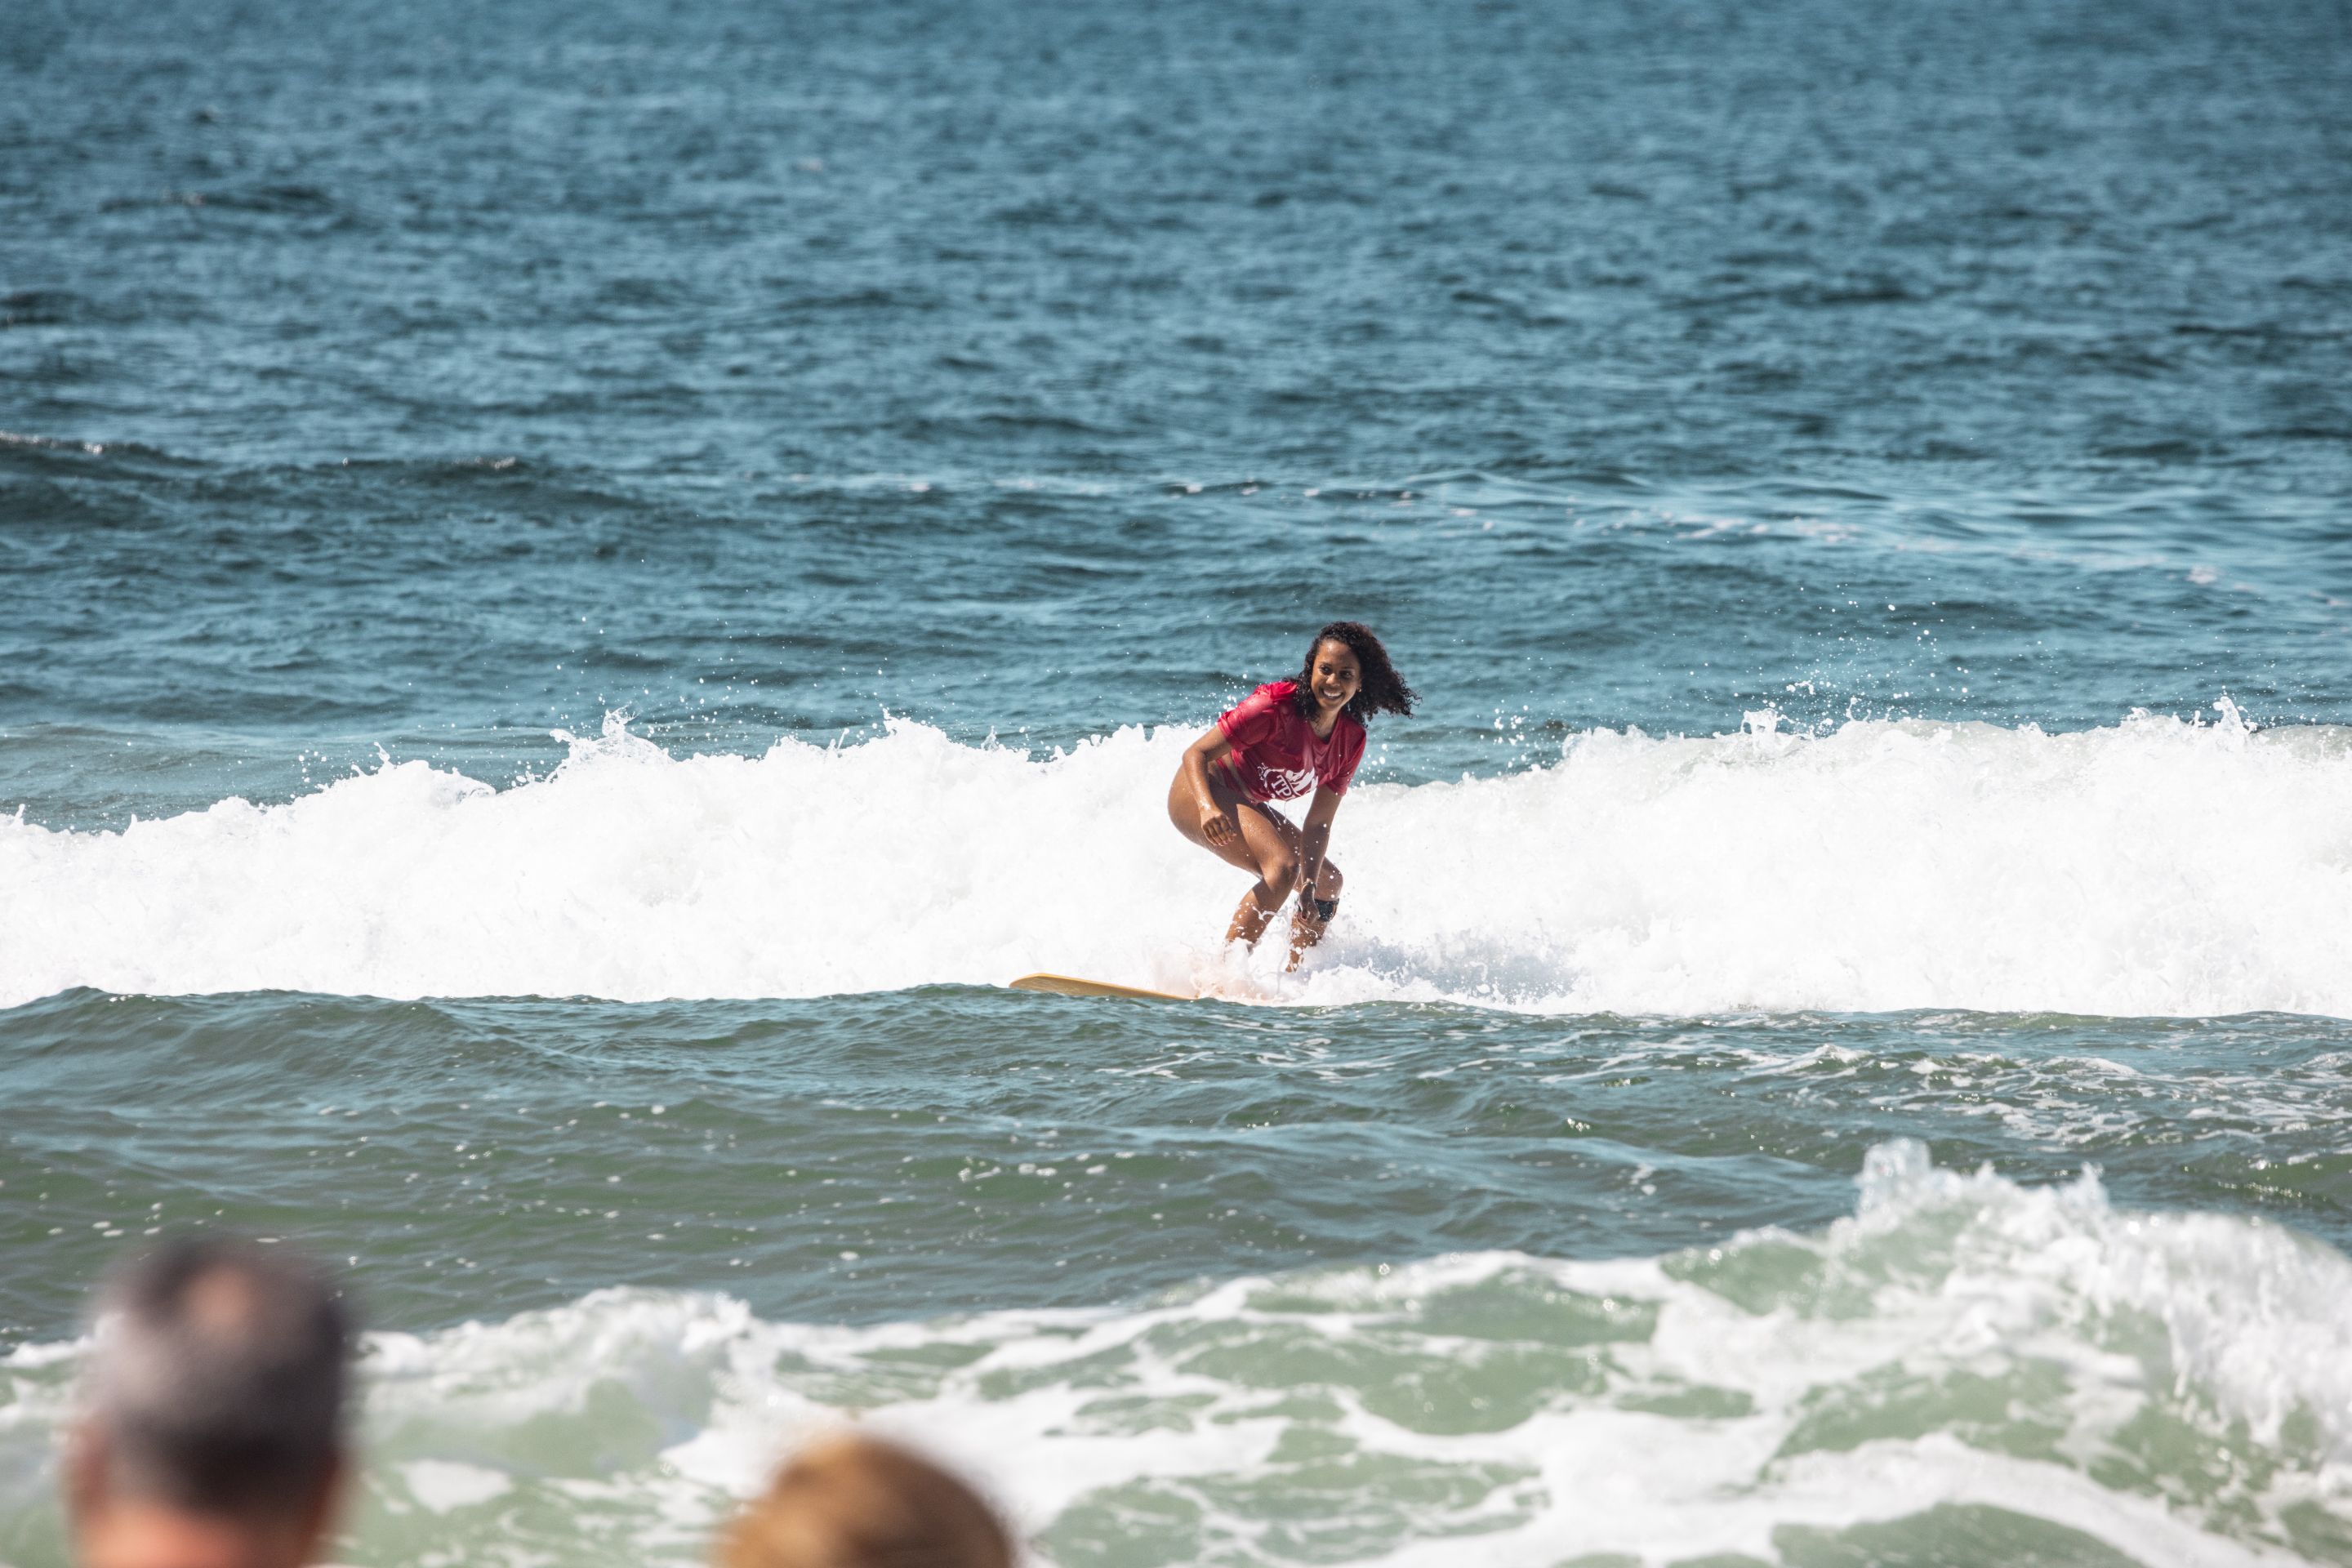
- And, of course, if you're photographing people just starting to surf, almost any photo will make the person happy. But standing on the board is maybe the main achievement for anyone beginning to surf. So, even if the person is catching a foam wave on a soft board, be sure to record this moment:

2. Learn about wave forecasting and reading the sea
Understanding the wave forecast and how they behave and break when they arrive at the beach where you will photograph is as important as learning to surf. And you will need to know about this subject when you learn to surf. Lucky for you, I already have content published here that can help you with this process. Take a look here:
- Types of waves for surfing and how they are formed
- What are the types of seabed, and how do they influence surfing?
- How I read the sea forecast for surfing on Surfguru
- How to improve sea reading for surfing
It's obvious to me, as a surfer and photographer, that these issues are fundamental, but here are some insights that, in my experience, may not be so obvious to everyone: you can plan ahead and save time.
When you learn to read the wave forecast, you will know when there will be waves and when there won't be. This way, you can plan and include surf days and photo days in your routine. I, for example, like surfing small waves, but I like photographing big waves. Imagine if, one day, I decide to go surfing, I don't look at the forecast, and I arrive at the beach and the sea is too big for me? I literally lost travel, time, and money. At most, I would enjoy the beach, lol. And I reinforce that the posts I made and shared above can help you with this!
3. Aperture and shutter speed: which settings to use
Surfing is an extreme sport, and like practically all extreme sports, everything happens very quickly and aggressively. In this case, freezing moments is probably the best option. For this, I realized that the minimum shutter speed that works well in surfing is 1/800, but the higher it is, the better. It all depends on your goal.
Luckily for us, surfing is a sport that is practiced most of the time during the day and with a lot of sun, which significantly favors the lives of surf photographers.
I really like using my camera in aperture priority or shutter priority mode when I'm photographing surf. But everything will depend on your goal and the weather that day is like.
-
Aperture priority: I usually like to shoot in this mode to ensure that I have as much light as possible passing through my lens. In this case, this technique works well for me on cloudy and partially cloudy days, as I prefer to ensure photos with enough light so that I don't have to do a lot of work later in editing. But if your goal is to increase the depth of field and capture more details, the tip here is to decrease your aperture (I suggest something around 8 or 10, at least), as long as your speed is at least around 1/800.
-
Shutter Priority: Works best on very sunny days. With plenty of lighting, you can benefit from setting your shutter to maximum, ensuring that you can freeze every moment. Furthermore, you won't need such a large aperture and will have an even greater wealth of details in your photos.
4. Composition: putting the surfer in the spotlight
For those who already know photography, composition is essential, and it's no different in surfing. These are some composition rules that I like to use in my surf photos. In general, let the obvious be said: always put the surfer in the spotlight.
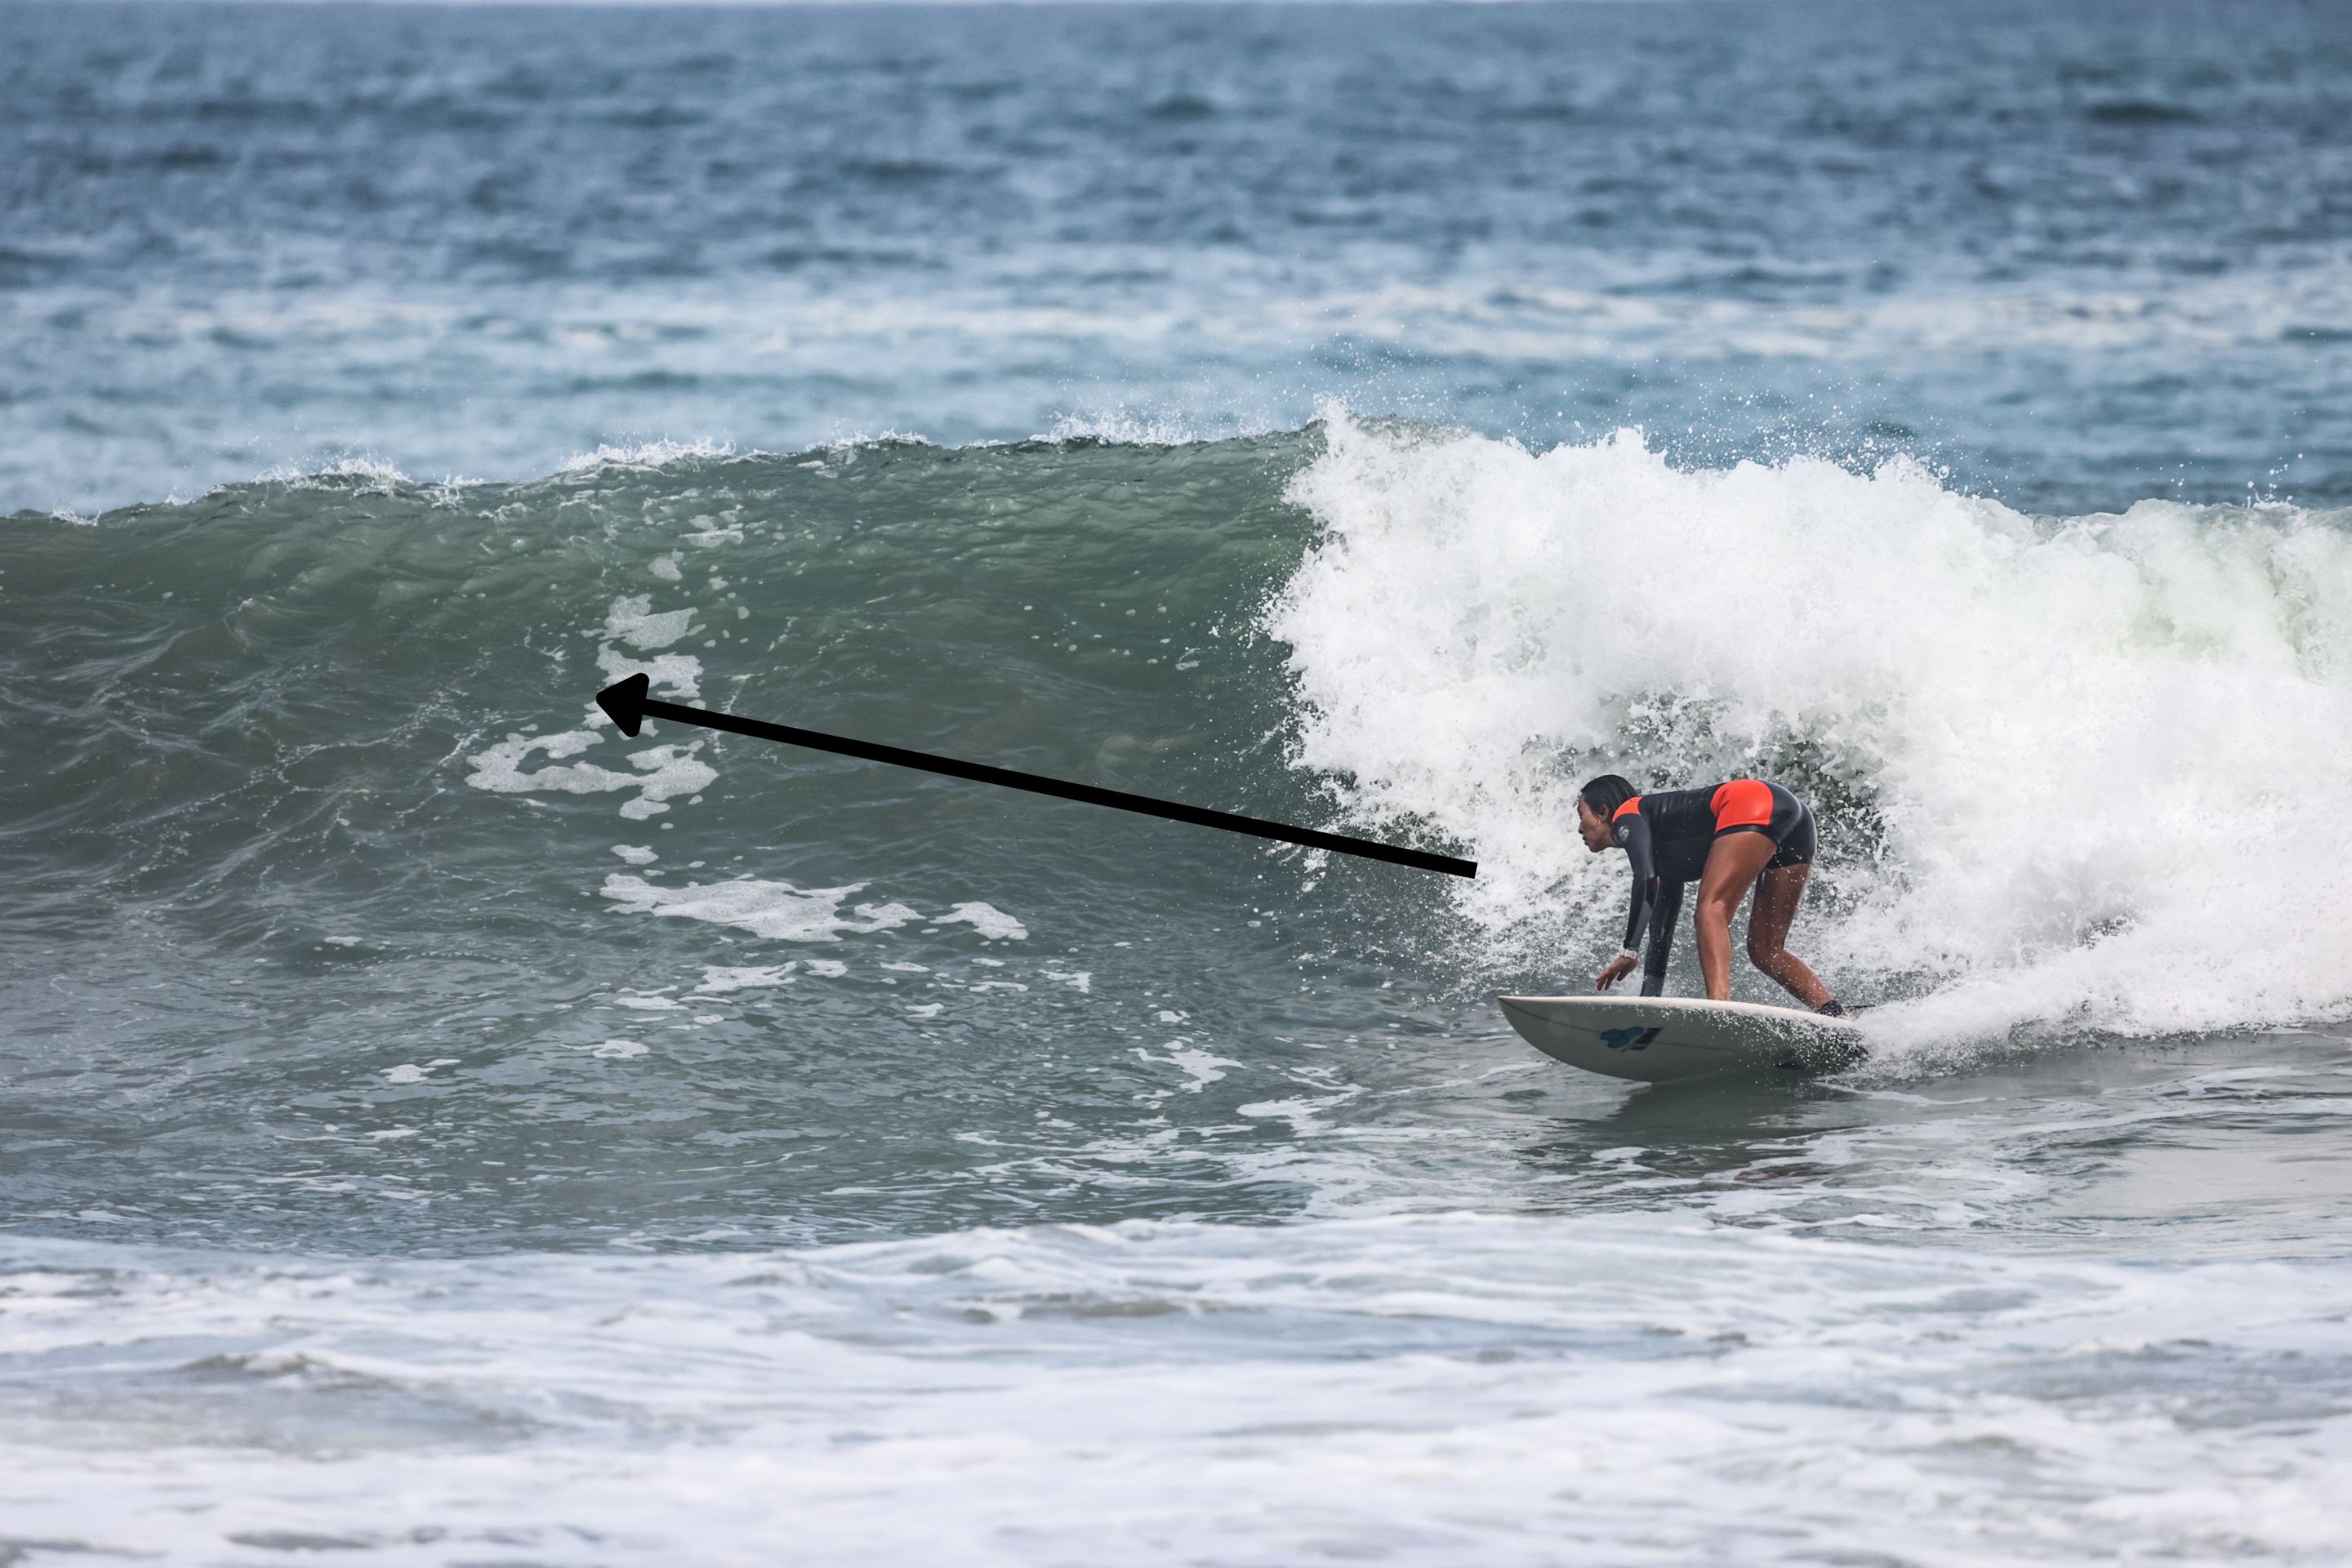
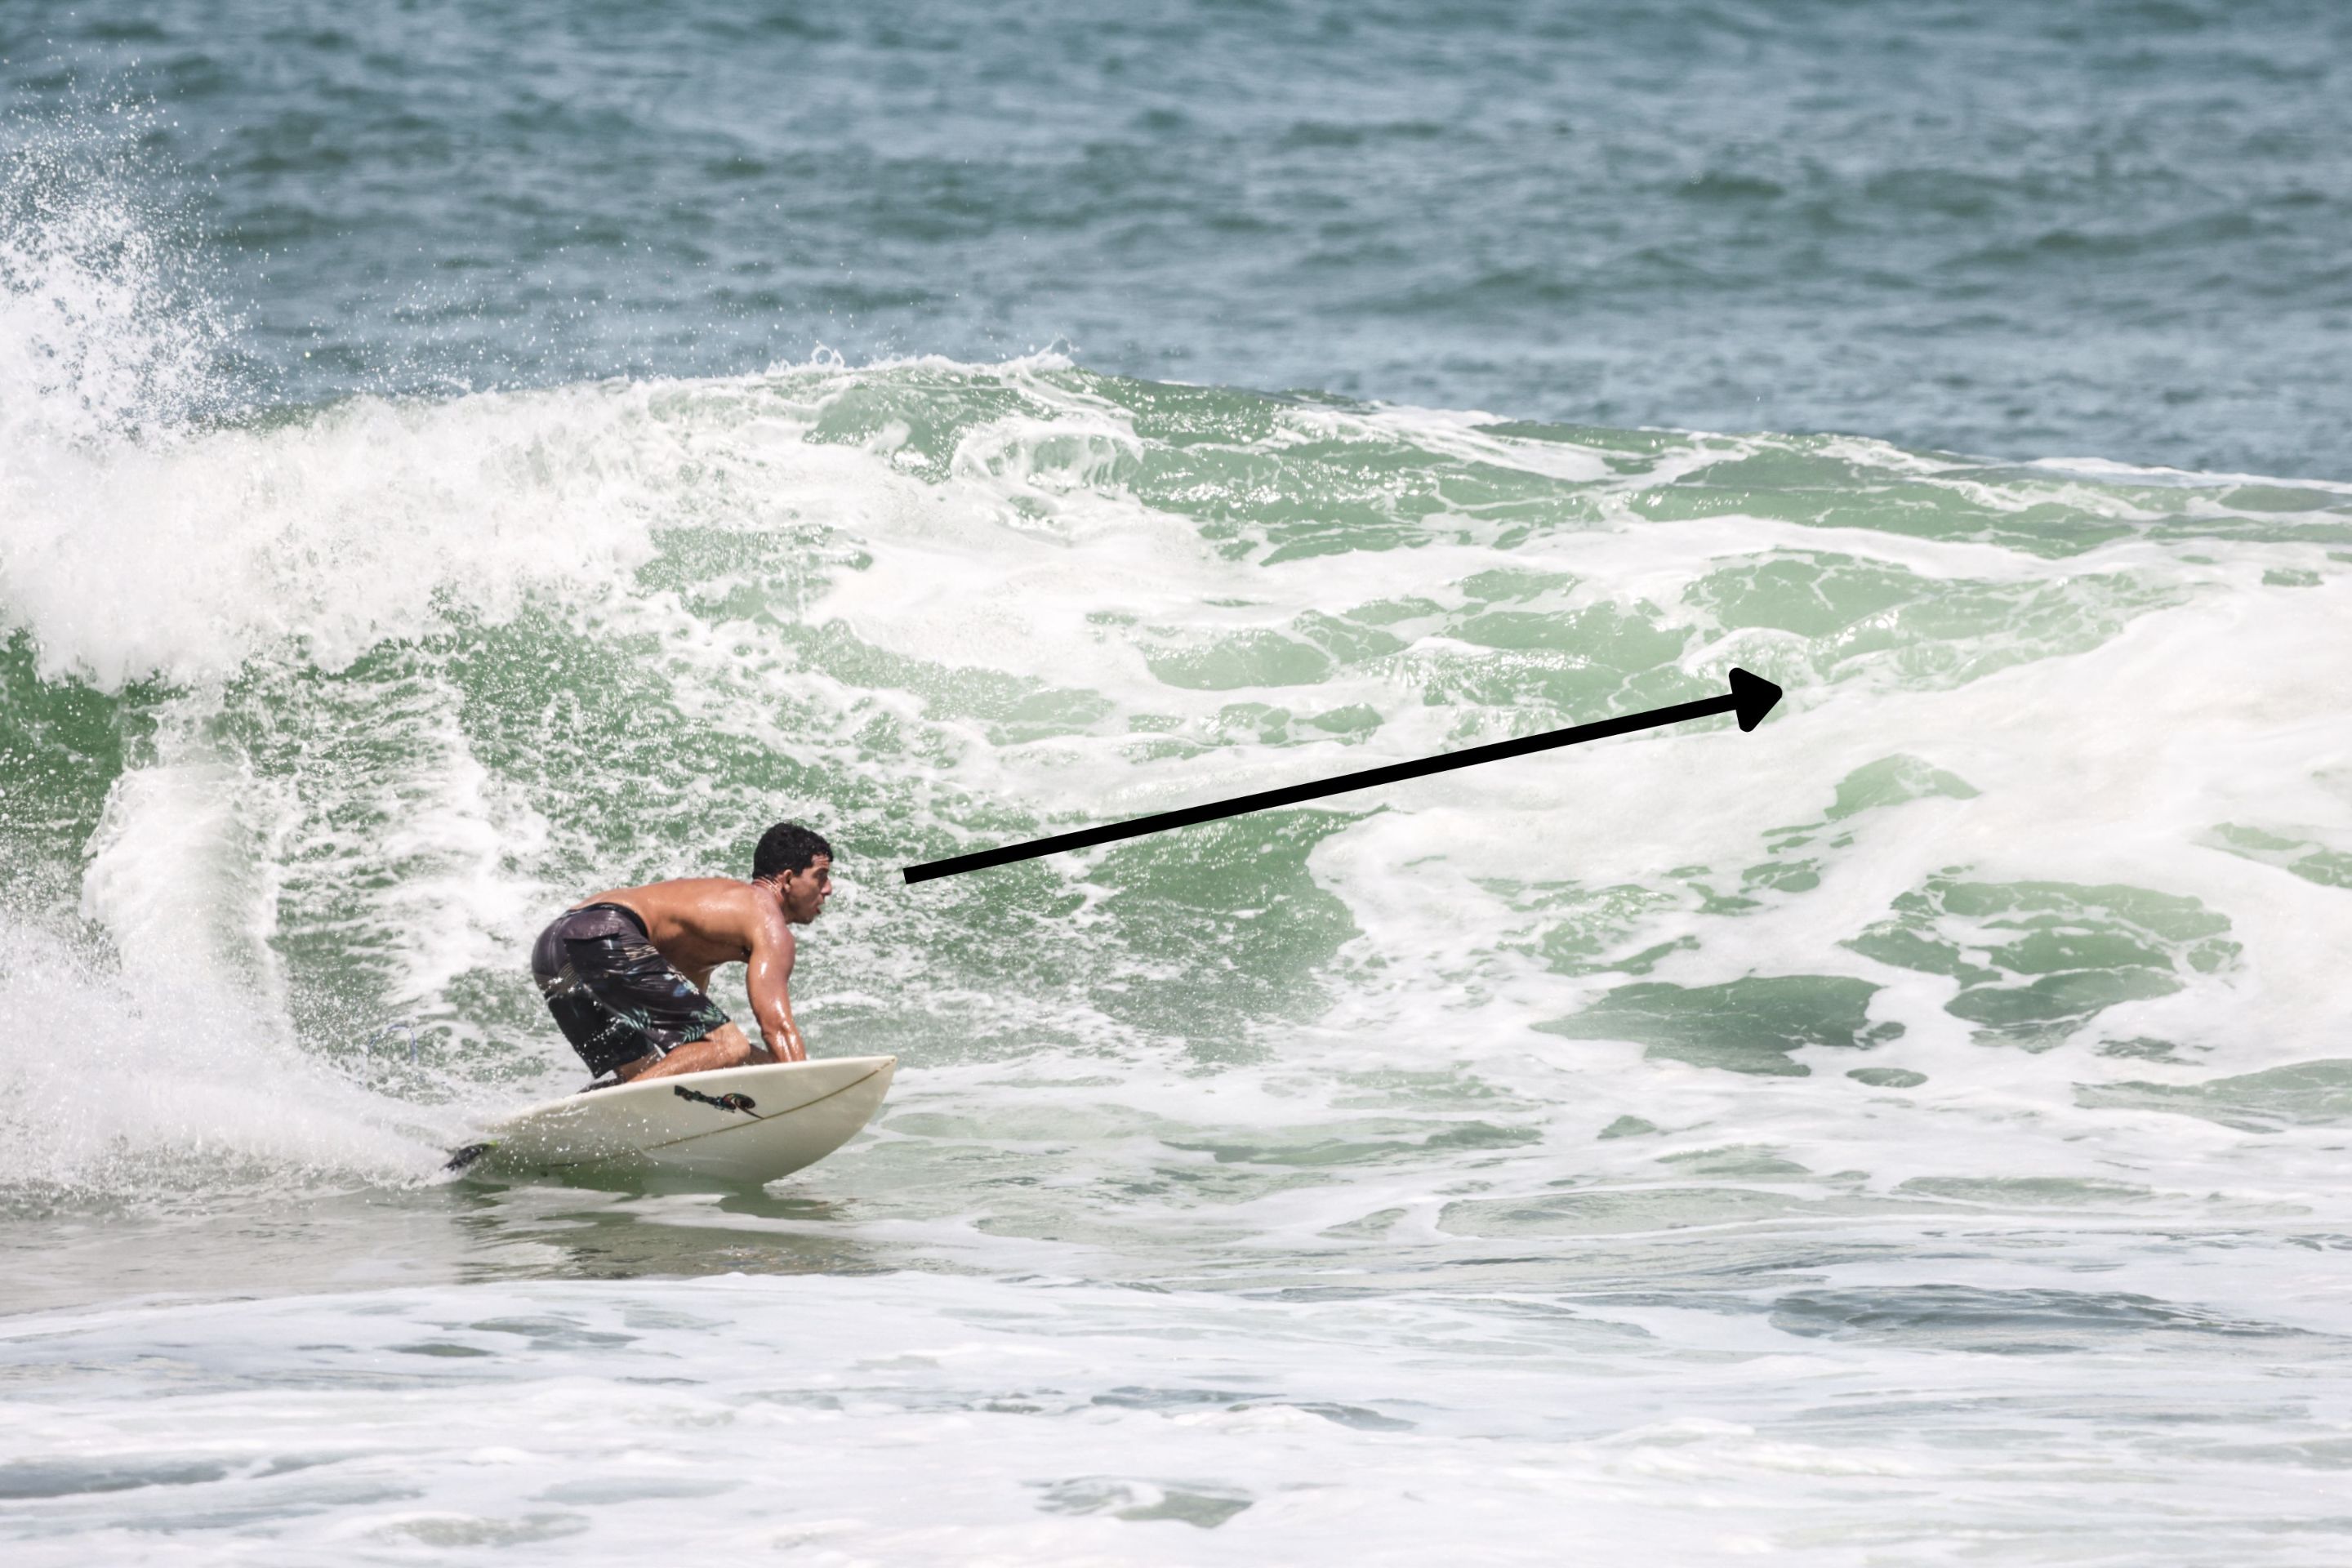
- Space in front of the surfer/ where they are looking at No surfer wants to get a closeout. A wave is good when opening to the right or left, giving you space to maneuver or "ride" the wave. Recording this in your photos is cool to show that the surfer's wave choice was good!
- The beloved rule of thirds It's a bit of a cliché, but the basics always work. Combined with other elements, in addition to the surfer, in one of the other gold spots, it can give an idea of dimension and size that will enrich your photo even more.
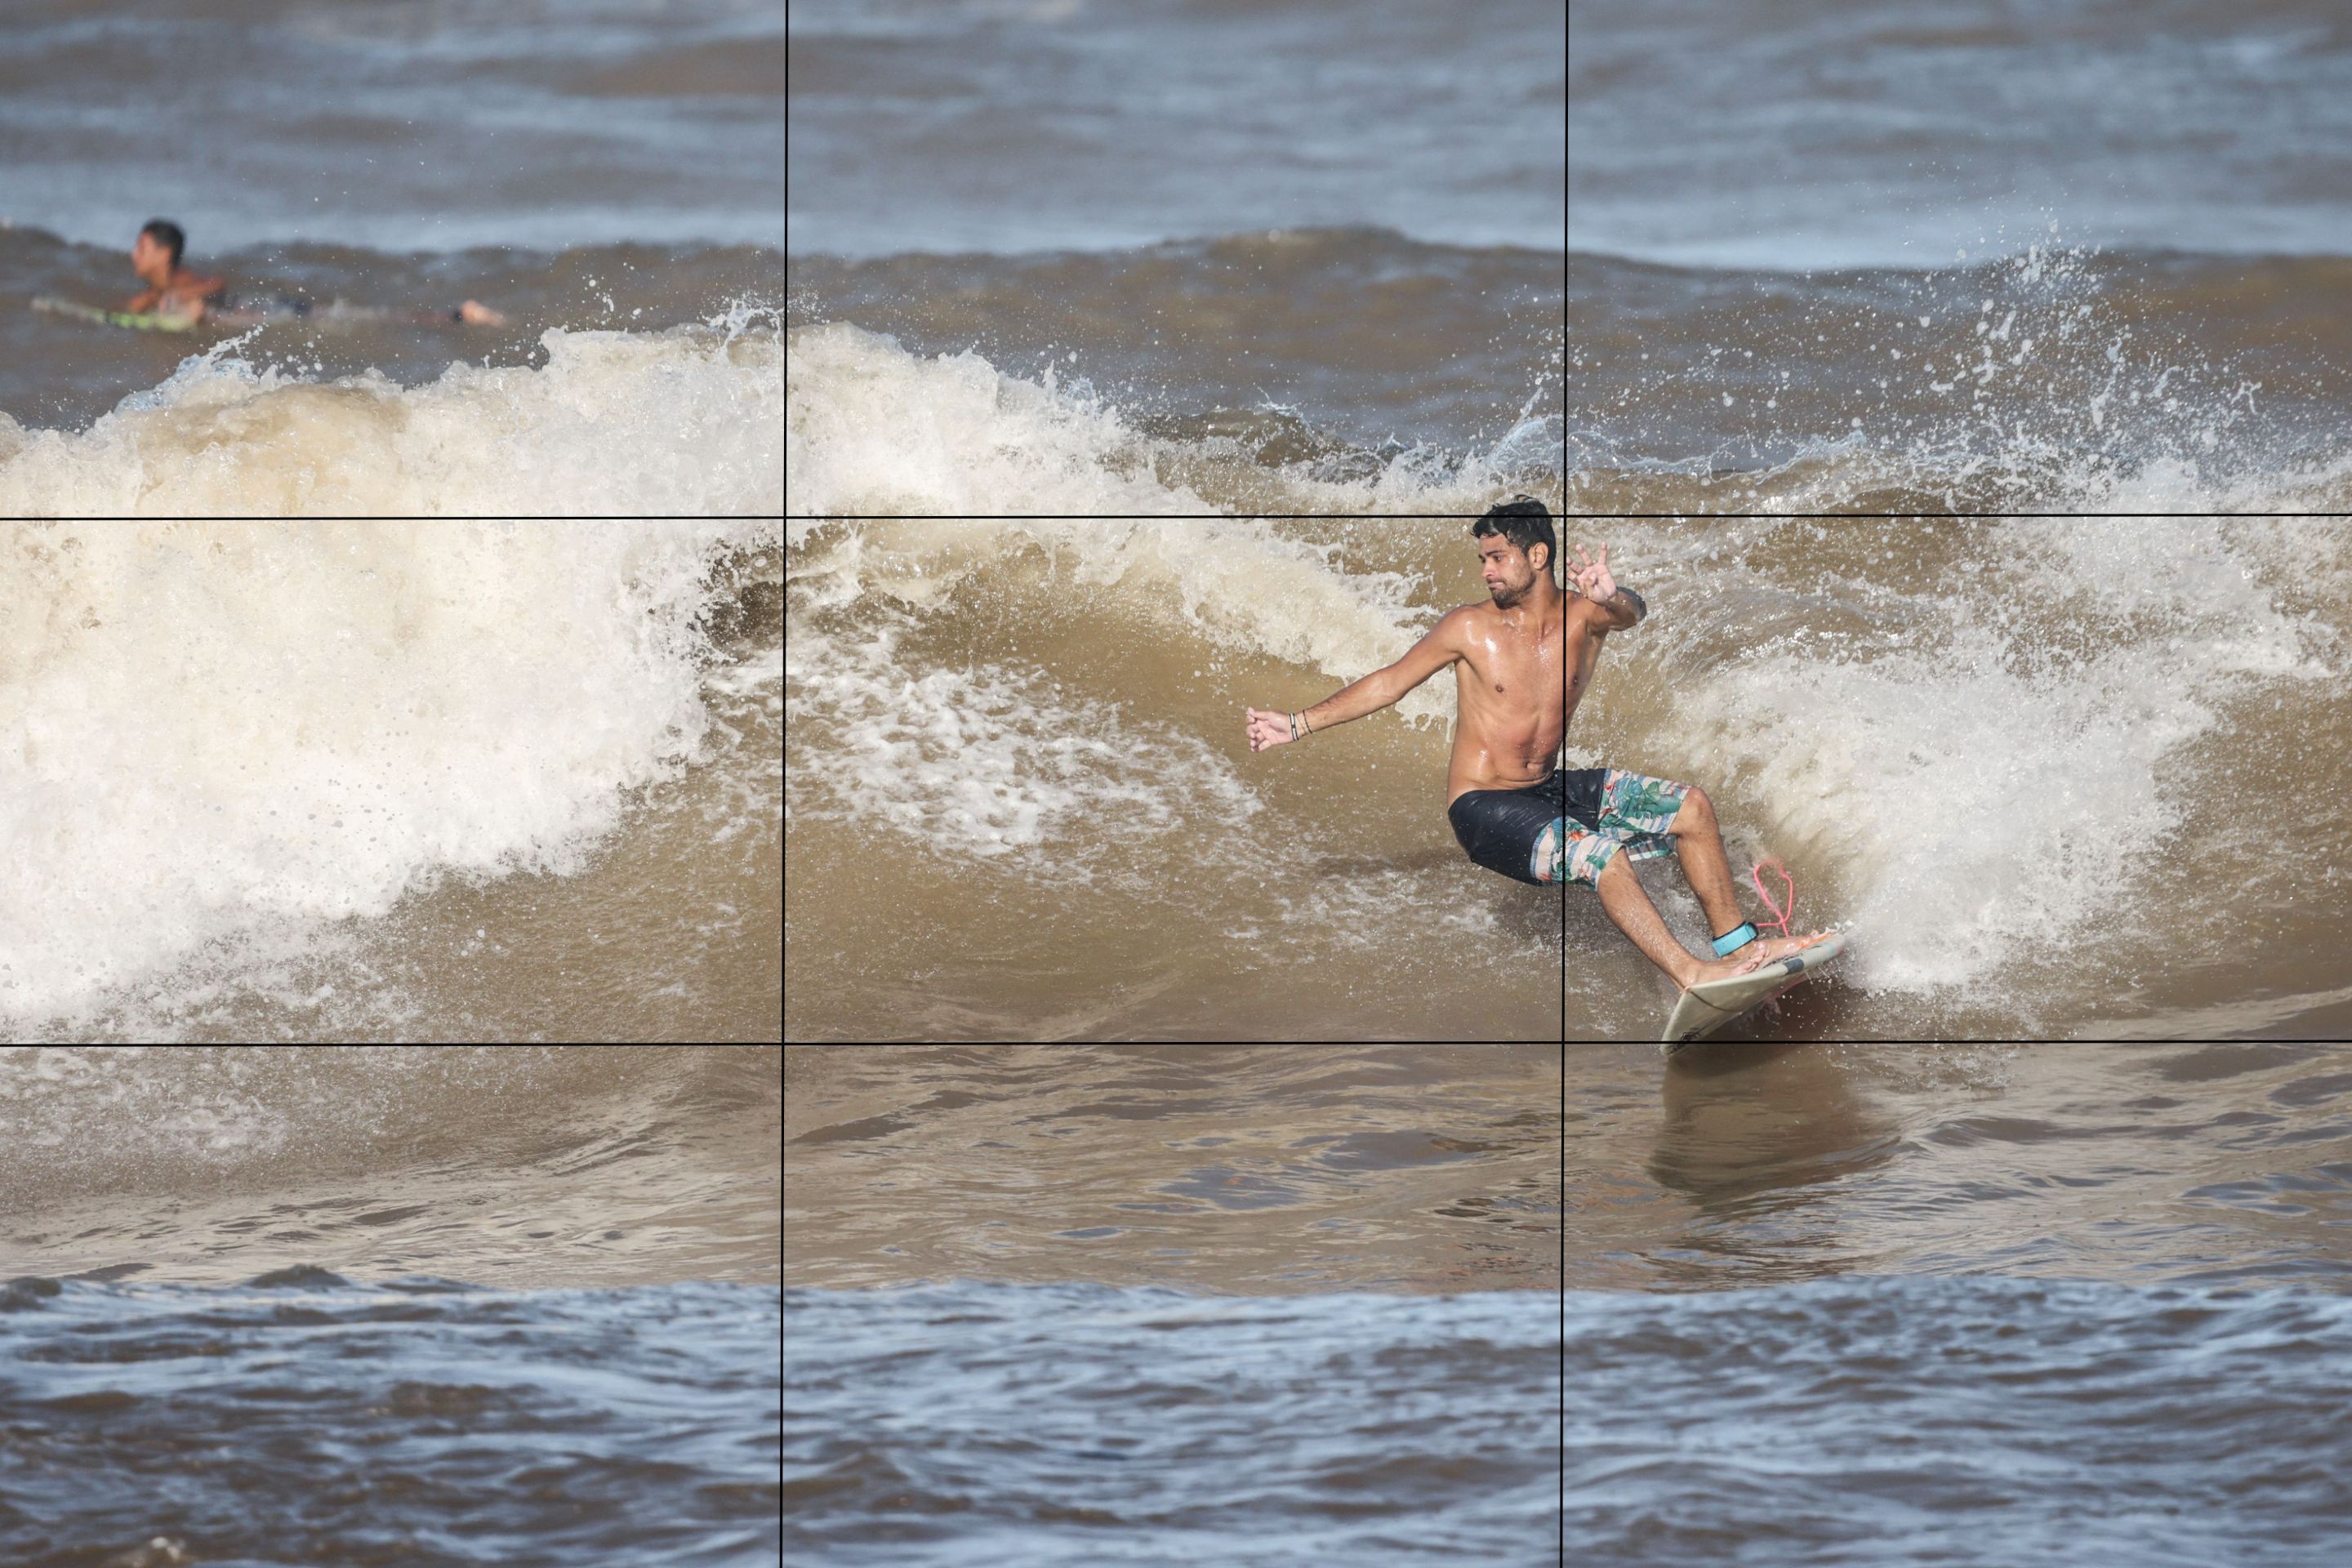
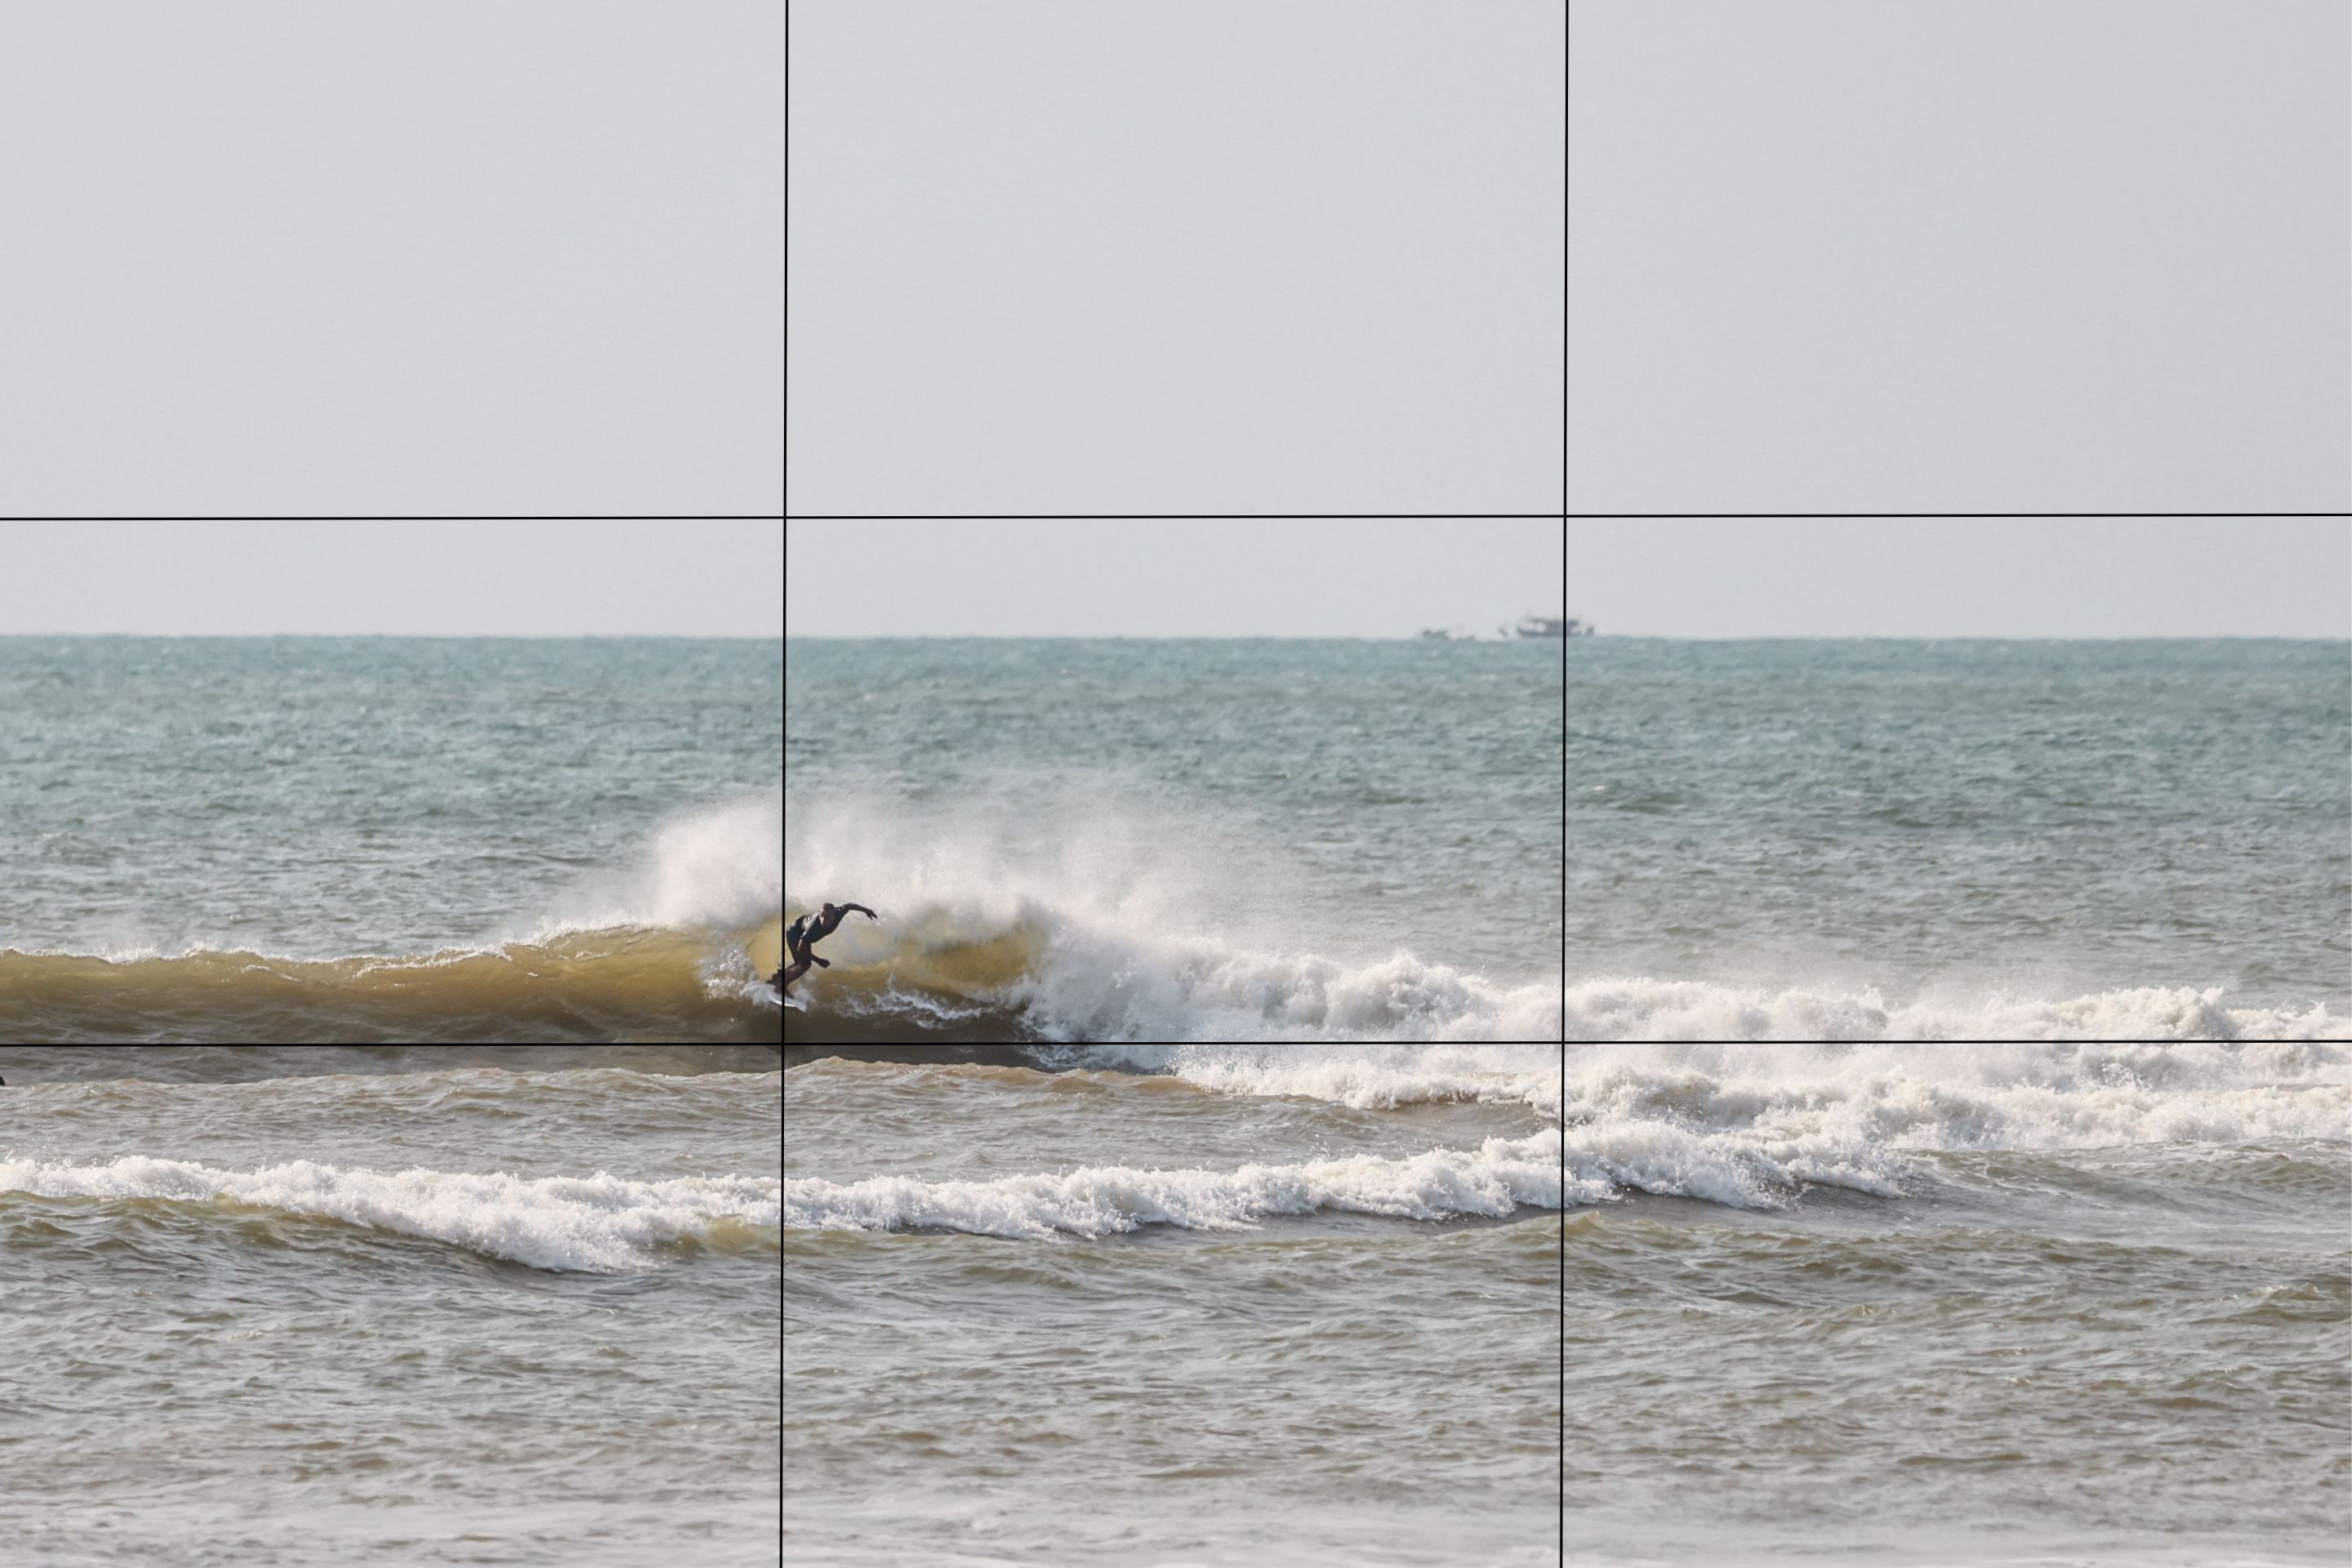
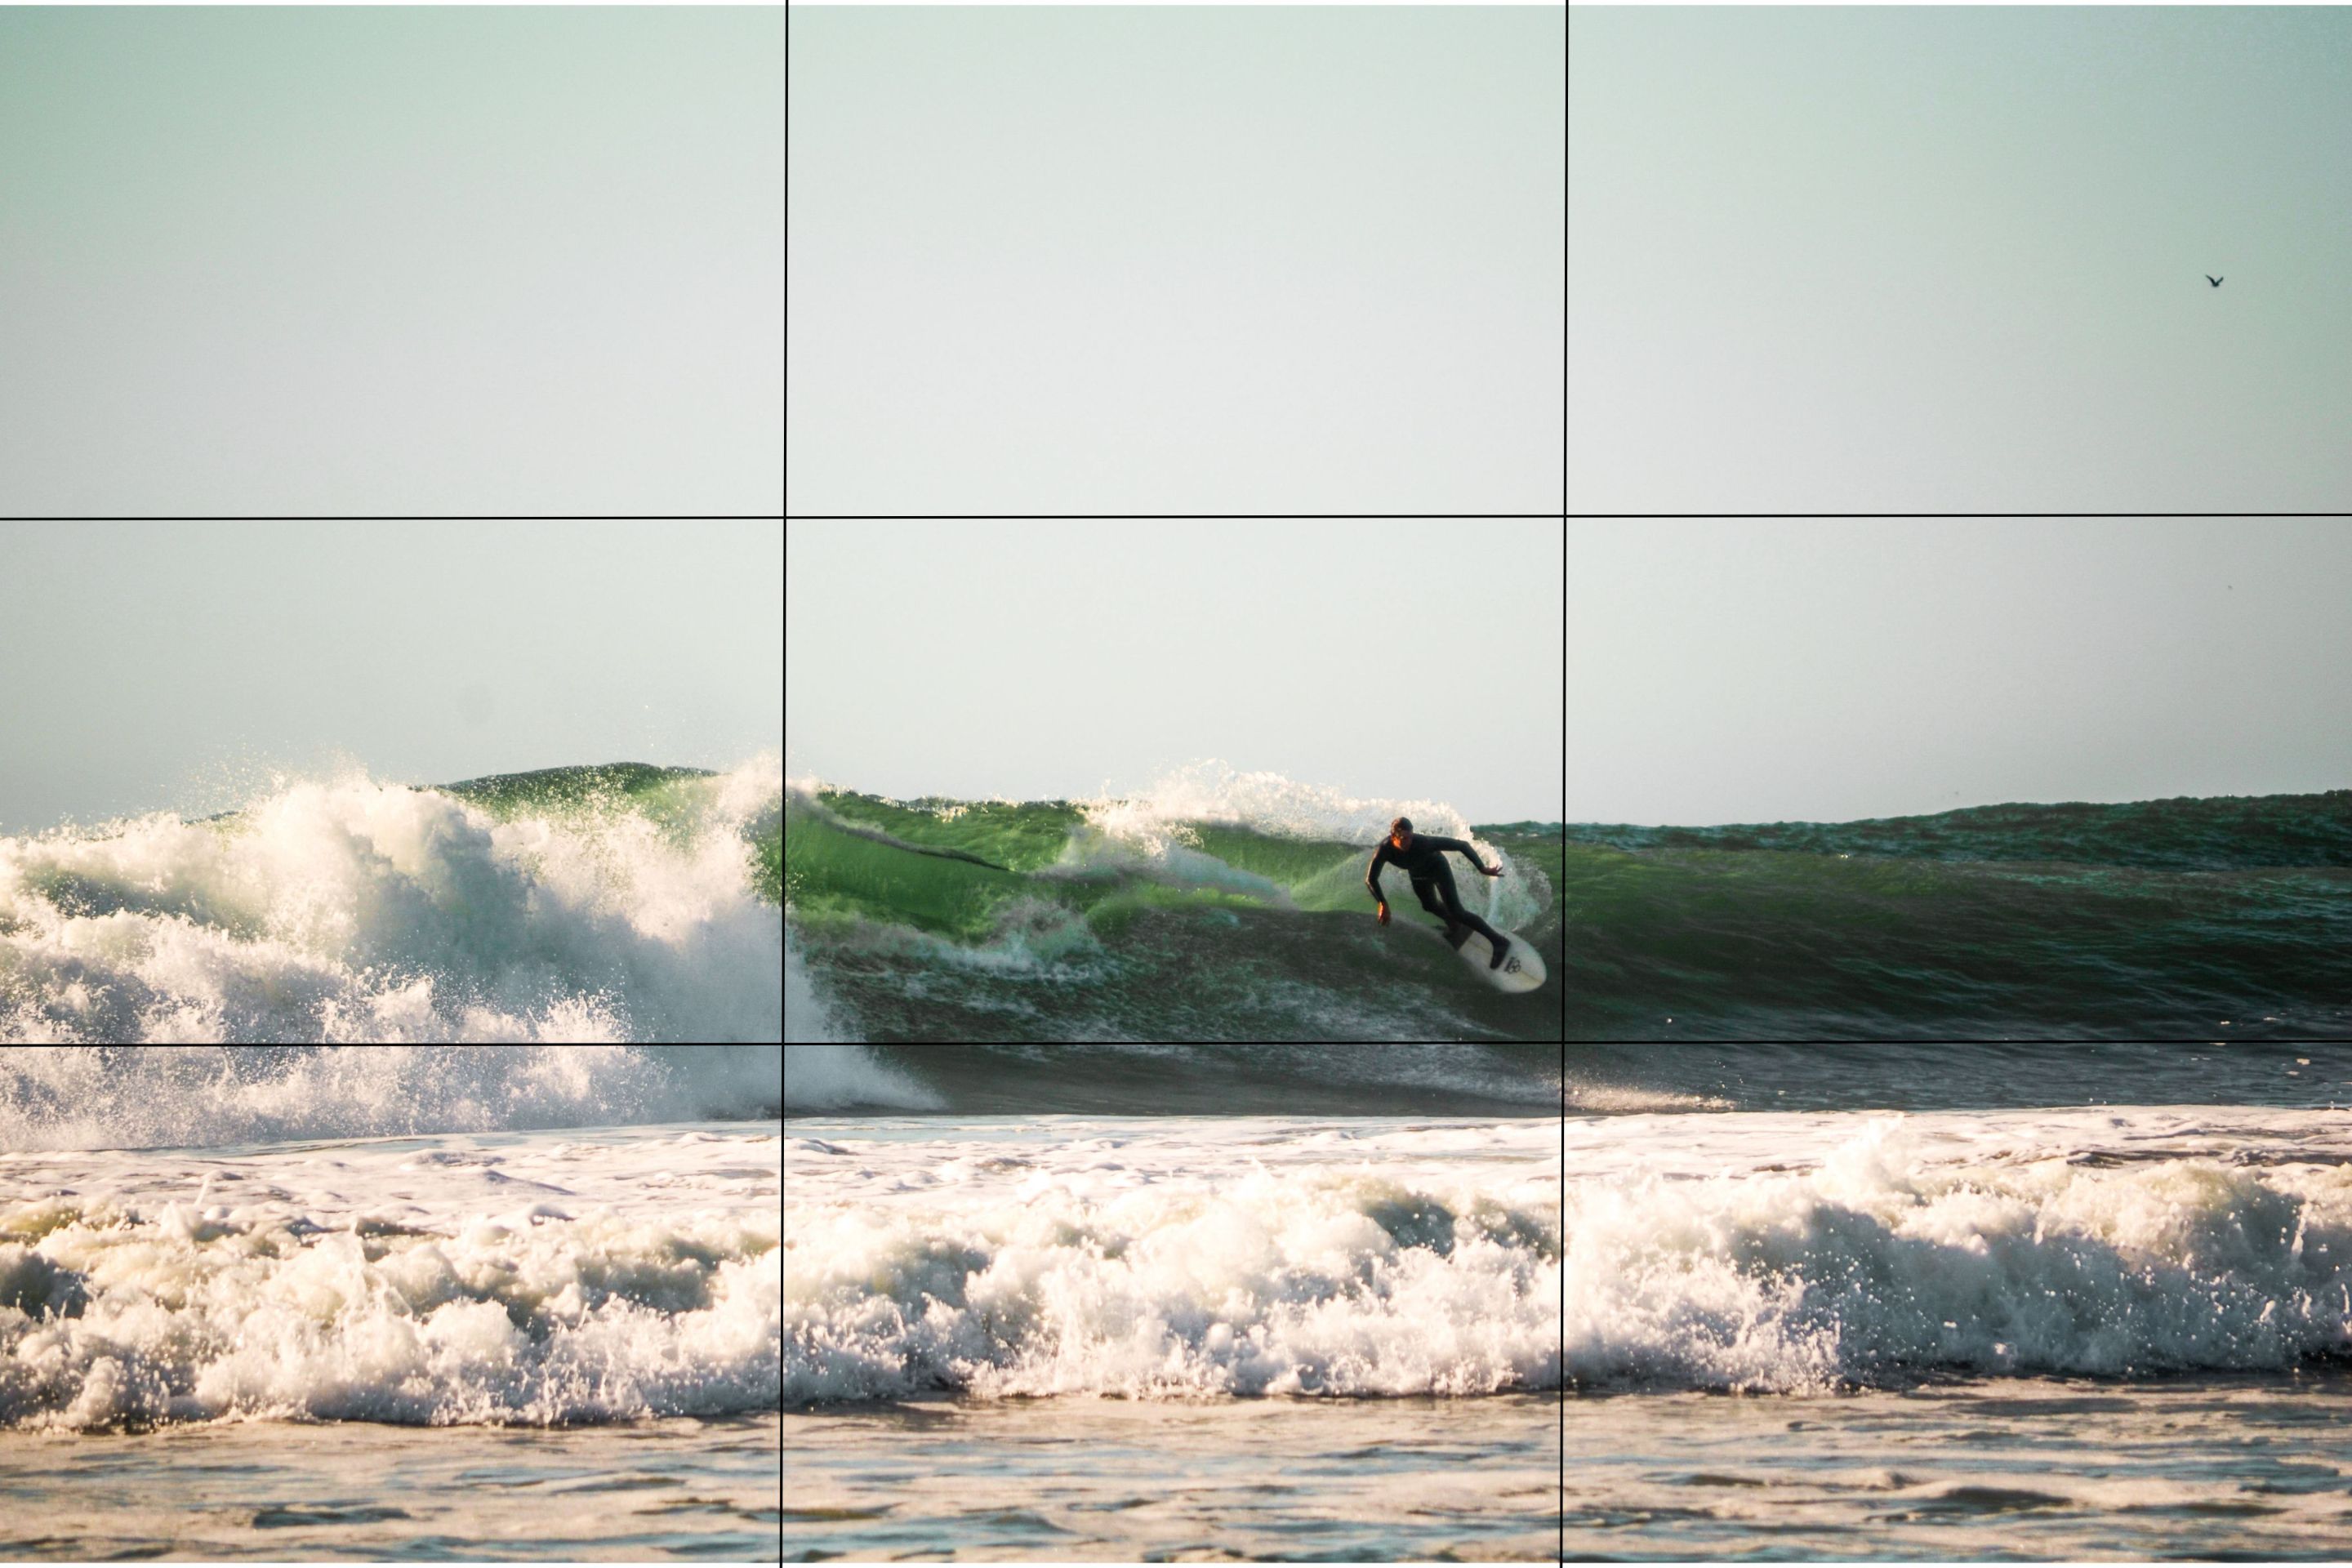
- Aligned horizon - use the lines Another basic rule that may not be obvious to many people. You have a reference, which is the sea horizon. Use this reference! If you don't have the horizon as a reference, prioritize the surfer's posture.
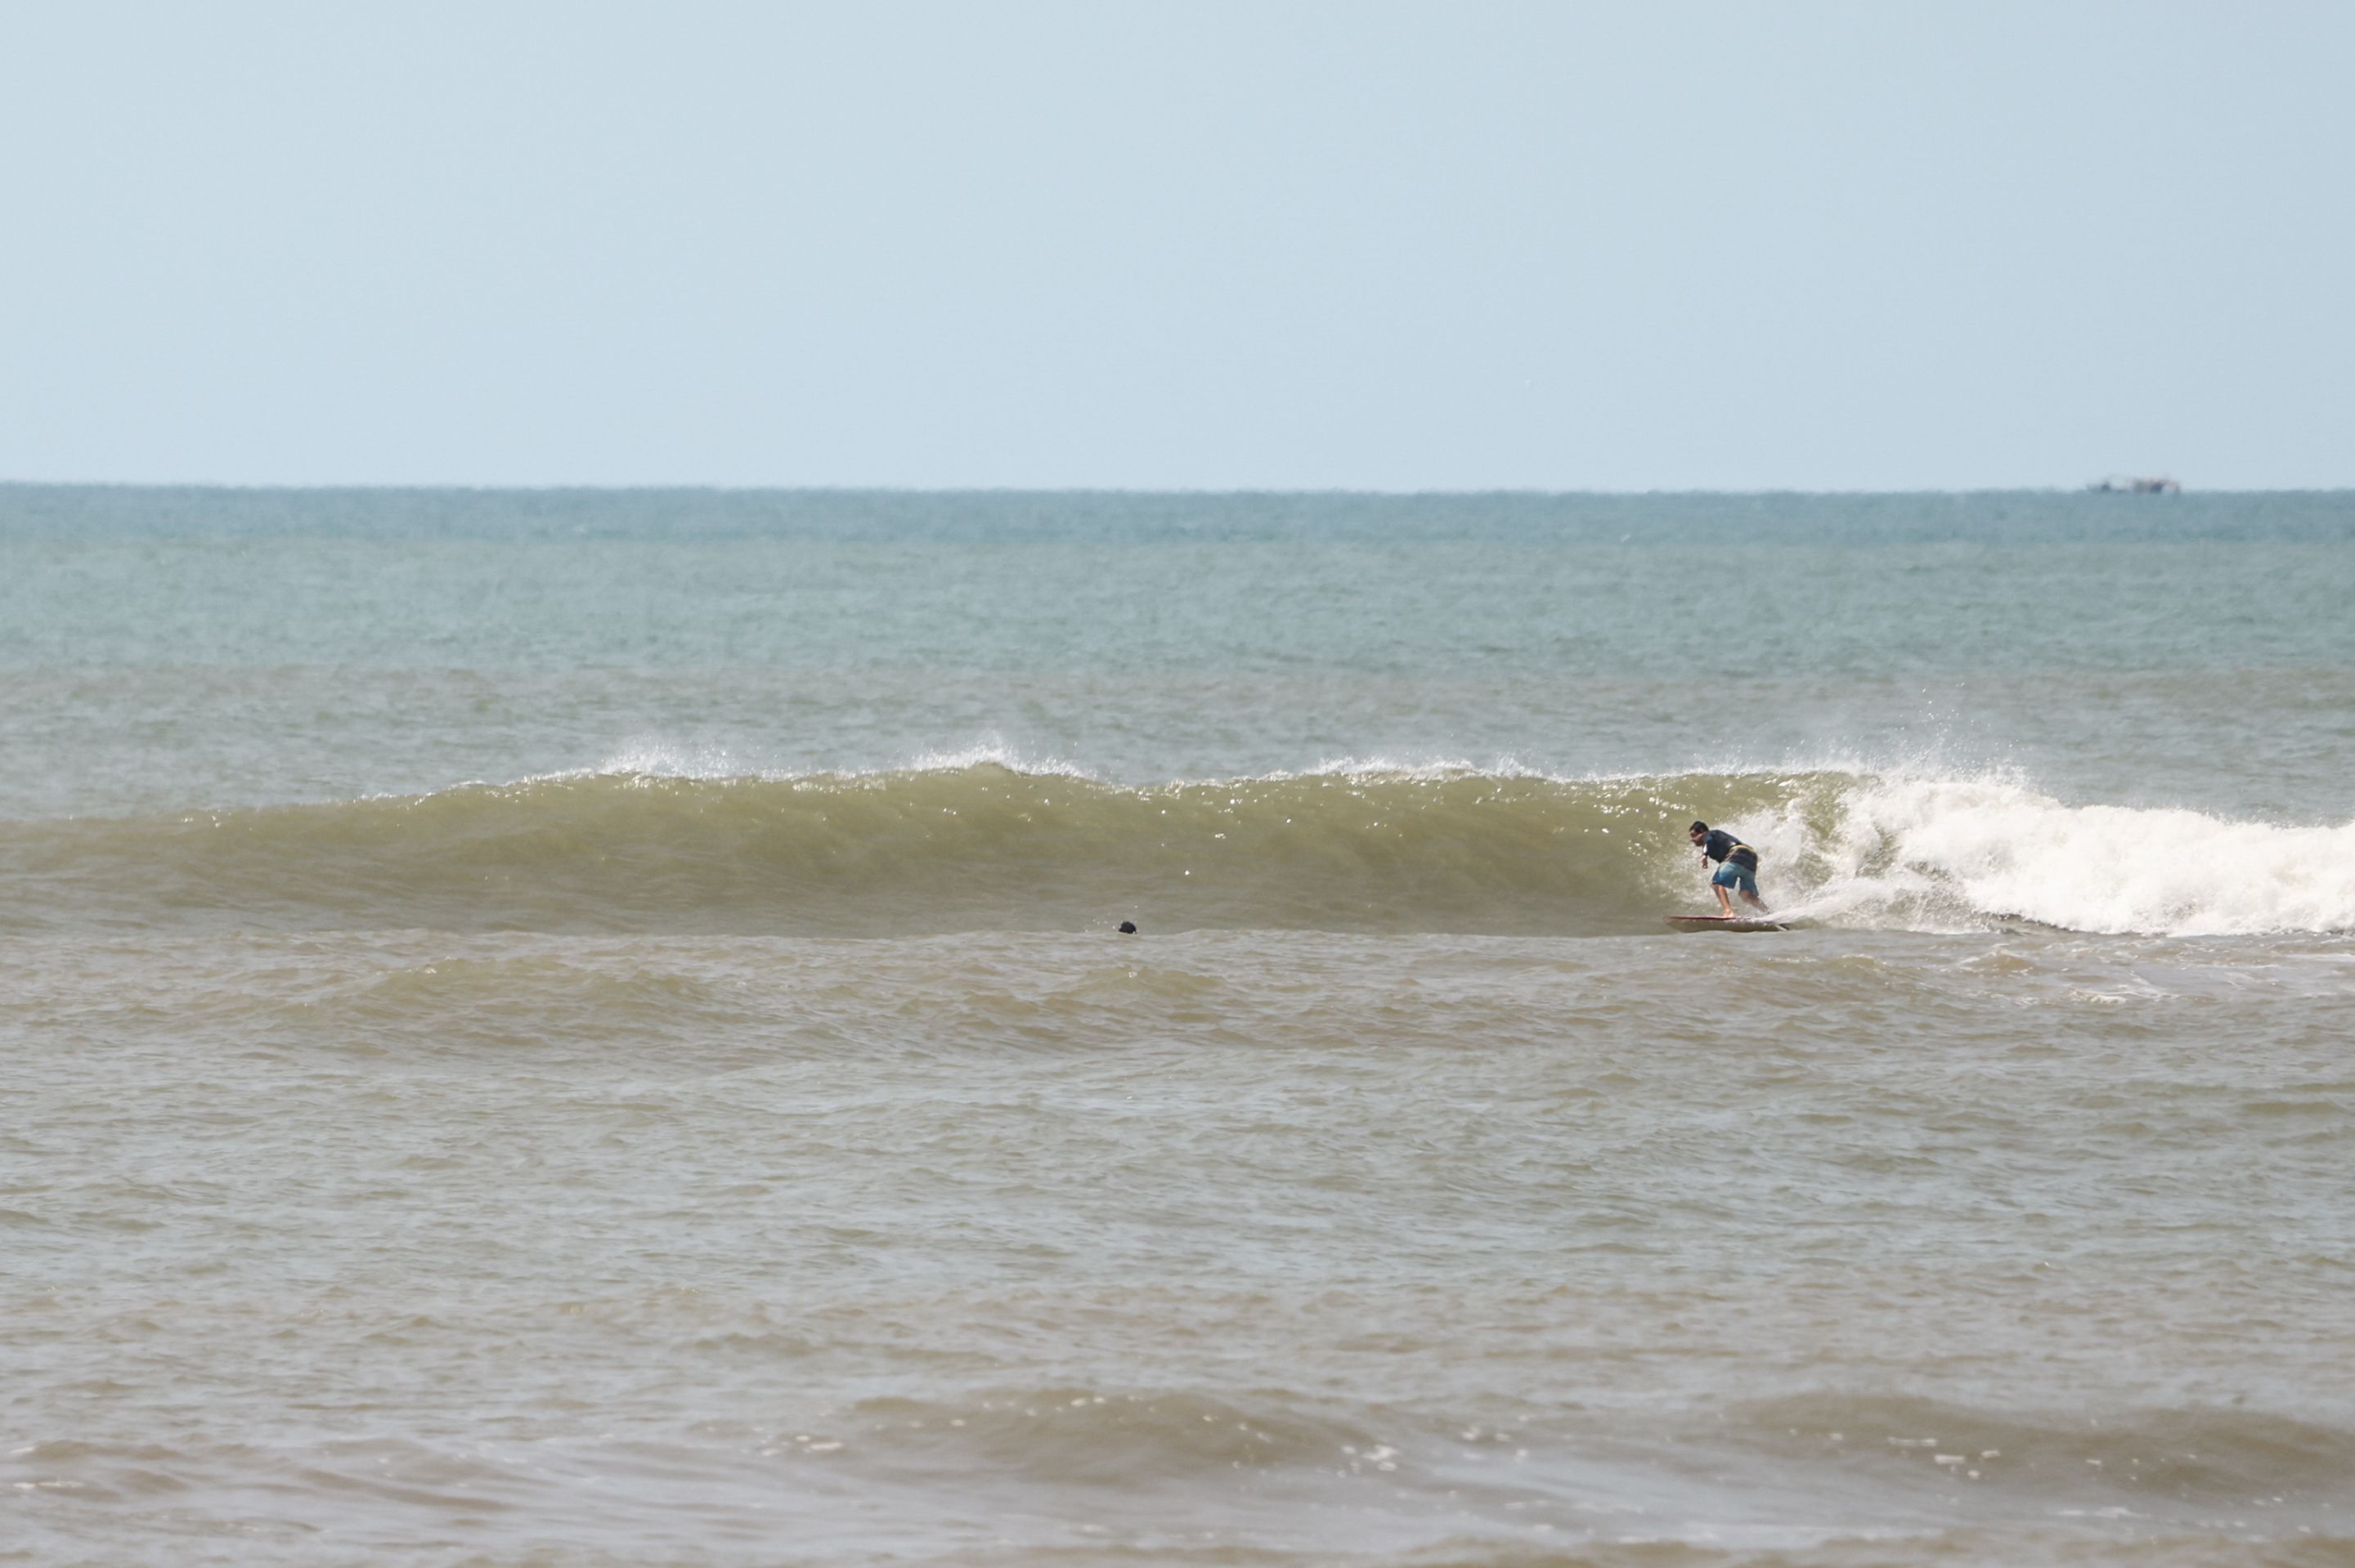

- Centering the surfer Trust me again. Surfers want to be the center of attention, hahaha. Sometimes, the simplest way is to place the surfer in the center of your photo. Pay attention to some critical details: showing the wave as a whole tells a story, so wider angles for pictures where the surfer is centered can be more beneficial for your click. Just be careful not to include too many elements in your composition.
 Untitled design (11).jpg (https://files.peakd.com/file/peakd-hive/crisciacm/23y8zKCF3S48HhiooWLPYEGkfSuxsJcamErQ5eo14DcoUZjHiWmKE5xgpcqCEa9nVWcW1.jpg)
5. Protect yourself from the sun
It's kind of obvious, but it needs to be said, doesn't it? Sunscreen, cap, water, umbrella, and clothing with UV protection can be your greatest allies during a surf session. This will ensure your safety and comfort when shooting under the scorching sun.
Ahh, and a chair is everything! I've photographed sitting on the sand and standing for hours. A small chair (with a backrest, if possible) will make you more comfortable, and you can rest your back.
Imagem do WhatsApp de 2023-09-24 à(s) 19.01.37.jpg (https://files.peakd.com/file/peakd-hive/crisciacm/23ynSfEbXmcWSGtkC2j44vzKkNP8DypMJt5WYi5HV488tm85xuYszQY1ni9immUCiWaNU.jpg)
Extra: Have a good relationship with surfers
Another way to enter this universe more is by talking, exchanging ideas, and making friends. I attribute a large part of my evolution in surf photography to this, mainly because I'm very shy and don't always make the first move.
In this sense, I met people willing to help me who made all the difference in this process. Today, I have friends who surf and with whom I have formed a non-verbal partnership, which works as follows: I give them all the photos and videos I take of them, and in return, they help me identify the surfers I photographed. This way, I can reach more people and take my work to a larger audience.
I also exchanged photos for experiences when I didn't have a surfboard or the logistics for me to surf were complicated. A friend lent me a board to surf, and I gave him all the photos and videos I took of him in exchange. In addition, he also did my "advertising" in the water, letting surfers know that I was out there taking photos.
Delivering more than expected is also a good practice, not just in surf photography but in any field of photography. This week, a guy bought a photo from me, and I sent him five because he was unsure which photo to choose from these five. The work was already done, so why not? When you deliver more, people value your work more, making them feel special and want your photos again.
Ultimately, I want to convey the message: enjoy the process.
I've made many mistakes in the last 5 years for me to be writing this post today. And that's what made me grow. Besides, I learned much from other surfers and not necessarily from other surf photographers. Listening and asking for their feedback is also very important.
Tell me what you thought of this post! Are there other surf photographers out there📷🌊? Did I forget something? Let's exchange experiences!
I hope I helped 😉
About me
Biologist, Photographer, Content Producer, and Community Builder. Please take a look at my introduction post to get to know me better.
My social networks:
- Personal Instagram – me, my husband, my cats, sustainability, biology curiosities, and adventures: @crisciacm
- Professional Instagram – surf, nature, and people photos: @crisciacesconettophoto
- Youtube Channel - surf videos: @crisciacesconetto
- My profile at Thatsgnar.ly - crisciacesconetto
- Twitter – I don't know what to do there, but it exists: @crisciacm
Português - BR [🇧🇷]
Aloha galera!
Já compartilhei aqui no meu [post de introdução](https://peakd.com/hive-141964/@crisciacm/enpt-br-cris-on-the-web3-wave-biology-photography-surfing-and-