
I started putting this guide together a couple of months ago now, with the aim of helping new users get used to Steemit and hopefully guide them towards making quality original content for this new promising platform. The first two parts have already been posted, but I decided to go back through them, update and edit and repost them here in one post for easy reference, along with the extra information I’ve been promising. My hope is that you’ll find this helpful in your future ventures on Steemit, and if you do, I’d really appreciate it if you pointed other users here. Without further ado, let’s get into it!
Steemit doesn’t have a user guide, but then again most other (especially new) social media sites don’t either. There have already been so many user-created guides, and I will be drawing upon many of them in writing this. The problem I found was that many weren’t comprehensive enough, or presumed the reader had some awareness or knowledge on the topic of Steem and blockchain technologies. This will by no means be an exhaustive list of everything there is to know about Steemit or Steem, but there should be more than enough to get you started.
Steem & The Blockchain

Before discussing Steemit, we need to talk about Steem and the Blockchain. Steem is a cryptocurrency that can be bought and sold on the open market, and it is what powers Steemit. Steem is the solution to the problem “How can we ensure content creators can get paid for their work?”. In the real world, the content economy is broken. Look at the many “adpocalypse” cases for YouTube. Steem and Steemit seek to address that problem by paying content creators when what they post gets upvoted by other users on the platform.
Steemit is very different to many other cryptocurrencies as it doesn’t rely entirely on mining to generate new units of currency, although you can mine it. How this works is that the network generates new Steem tokens when users post content and interact with other user’s work and then distributes them amongst those users. The amount you get depends on how many upvotes a piece receives, plus your overall engagement with the platform as well as how much Steem Power you hold (but we’ll get to that bit later).
Steem uses a “Proof-of-brain” concept, which is a type of rewards algorithm that encourages people to post content and interact with other user’s content. This can take the form of “Author Rewards” or “Curation Rewards”, but again we’ll get into those topics in more depth later on.
Steem also seeks to address current issues with existing cryptocurrencies such as Bitcoin or Ethereum, which can suffer from long delays in transactions and high tx fees. Steem is a next-generation blockchain (whereas Bitcoin is arguably a first generation blockchain), specially designed to run real-time applications with lightning fast transactions and no fees. For these reasons alone, you might be able to see why Steem is worth investing in. It was the technical aspects of Steem that first got me interested in Steemit. I’d already bought some Steem, but wasn’t happy with my wallet provider, Freewallet, and figured Steemit would be a better place to store them. So I signed up, verified and I instantly fell in love with the site.
Steemit and Steem
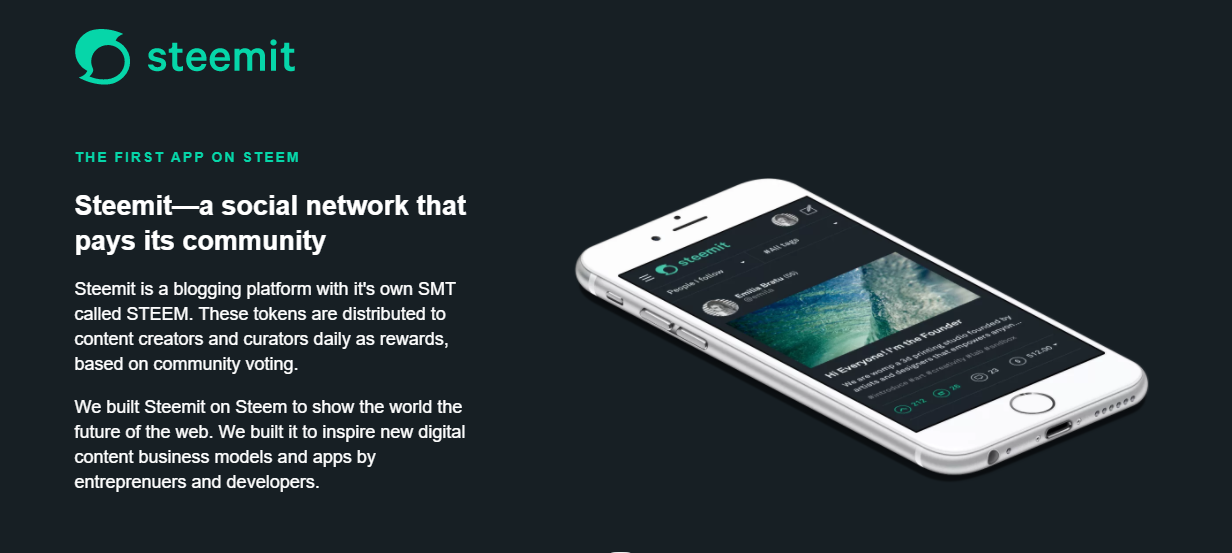
Steemit is the first application built on the Steem blockchain, launched in 2016, and from what I can tell they were both created in tandem with each other. Steemit is a blogging platform that rewards its users with Steem tokens, think Reddit crossed with Twitter, but your points are worth something other than just bragging rights. Steemit is far more than Reddit though, as the text content and metadata are actually stored in the blockchain. It was created to show other developers just what could be done on the Steem blockchain, and since then many more platforms have sprung up around Steem.
As mentioned above, Steem and Steemit are proposed solutions to the current content economy. Often, creators have to seek out alternative methods of generating income, such as signing endorsement deals or sprinkling adverts throughout their content. Steemit rewards content creators directly via their upvote and reward system. The amount a creator receives depends on both the number of upvotes received, as well as the weight of that vote, also known as Steem Power. If a user with a high reputation score and a large amount of Steem Power upvotes your content, you get substantially more than an upvote from new users with a small amount of Steem Power. These big users are often referred to as Whales, whereas small or new users are often referred to as Minnows. There’s also the medium-sized users who are called dolphins.
Steemit actually has three different types of currencies; Steem, Steem Power and Steem Backed Dollar;
- Steem itself is bought and sold on the open market, and isn’t designed to be held onto for long periods of time. It degrades by roughly 9.5% a year due to how it’s produced, which is an intentional inflation. Steem can be converted into Steem Power through a process known as “Powering Up”.
- Steem Power is essentially a long-term investment of Steem in the platform, as you technically have a proportionate ownership in the network. It also enables you to earn as both an Author and Curator. The more Steem Power tokens you have, the more your upvotes count. As the network grows, the amount of influence you have also grows proportionally. It currently takes 13 weeks to withdraw Steem Power, to encourage network growth and as a measure to prevent you from losing your funds if you account is hijacked.
- Steem Backed Dollars (SBD) are intended to be a stable and spendable currency. The value of SBD is directly linked to the value of the US dollar.
That’s the technical and theory side of things covered, let’s get stuck into Steemit itself now.
Your Account
So where to start? Let’s have a quick run over the registration process, just in case you haven’t signed up yet. If you’re all ready and set to go, just skip over the Registration section. In case you aren’t already aware, you only need one account for the whole Steem ecosystem, that includes logging into other platforms based on the Steem blockchain.
Registration
Signing up to Steemit is a simple process, simply head over to Steemit.com and click Sign Up. Here you can select your username, then follow the prompts to finish setting up your account. Make sure to spend some time thinking about your username, as it represents you across the platform. You’ll then need to follow the verification process, which shouldn’t take too long. I have heard of users having to wait a few days for their confirmation email. Steemit will likely generate a 32 character password for you, this is your master password and you need to keep it safe. Never give anyone else your master password, and it may be worth considering using a password manager.
Your Profile
You should now be signed up, so let’s start looking at some of the features. If you head over to Settings, we can start setting up your profile.
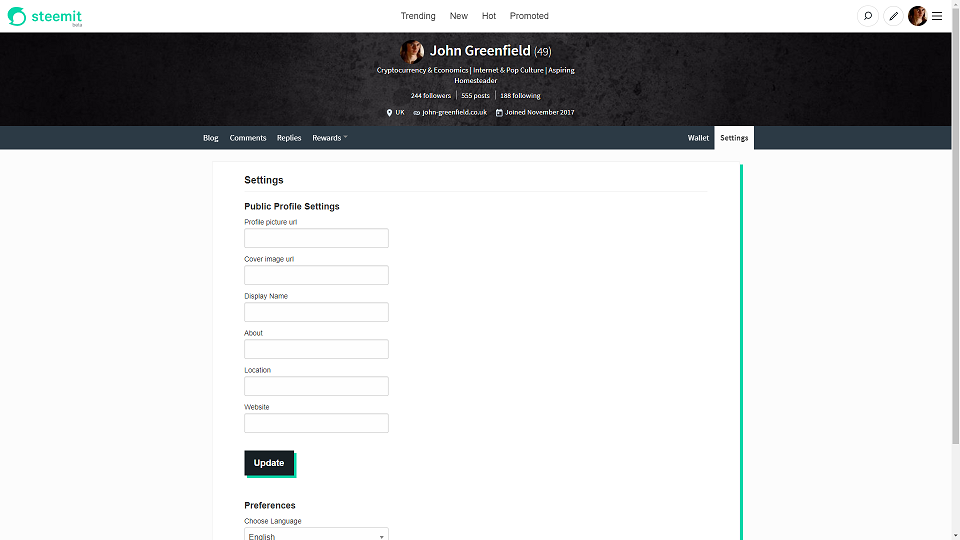
Here you can set your Profile Picture, Cover Image, Display Name, About Section, Location and Website. Smash that update button when you’re done, and enter your password to confirm the changes. Spend some time thinking about what you want as your profile images and about section, as this will often be the first thing people see when clicking on your profile.
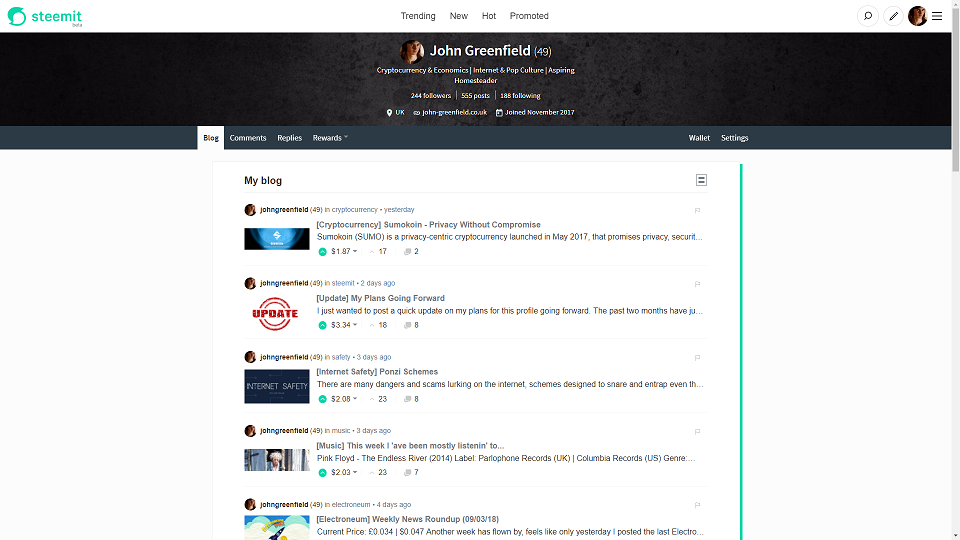
As you can see from my profile, this is how your information is displayed to users. Your profile should be set up now, it doesn’t take very long. Let’s explore one more feature of your profile, Reputation.
Reputation
On Steemit, your reputation means a lot, and you need to keep it positive. Your score is shown next to your display name. All new users start off with a reputation score of 25, and you can increase that score by posting quality original content that engages users. If you plagiarize other people’s work, abuse other users or just post low quality content that most users would consider spam, then your content will be flagged by the community and your score will be reduced. Get flagged enough, and eventually your content and comments will be automatically hidden from view.
It’s important to note that increasing your reputation takes time and patience. You need to put the work in in order to attract an audience, engage with them and produce quality content for the platform. Attempts to cheat the system will most often be noticed by the community, and can result in your posts being flagged or drawing the attention of community-made bots designed to tackle spam and abuse of the system.
Wallet
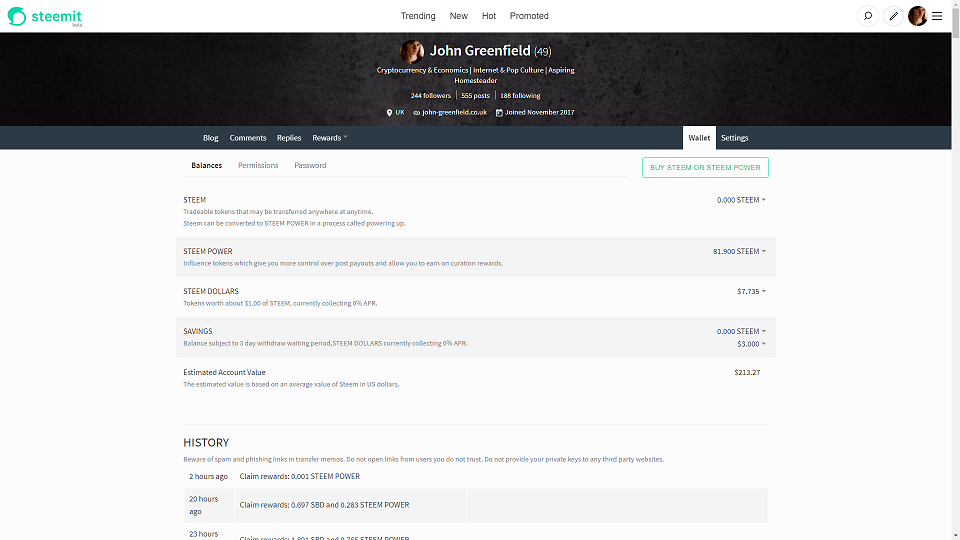
Your wallet is where your various Steem funds are stored, and how you can transfer funds, power up or withdraw funds. Each part of the wallet comes with a brief description, so familiarise yourself with it. Your wallet is where payouts for your content goes, and from here you can send them to other users or to an exchange if you wish to convert them into other currencies, including fiat currencies.
Adding Funds
When you sign up to Steemit, you are given a small amount of Steem Power to get you started, as well as a slightly larger amount of Steem Power that is delegated to you in order to help boost your Voting Power. The amount delegated to you will fluctuate over time as you earn more Steem Power. You don’t need to add funds in order to use Steemit, but there are some good reasons to do so. The majority of the Steem created each day goes to Steem Power holders, as Steem Power is similar to holding stocks in Steemit. The more Steem Power you have, the bigger your share and the more value behind your votes.
If you have never traded in cryptocurrencies before, you’ll need to convert some fiat currency (like USD or GBP) into a crypto like Bitcoin or Litecoin at an exchange, which you can then exchange for some Steem or SBD. There are already many good tutorials on this subject, and I encourage you to look into them. One popular exchange site for getting Steem is @Blocktrades where you can easily convert most main cryptocurrencies for Steem or Steem Backed Dollars. Simply enter your username as the wallet address, and the funds will be deposited into your account once they have received the sent funds.
The Steemit Site Itself
Steemit has quite a simple layout really, especially when compared to most modern Social Media platforms such as Facebook or Twitter. Despite having been on the world wide web since shortly after its inception, I’ve personally never been drawn to Reddit, the self-proclaimed front page of the internet, mainly just because of its user base. Steemit is different, there is a very active community who are passionate about growing the Steemit network. There are an abundance of user-created bots designed to tackle spam, abuse and plagiarization.
Site Layout
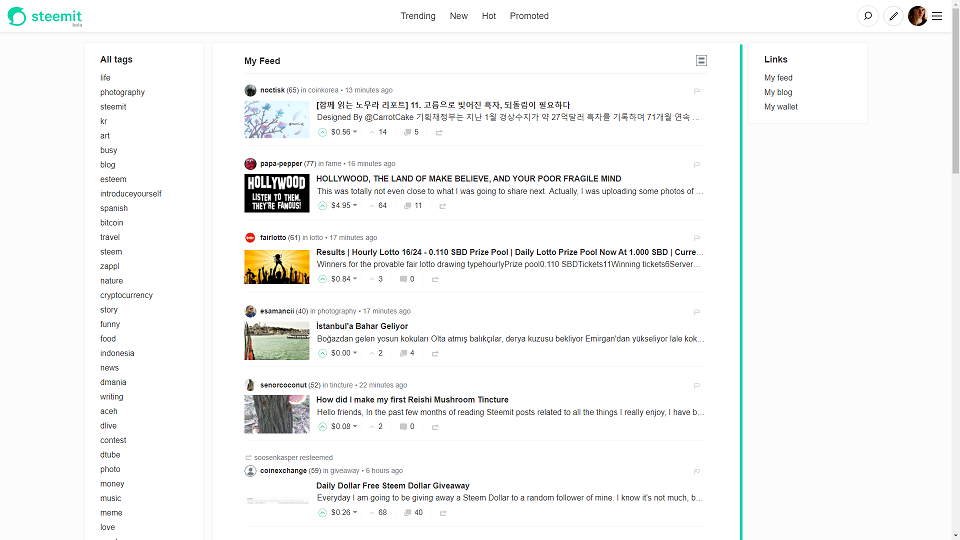
As you can see, the site is quite plainly laid out. You have your Trending, New, Hot and Promoted tabs along the top, a selection of popular tags along the left hand side and the feed in the center. Search, Post, Profile and Main Menu are in the top right of the page. Steemit is still in beta, so expect the layout of the site to change over time, with possible new features or a complete design overall being likely at some point.
Tags
Posts are organised into categories called Tags, which each post having up to five tags. Think of tags like hashtags of Twitter and Facebook. The most popular tags are displayed on the left side of the homepage/your feed, and if you scroll down you can find a link to view all tags on the platform. This can be helpful if you’re trying to figure out what tags to give your post. Clicking on a tag shows the top trending posts under that tag, but you can select New, Hot or Promoted from the top to change what posts you are viewing.
Posts
Your posts include both your own original blog posts, and any comments that you write on your own or others posts. Every single thing you post on Steemit, or any other Steem based platform, is stored on the blockchain. 7 days after posting, your content is locked and forever memorialised on the blockchain. This is why it’s very important to ensure that every post you make is quality original content. Take your time when writing posts, both blog posts and comments. The blockchain is open to anyone to view, so trolls and spammers do not go down well on this platform.
Formatting
Formatting your posts is very important on Steemit for a number of reasons. You want your content to look polished and be easy to read, and it can also allow you to develop your own style. Different users prefer different styles, with my preference being for a clean, minimal look (hopefully you agree). Personally, I’m not a fan of “busy” posts, with flashing gif images and an overuse of formatting sometimes. It reminds me of the early days of the web, when geocities sites were everywhere and the Hamster Dance was the height of memes. What you go for though is up to you, so here is pretty much everything you need to know to make your content stand out.
Markdown
Markdown is a lightweight markup language that uses plain text for it’s syntax, created to enable people to write using an easy-to-use text format and that would be converted into valid HTML. If you’ve never used HTML before, you’ll probably find Markdown is the quickest way of stylising your content. There are many different variants of Markdown for different frameworks, Steemit seems to use the Github Flavoured Markdown (GFM). You can see my original cheat sheet on the original beginner's guide - part two. This is by no means an exhaustive list, so if you would like to read more, you can use this Markdown Cheatsheet.
HTML
Some basic inline HTML is also accepted on Steemit. This is my personal preferred method, just because I already know how to use it fluently, so it’s easier than having to try to memorise Markdown as well. In many ways, HTML can give you more control over formatting, although most of these things can also be achieved with some advanced Markdown. One thing to remember though, is that it’s best not to use both HTML and Markdown, as the latter tends to break when combined with HTML. You can see my original cheat sheet on the original beginner's guide - part two.
Introduce Yourself
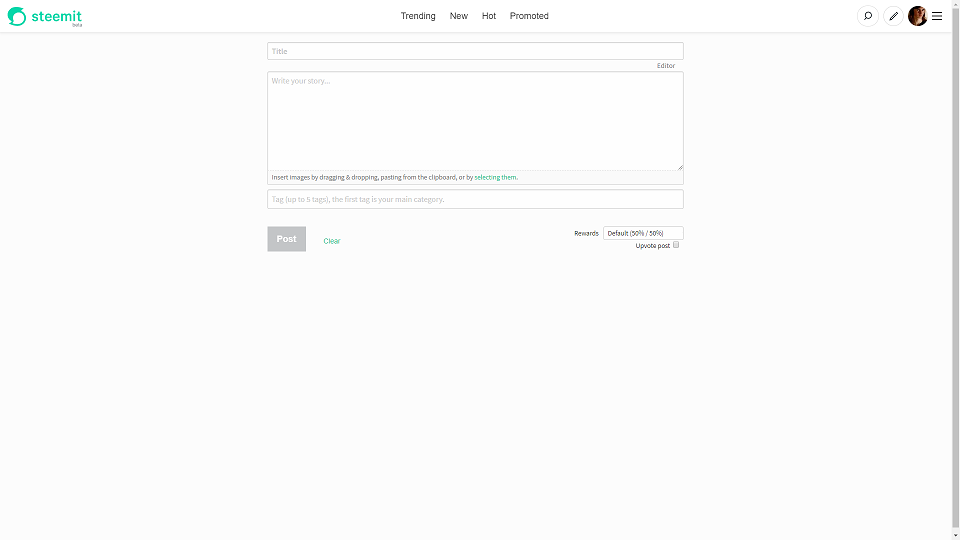
Let’s start off by going ahead and pressing the small pencil icon in the top right corner of the page. You are now presented with the Create a Post page. The best way to get a feel for what to put is to take a look at some of the trending Introduce Yourself posts. This way, you can figure out what kind of information the community is looking for. Steemit puts a lot of emphasis on Social Identity, and this post is arguably your most important one. Try to make your first post your Introduce Yourself post, sadly I didn’t get that piece of advise until it was too late.
One important bit of information to include is essentially verification of your identity for the community. This can take the form of linking to your other Social Media accounts or personal website. Again, take a look at others introduce yourself posts and get a feeling for what is expected here. The quality of the content being produced for Steemit is constantly increasing, raising expectations from new and existing users.
For an example, here is a link to my Introduce Yourself page: [IntroduceYourself] Hi Steemit! John here...
It’s very important to make sure you put the right tags on for this post. Make the first tag #introduceyourself so that others can find it easily. Using the right tags is very important when trying to get your posts viewed by other users. When deciding on what tags to use on a post, there’s a few things to keep in mind. Try looking at the tags page and seeing what’s popular and fits the theme of your post. So, with our #introduceyourself example, we could include #steemit, #introduction, #life, #writing. Have a look at what other users use in their posts to get a better idea, or you could even try starting your own tags.
Although you can edit your post for the first 7 days after posting, try to keep this to a minimum as it can use up your allotted bandwidth on the platform. We’ll go into bandwidth in more detail later in the guide.
When you're ready, and you've checked your post for any errors, it's time to post. For now, leave the Rewards drop-down at Default (50%/50%) and leave the Upvote post unticked. We'll go into more details on why later on. Get your cursor or finger hovering over that Post button, then smash it like your life depends on it to unleash your creation onto the world!
Curation
Curation is the way that all users of Steemit can earn, even just by voting. By voting on a post which later becomes successful you can earn what’s known as Curation Rewards. Currently, 25% of the earnings from a post go towards the curators who upvote it, with the remaining 75% going to the post author. Generally speaking, the majority of Curation Rewards go to the first five people who vote for a post, and within a certain time frame. For example, ideally you want to be the first person voting on a post at exactly 30 minutes after posting. The reason for the time frame is that Steemit utilises a “reverse-auction” mechanism, where a portion of the Curation Rewards goes to the post author for the first 1800 second after publication.
Your reward is based upon the number of people who have voted before you, and at what time you’ve upvoted the post, as well as your Voting Power and Steem Power. Your voting power reduces by roughly 2% every time you vote, and regenerates exactly 20% of your used voting power per day. Since Steem Power is similar to holding stock in Steemit, the more Steem Power you have, the greater influence your vote has.
If you are here purely to make money, one tactic would be prowl the new posts page to find posts you think will become popular and upvote them before other users do. Even with low amounts of St